


5
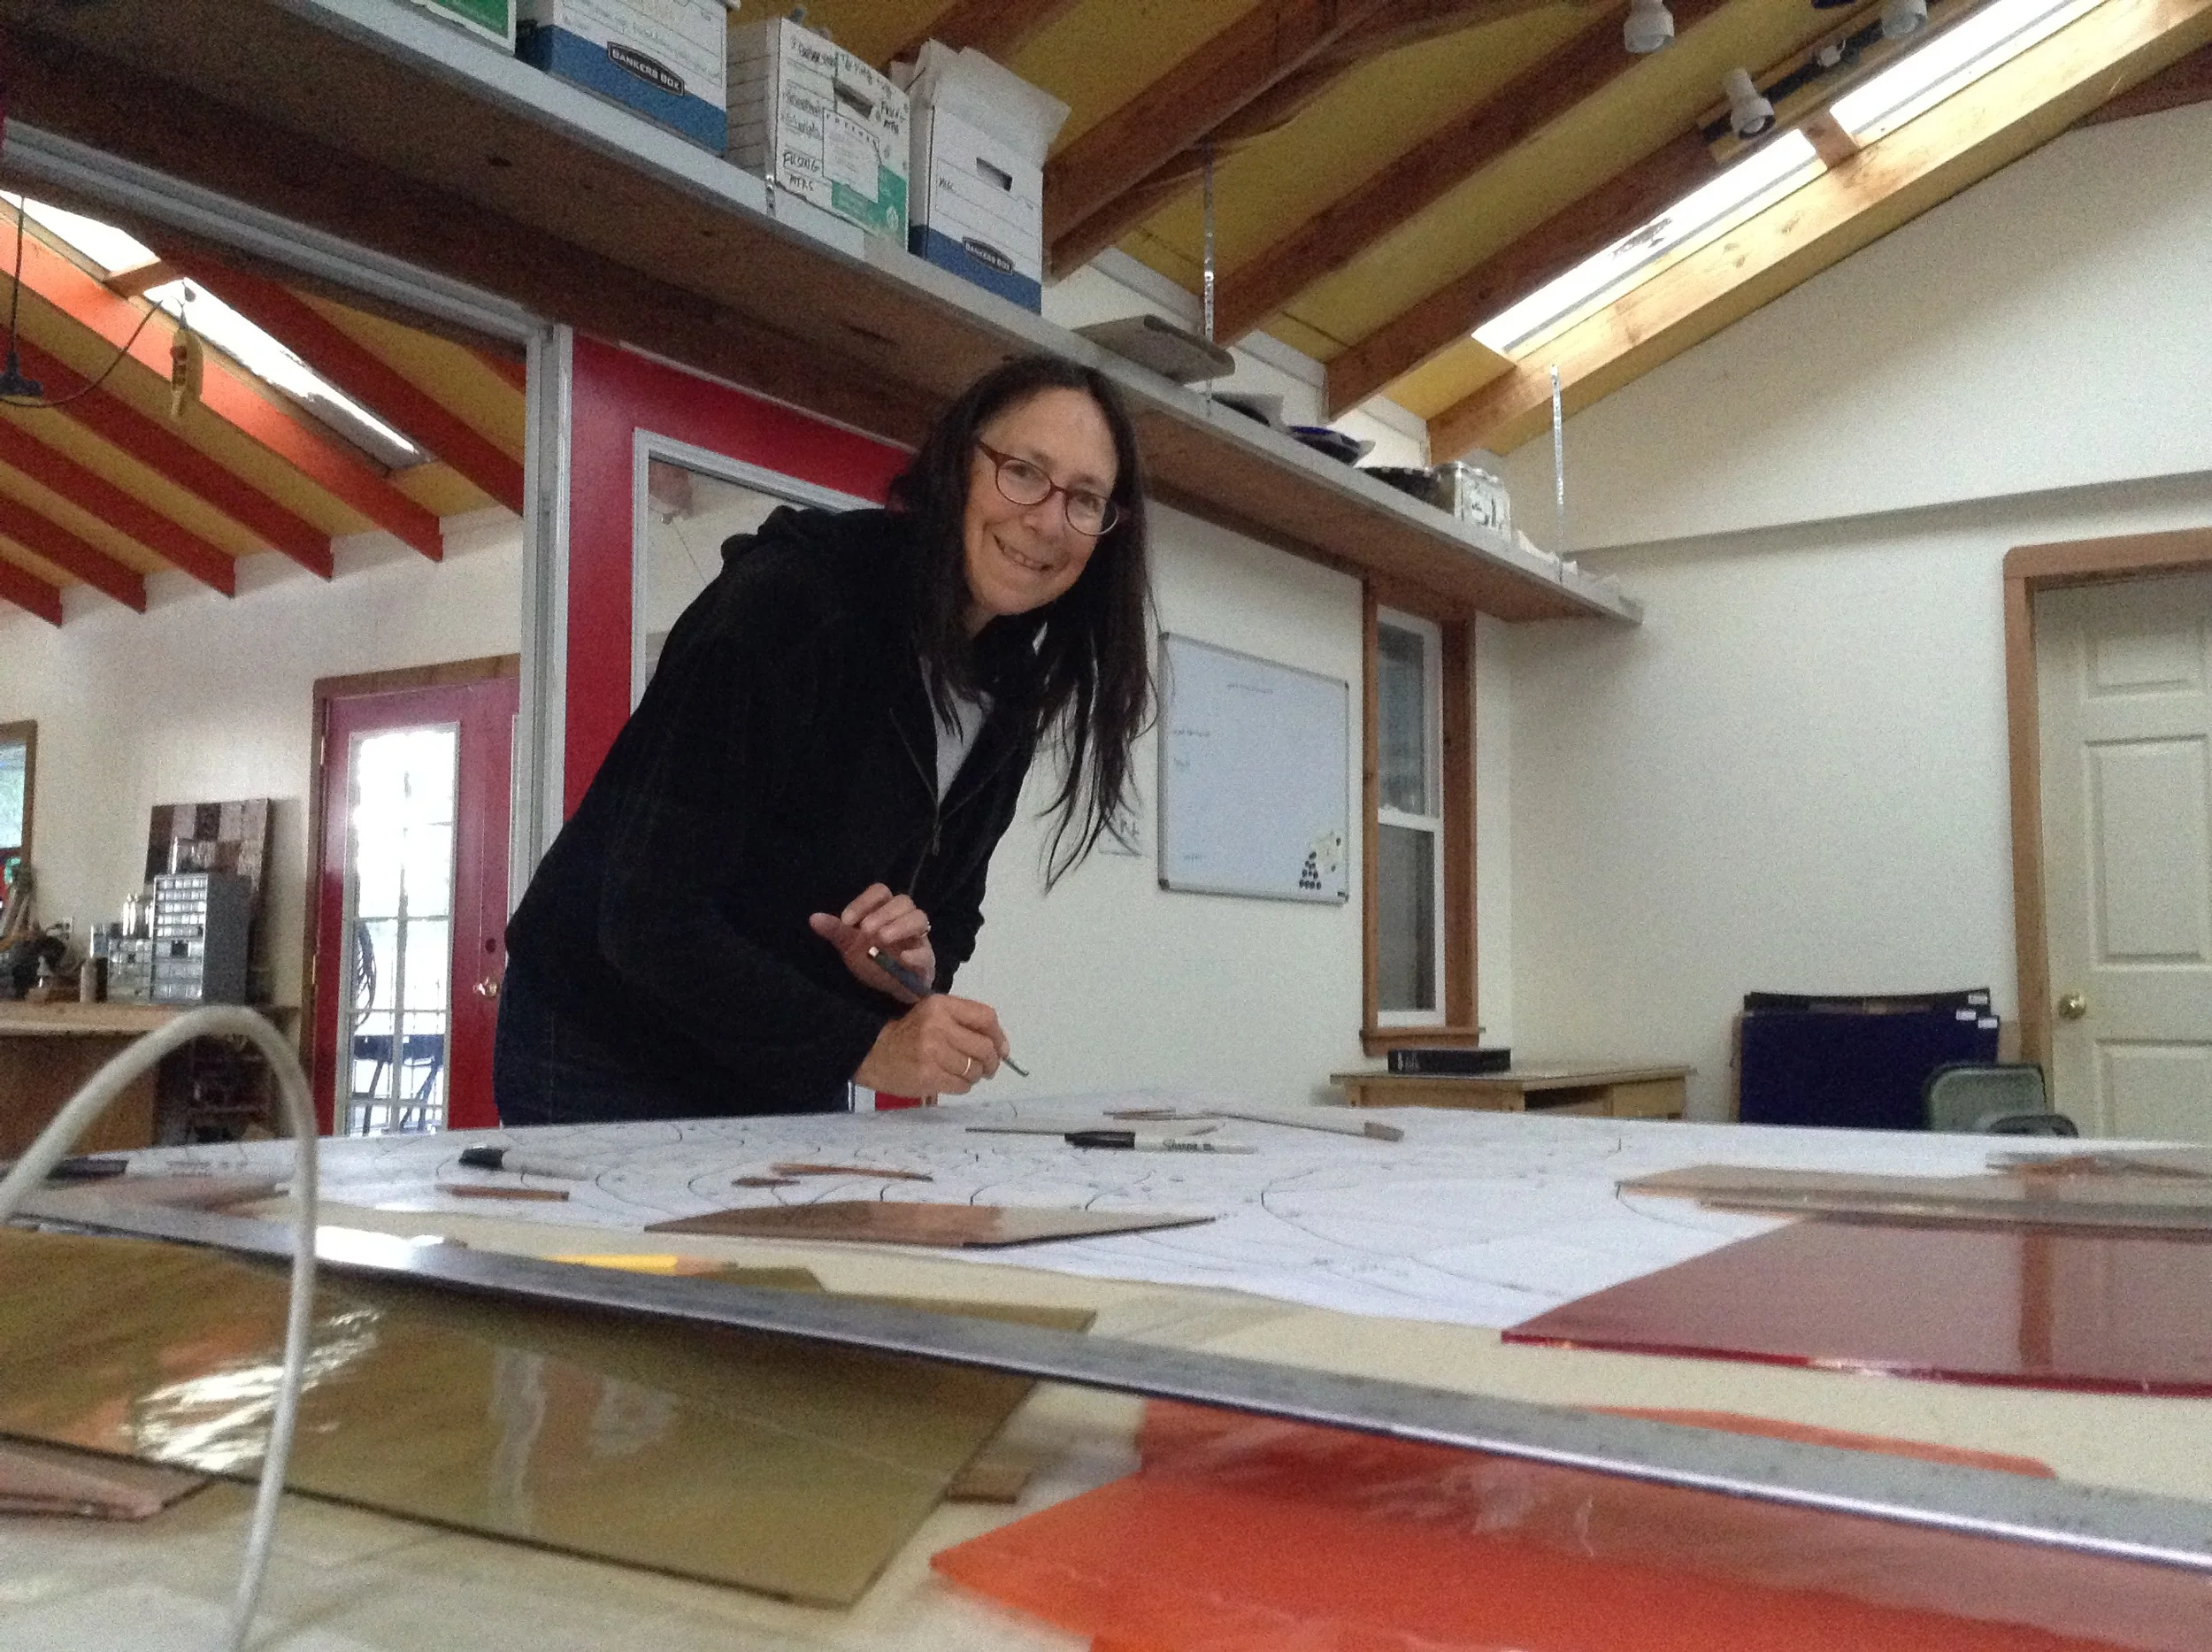
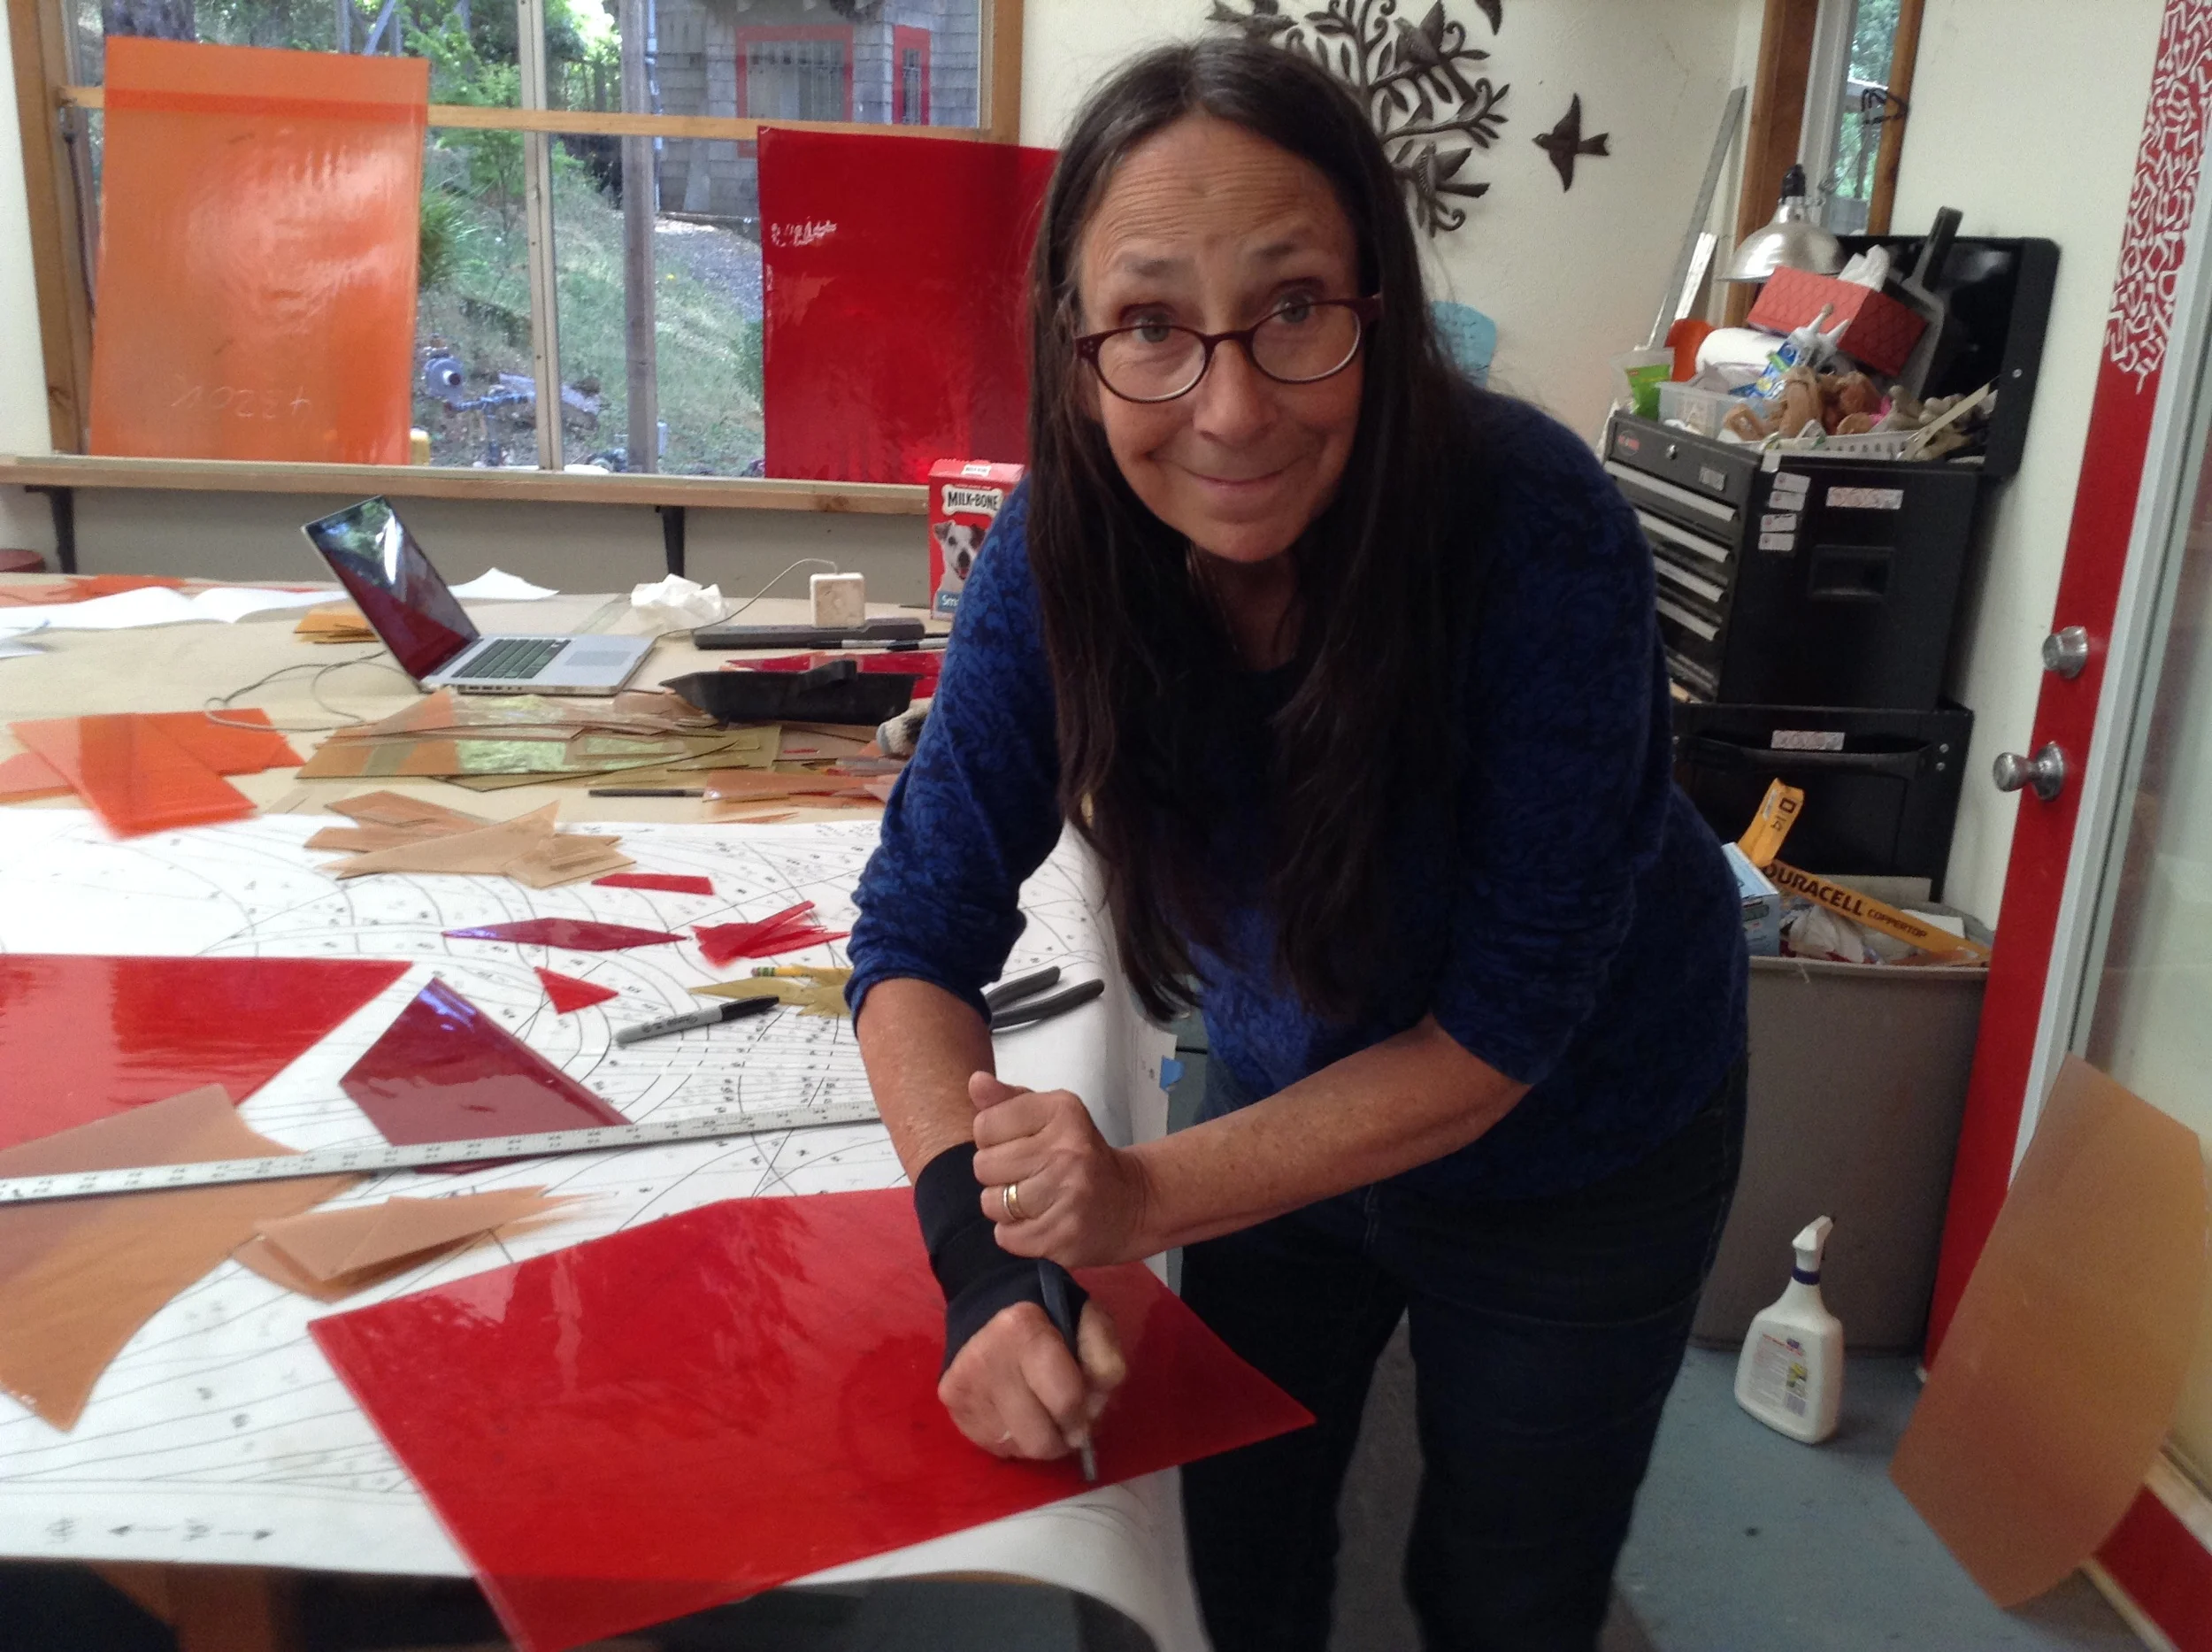
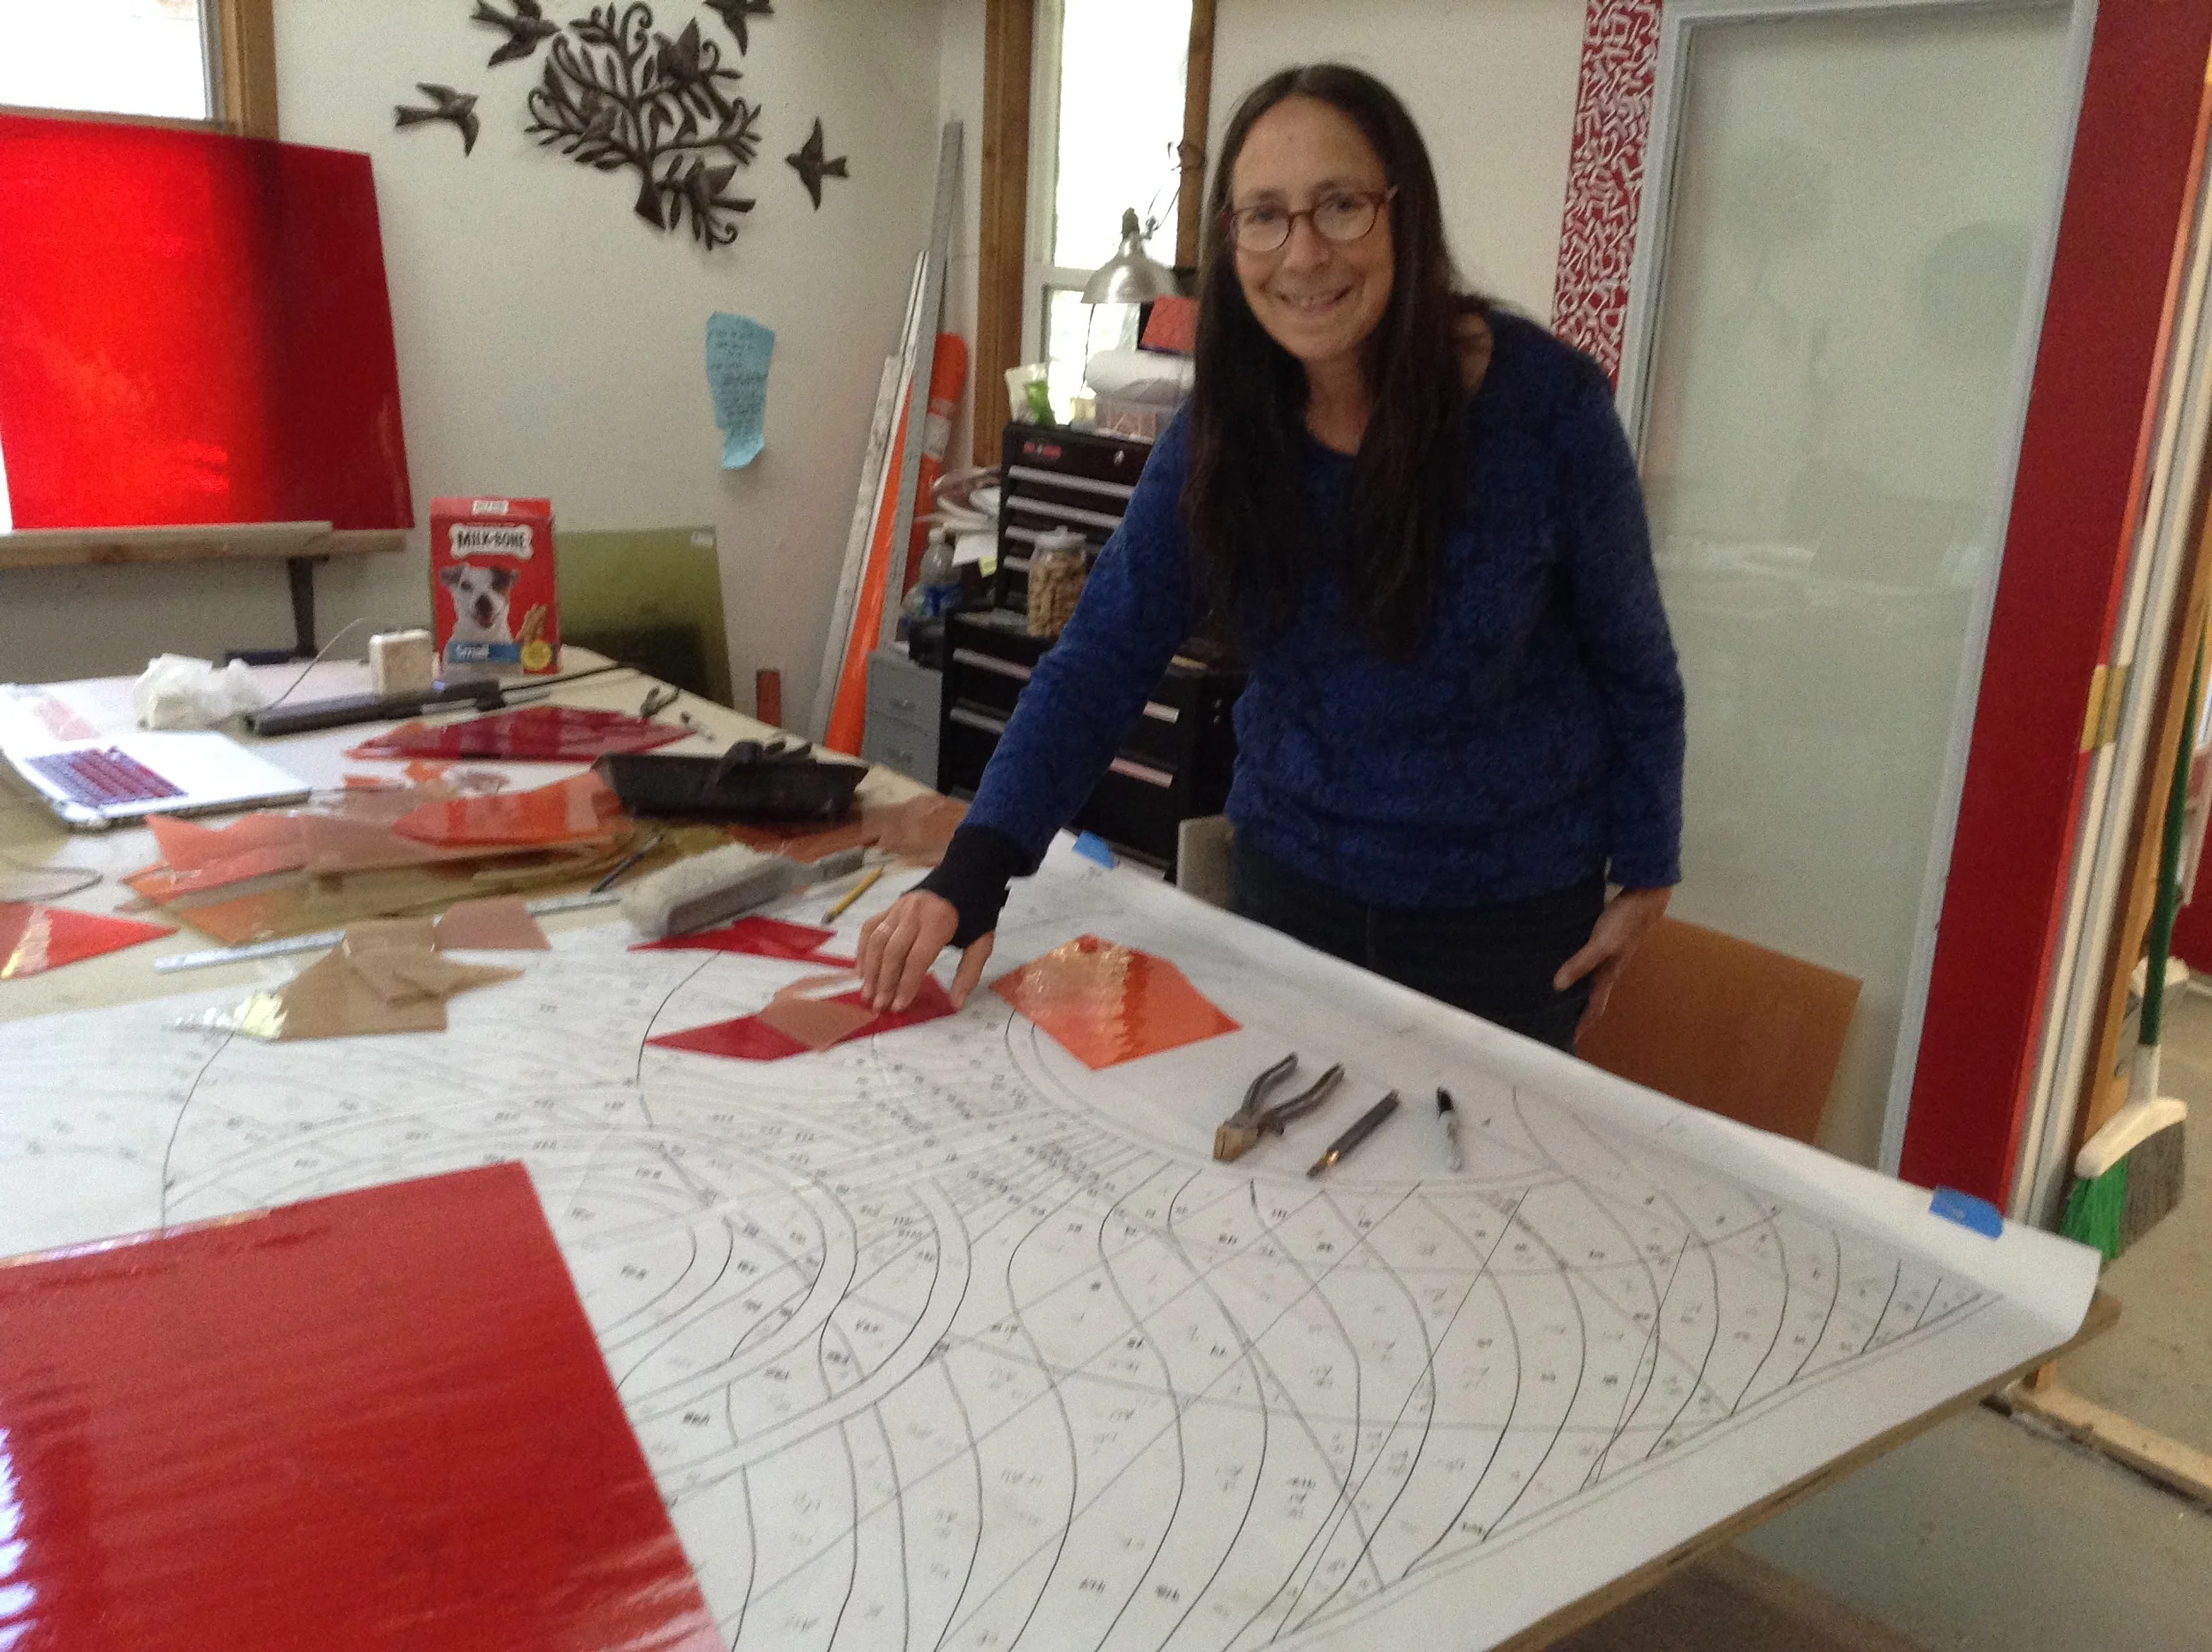
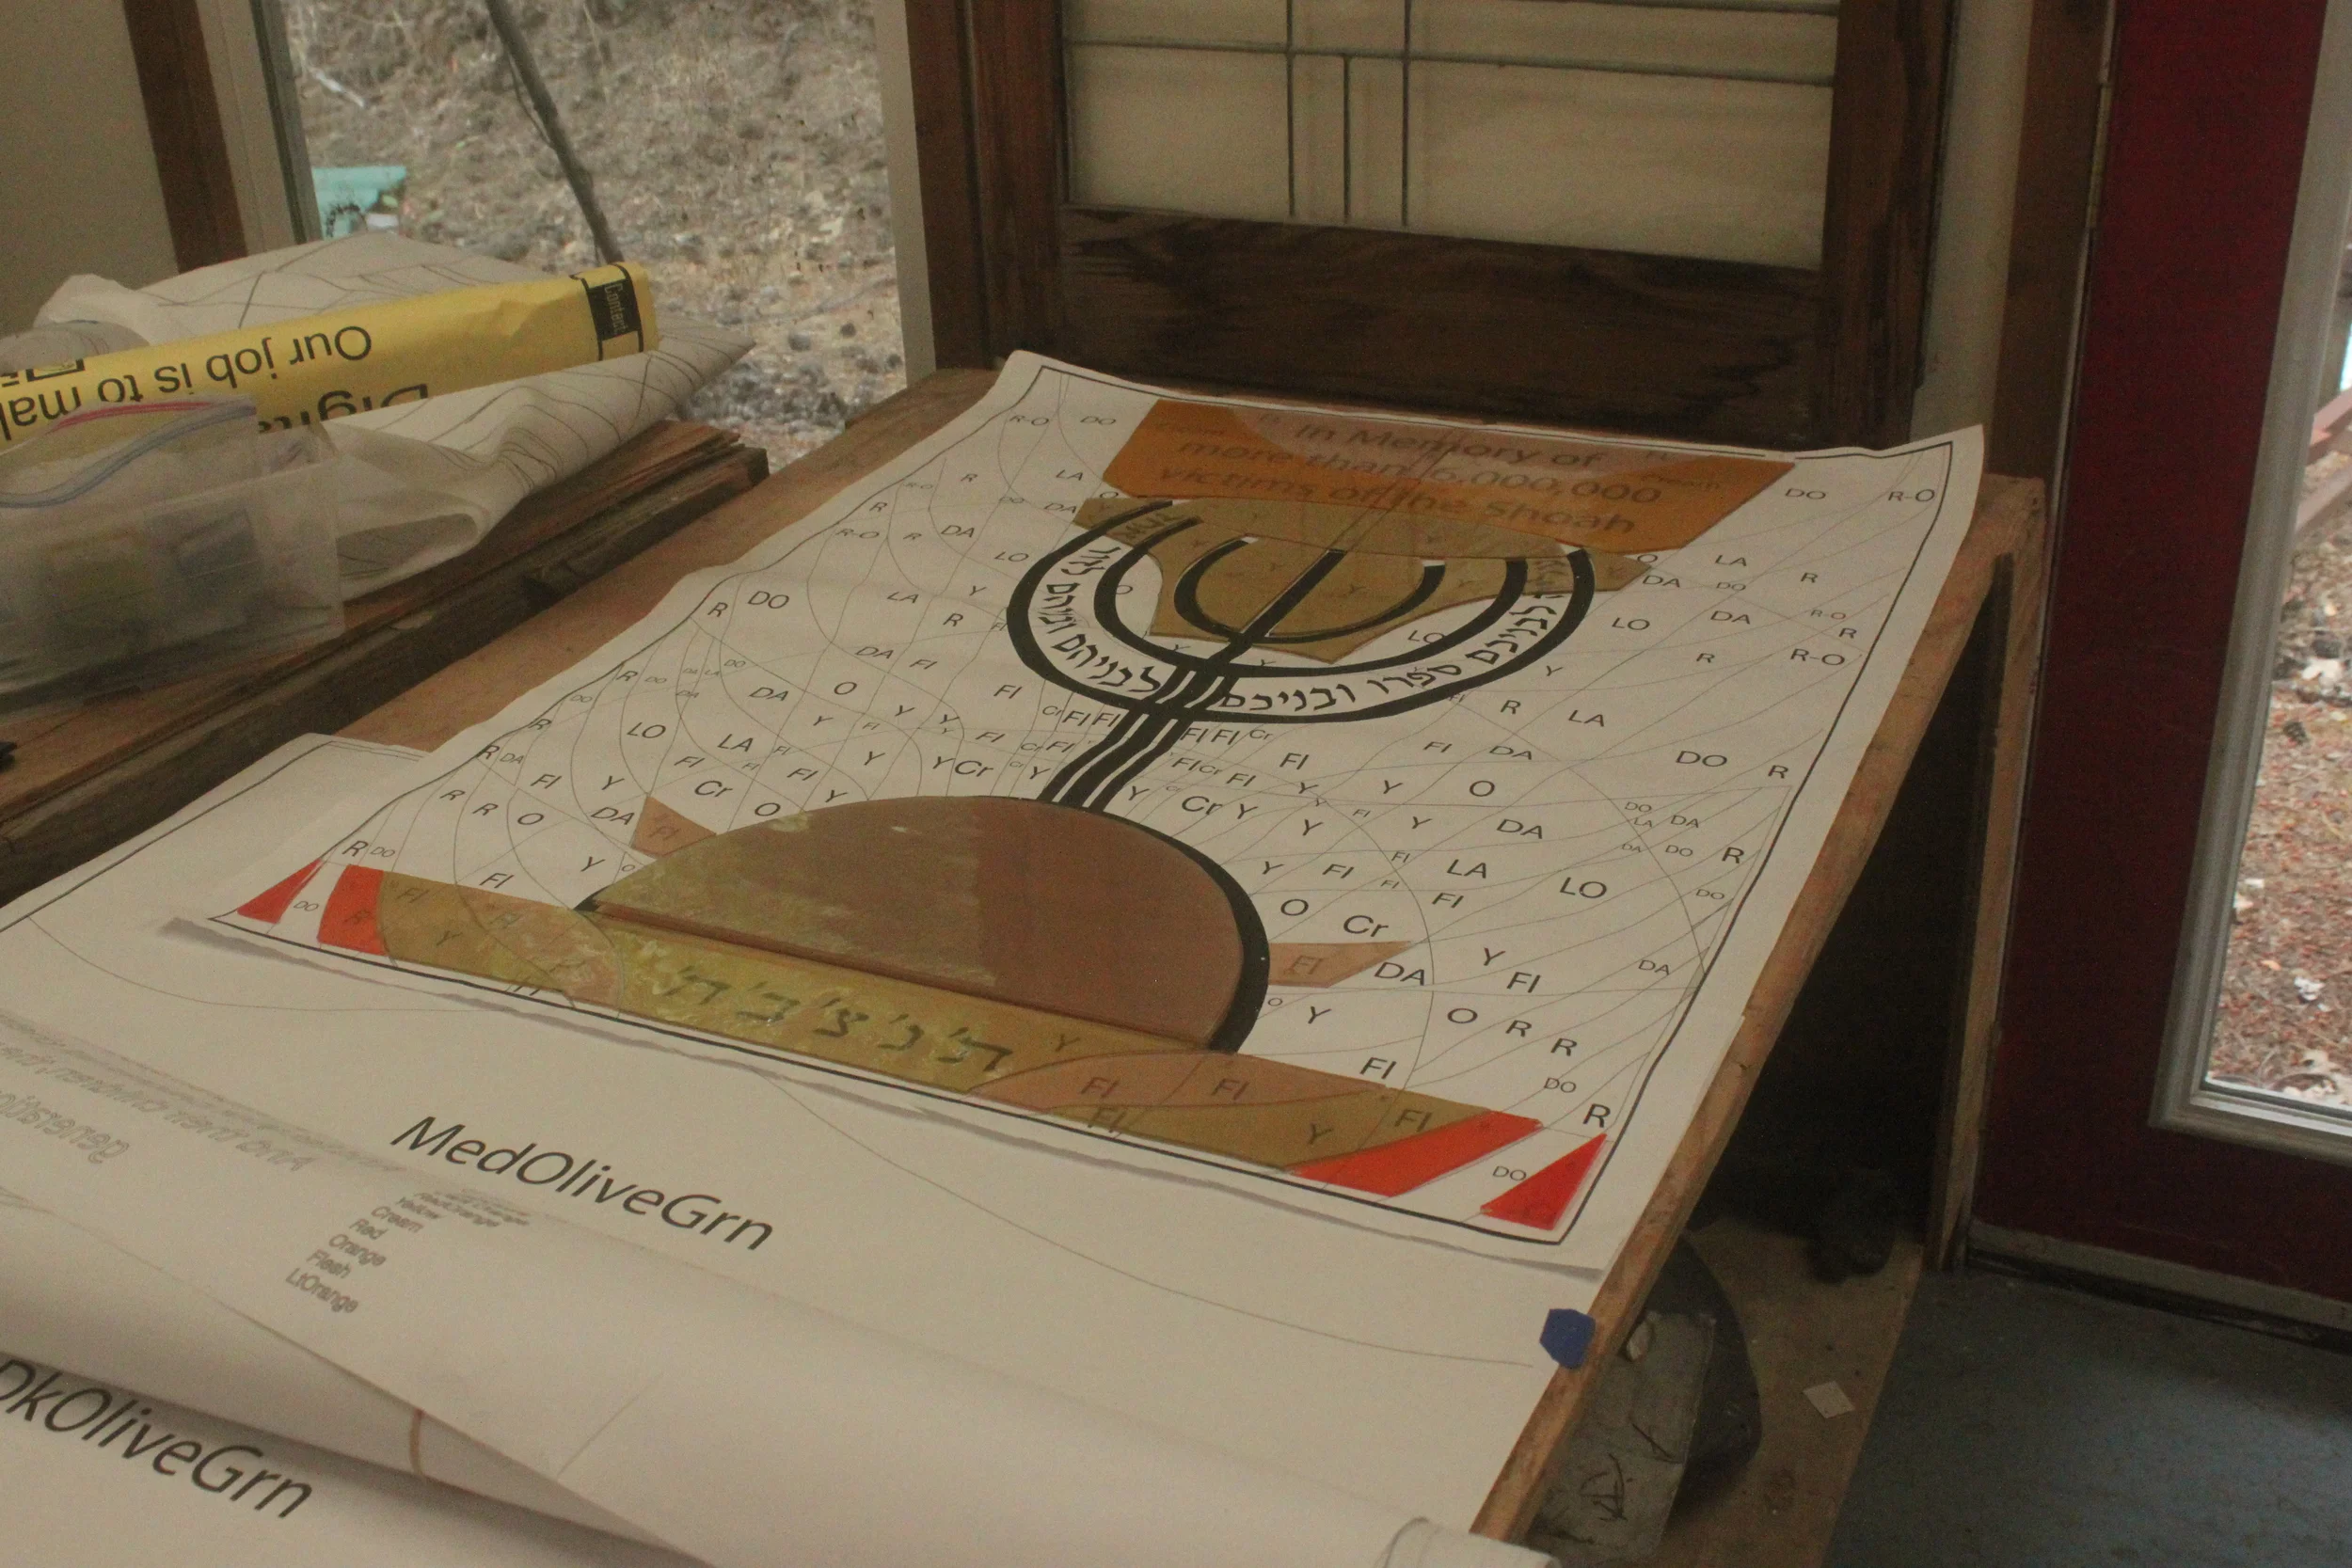
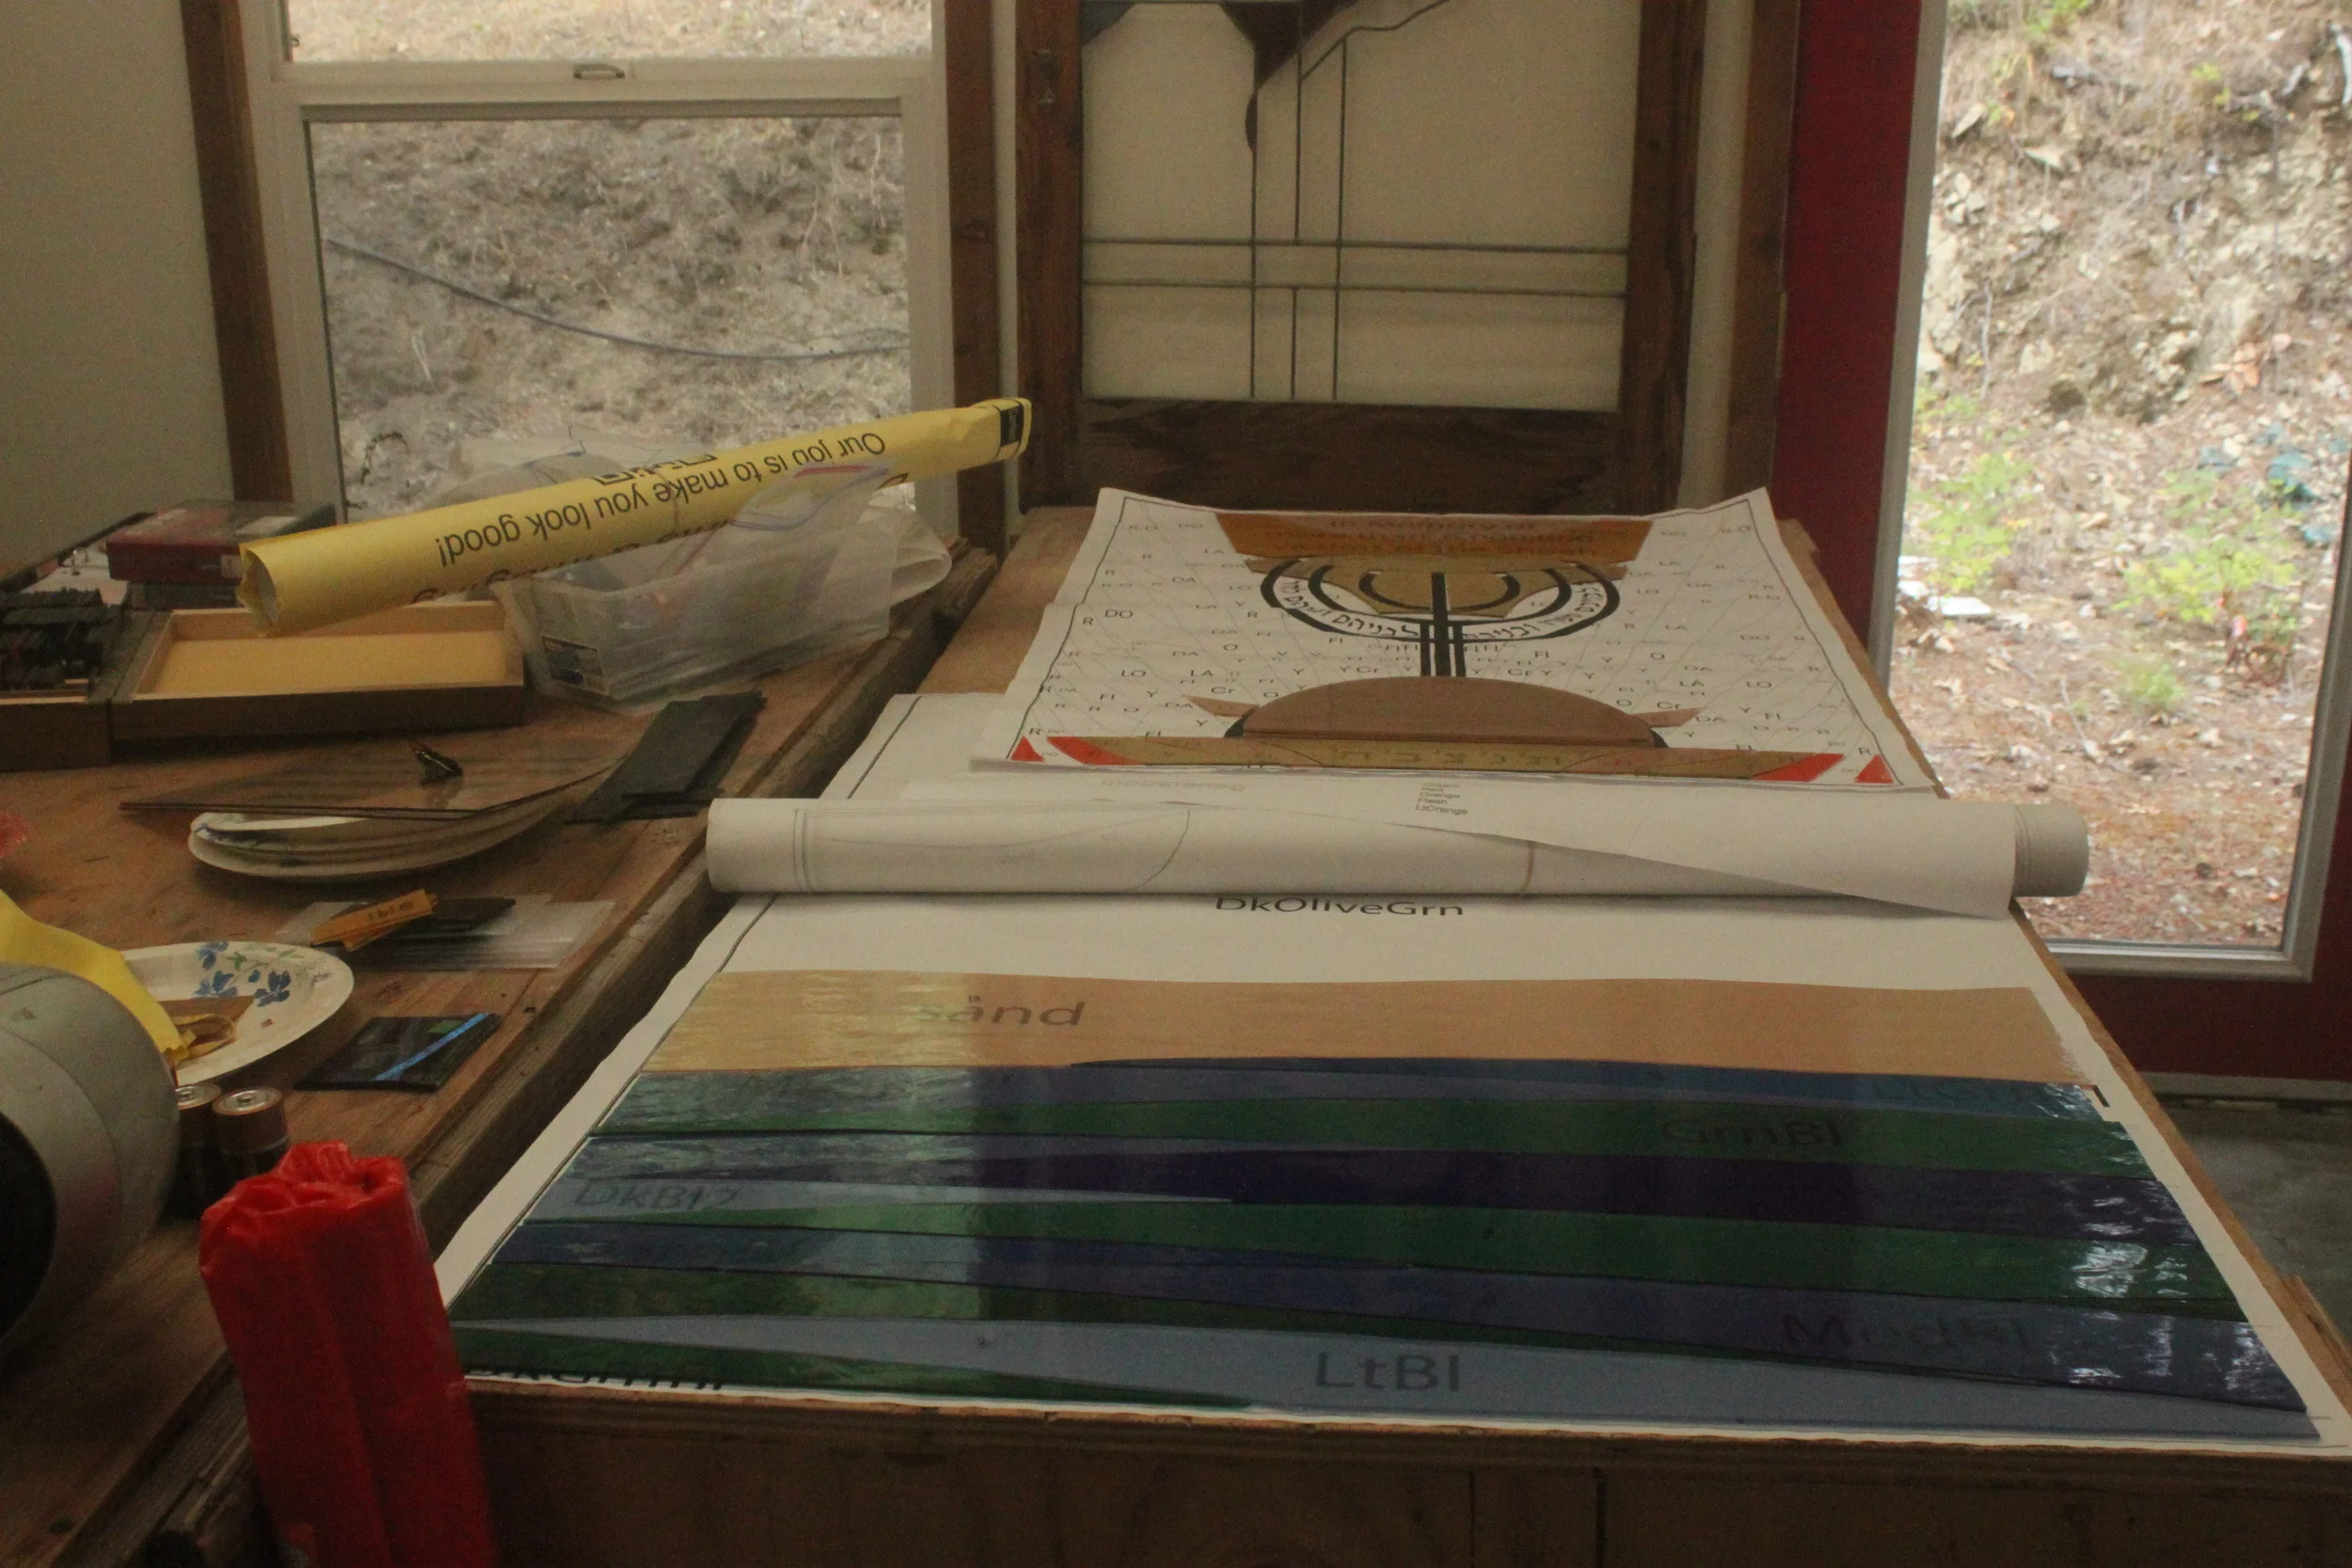
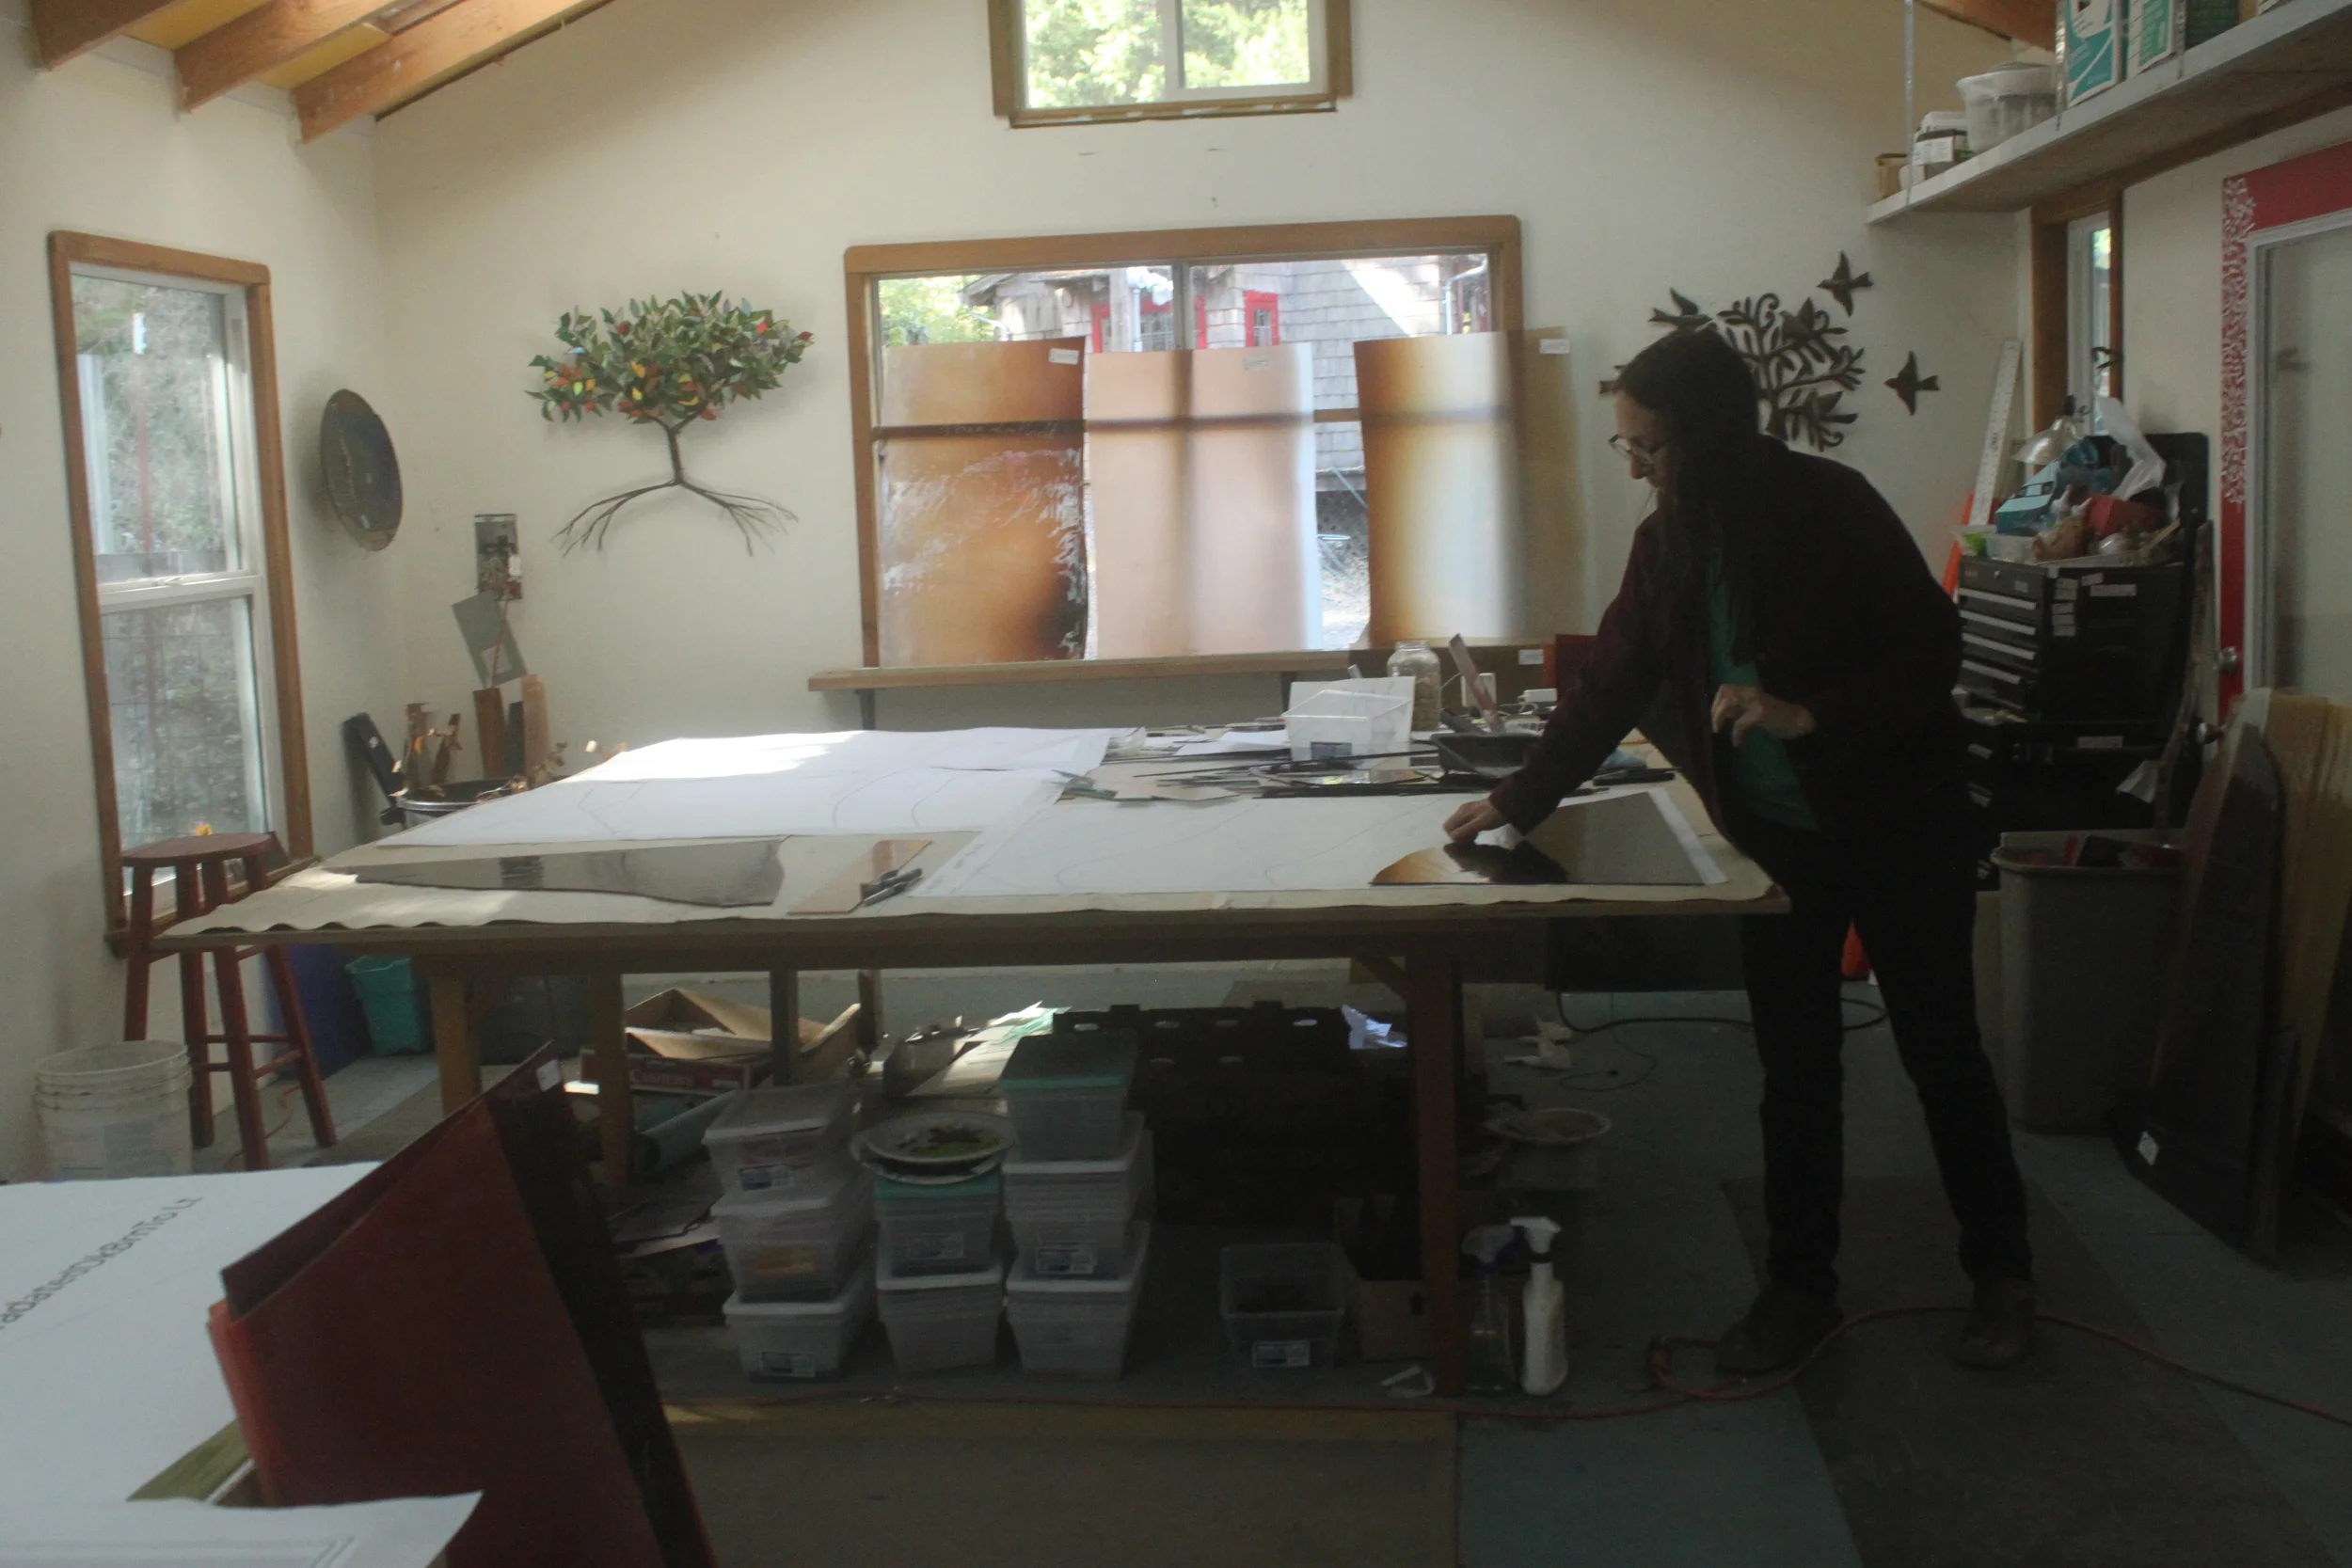
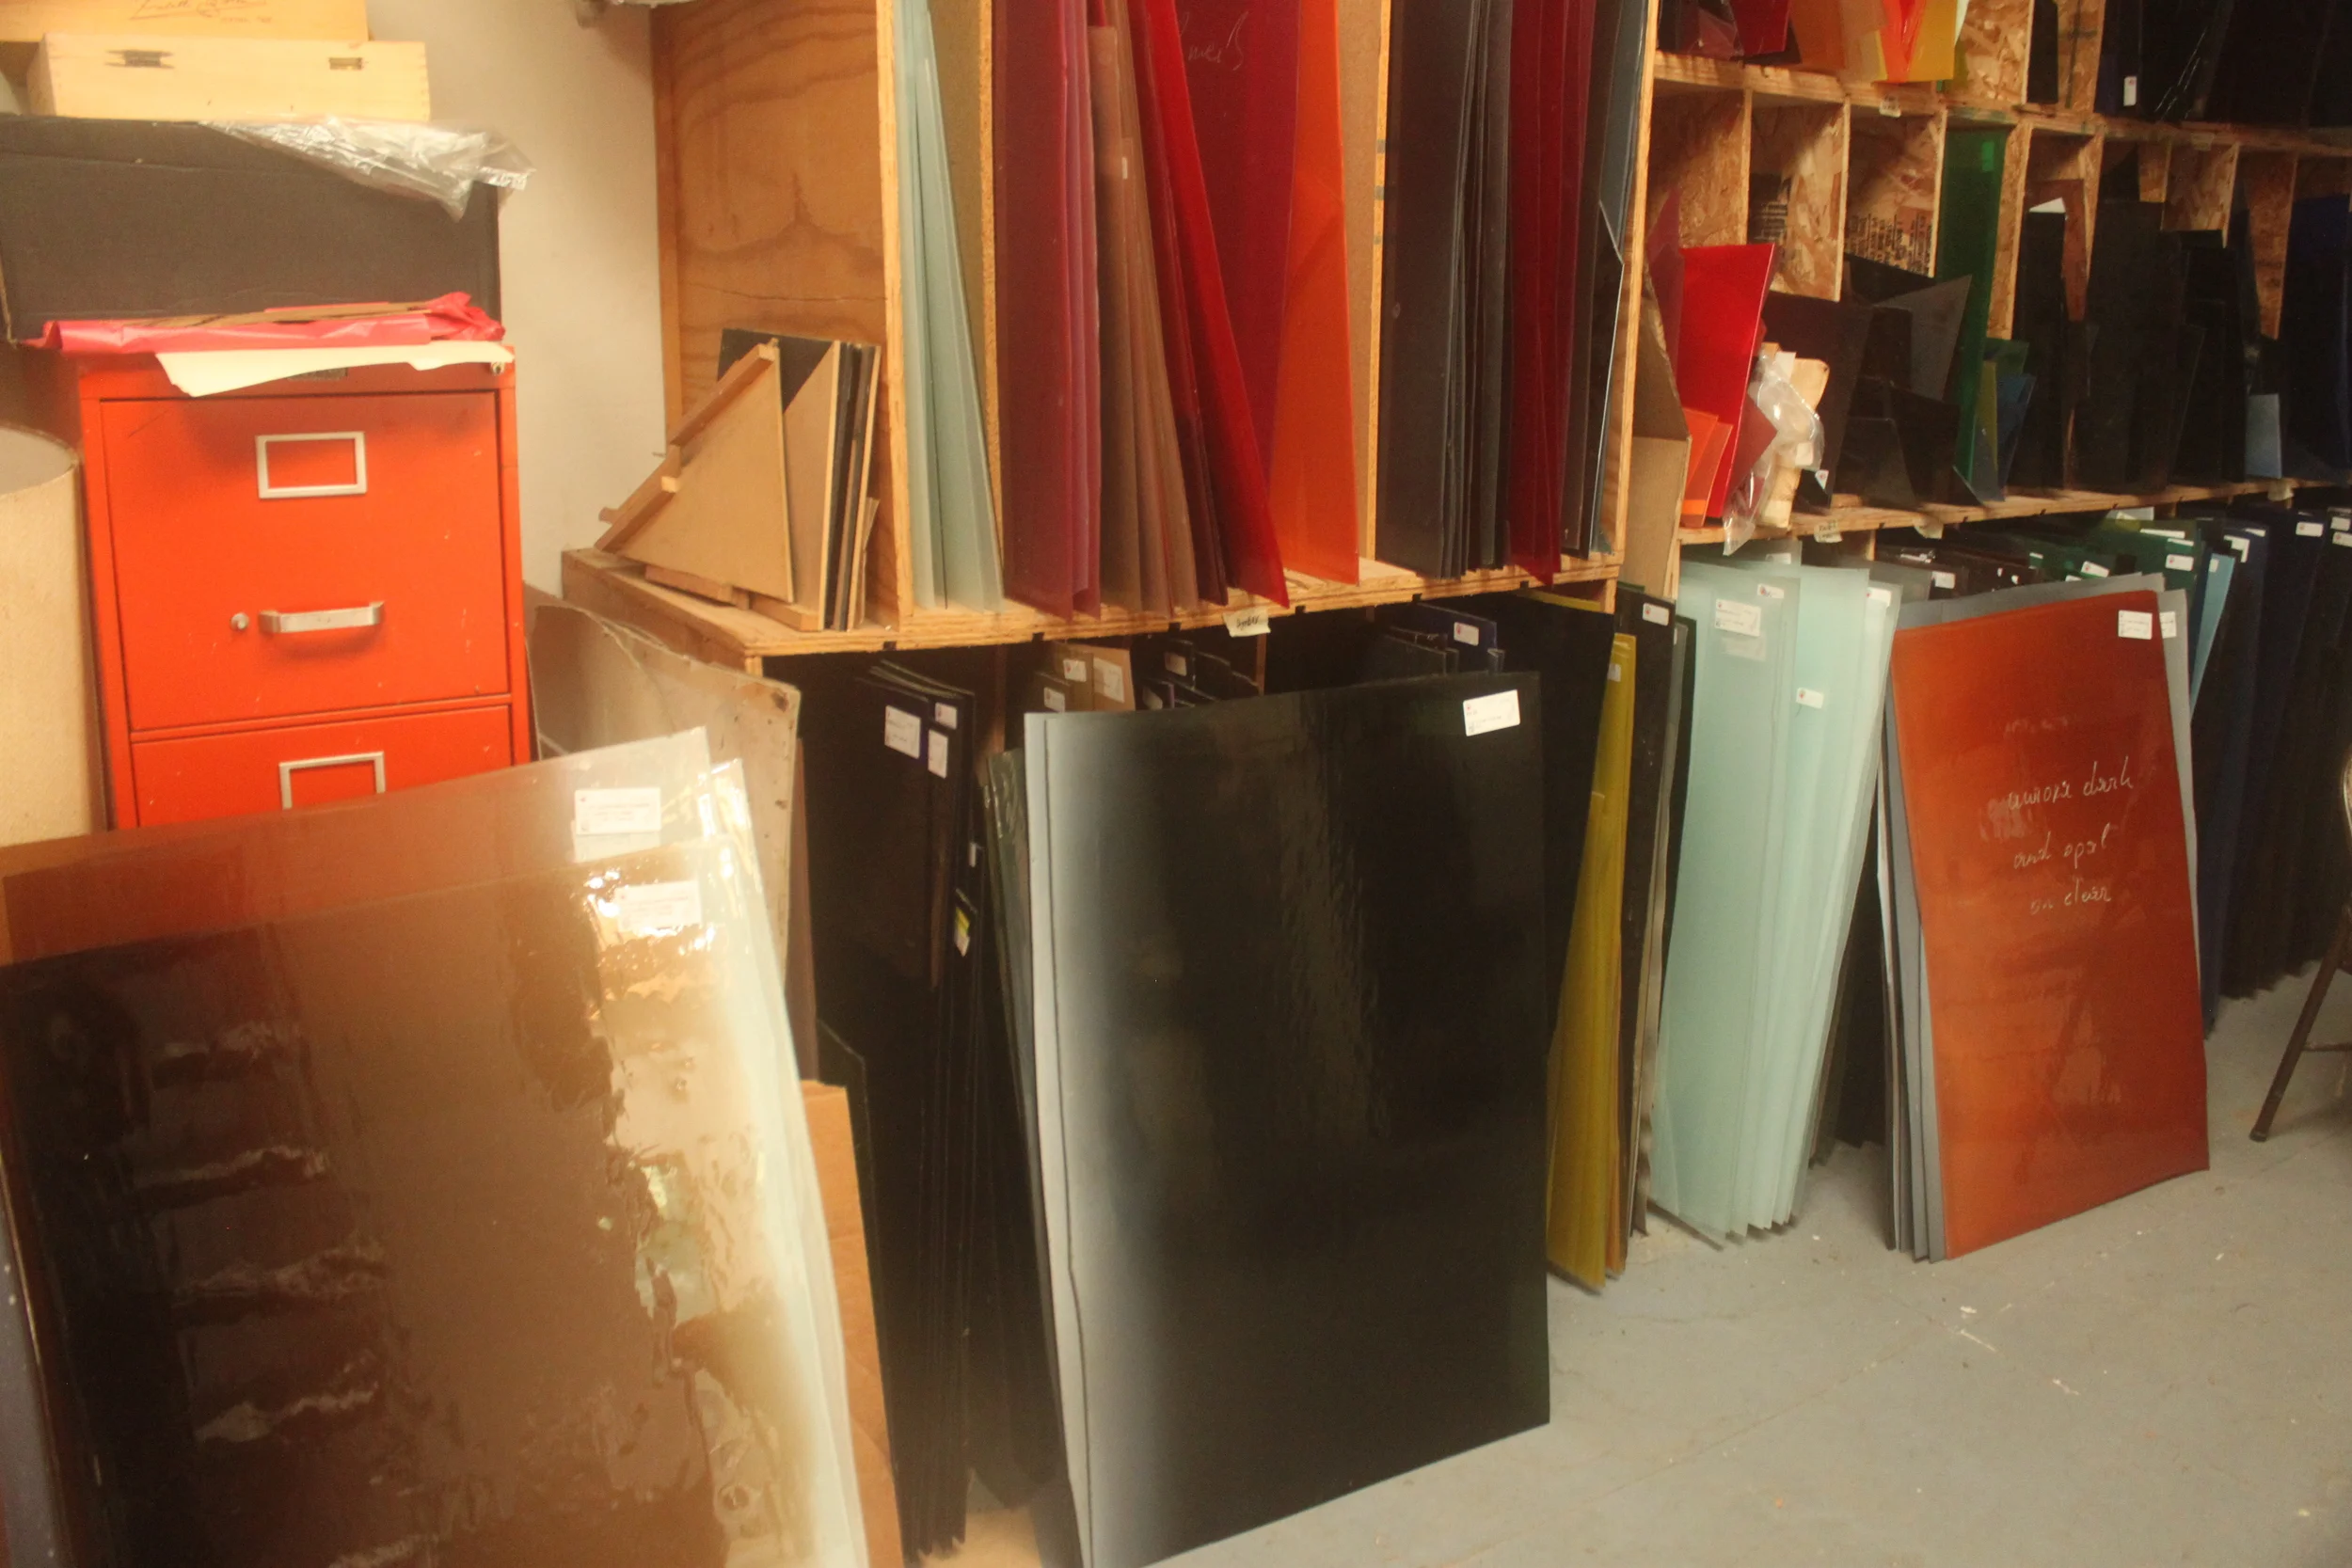
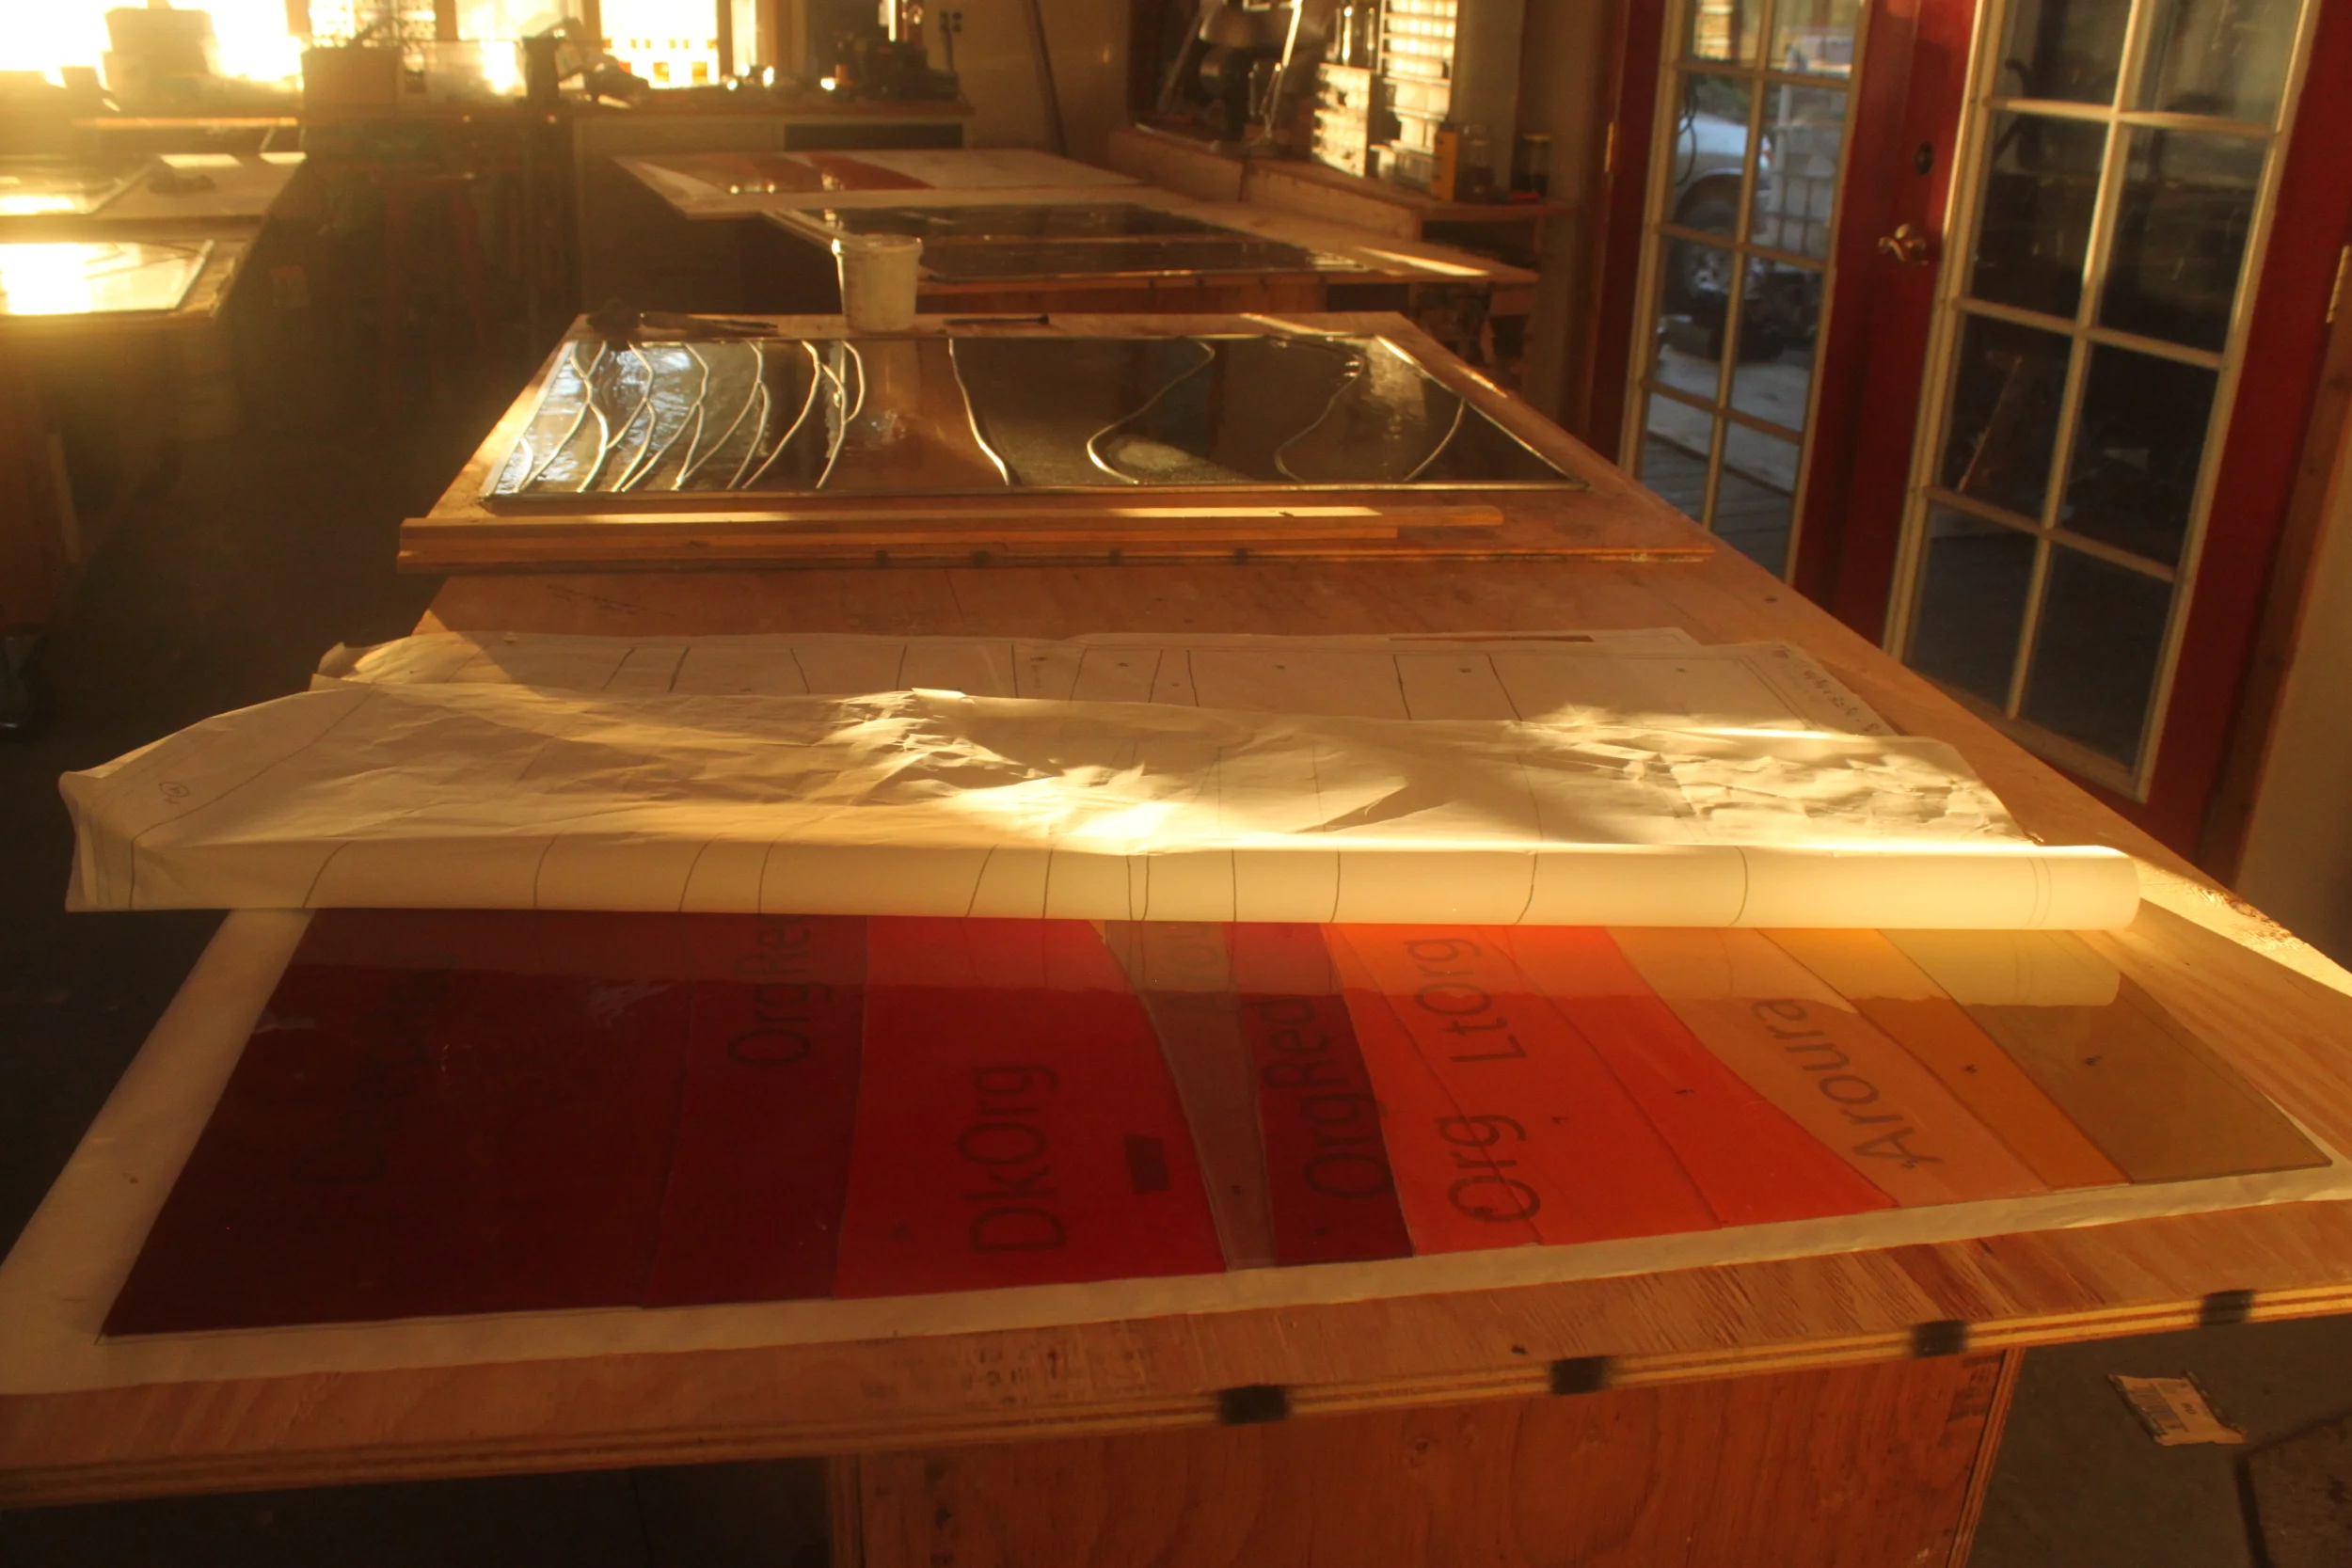
Making the pattern, choosing the glass.

5
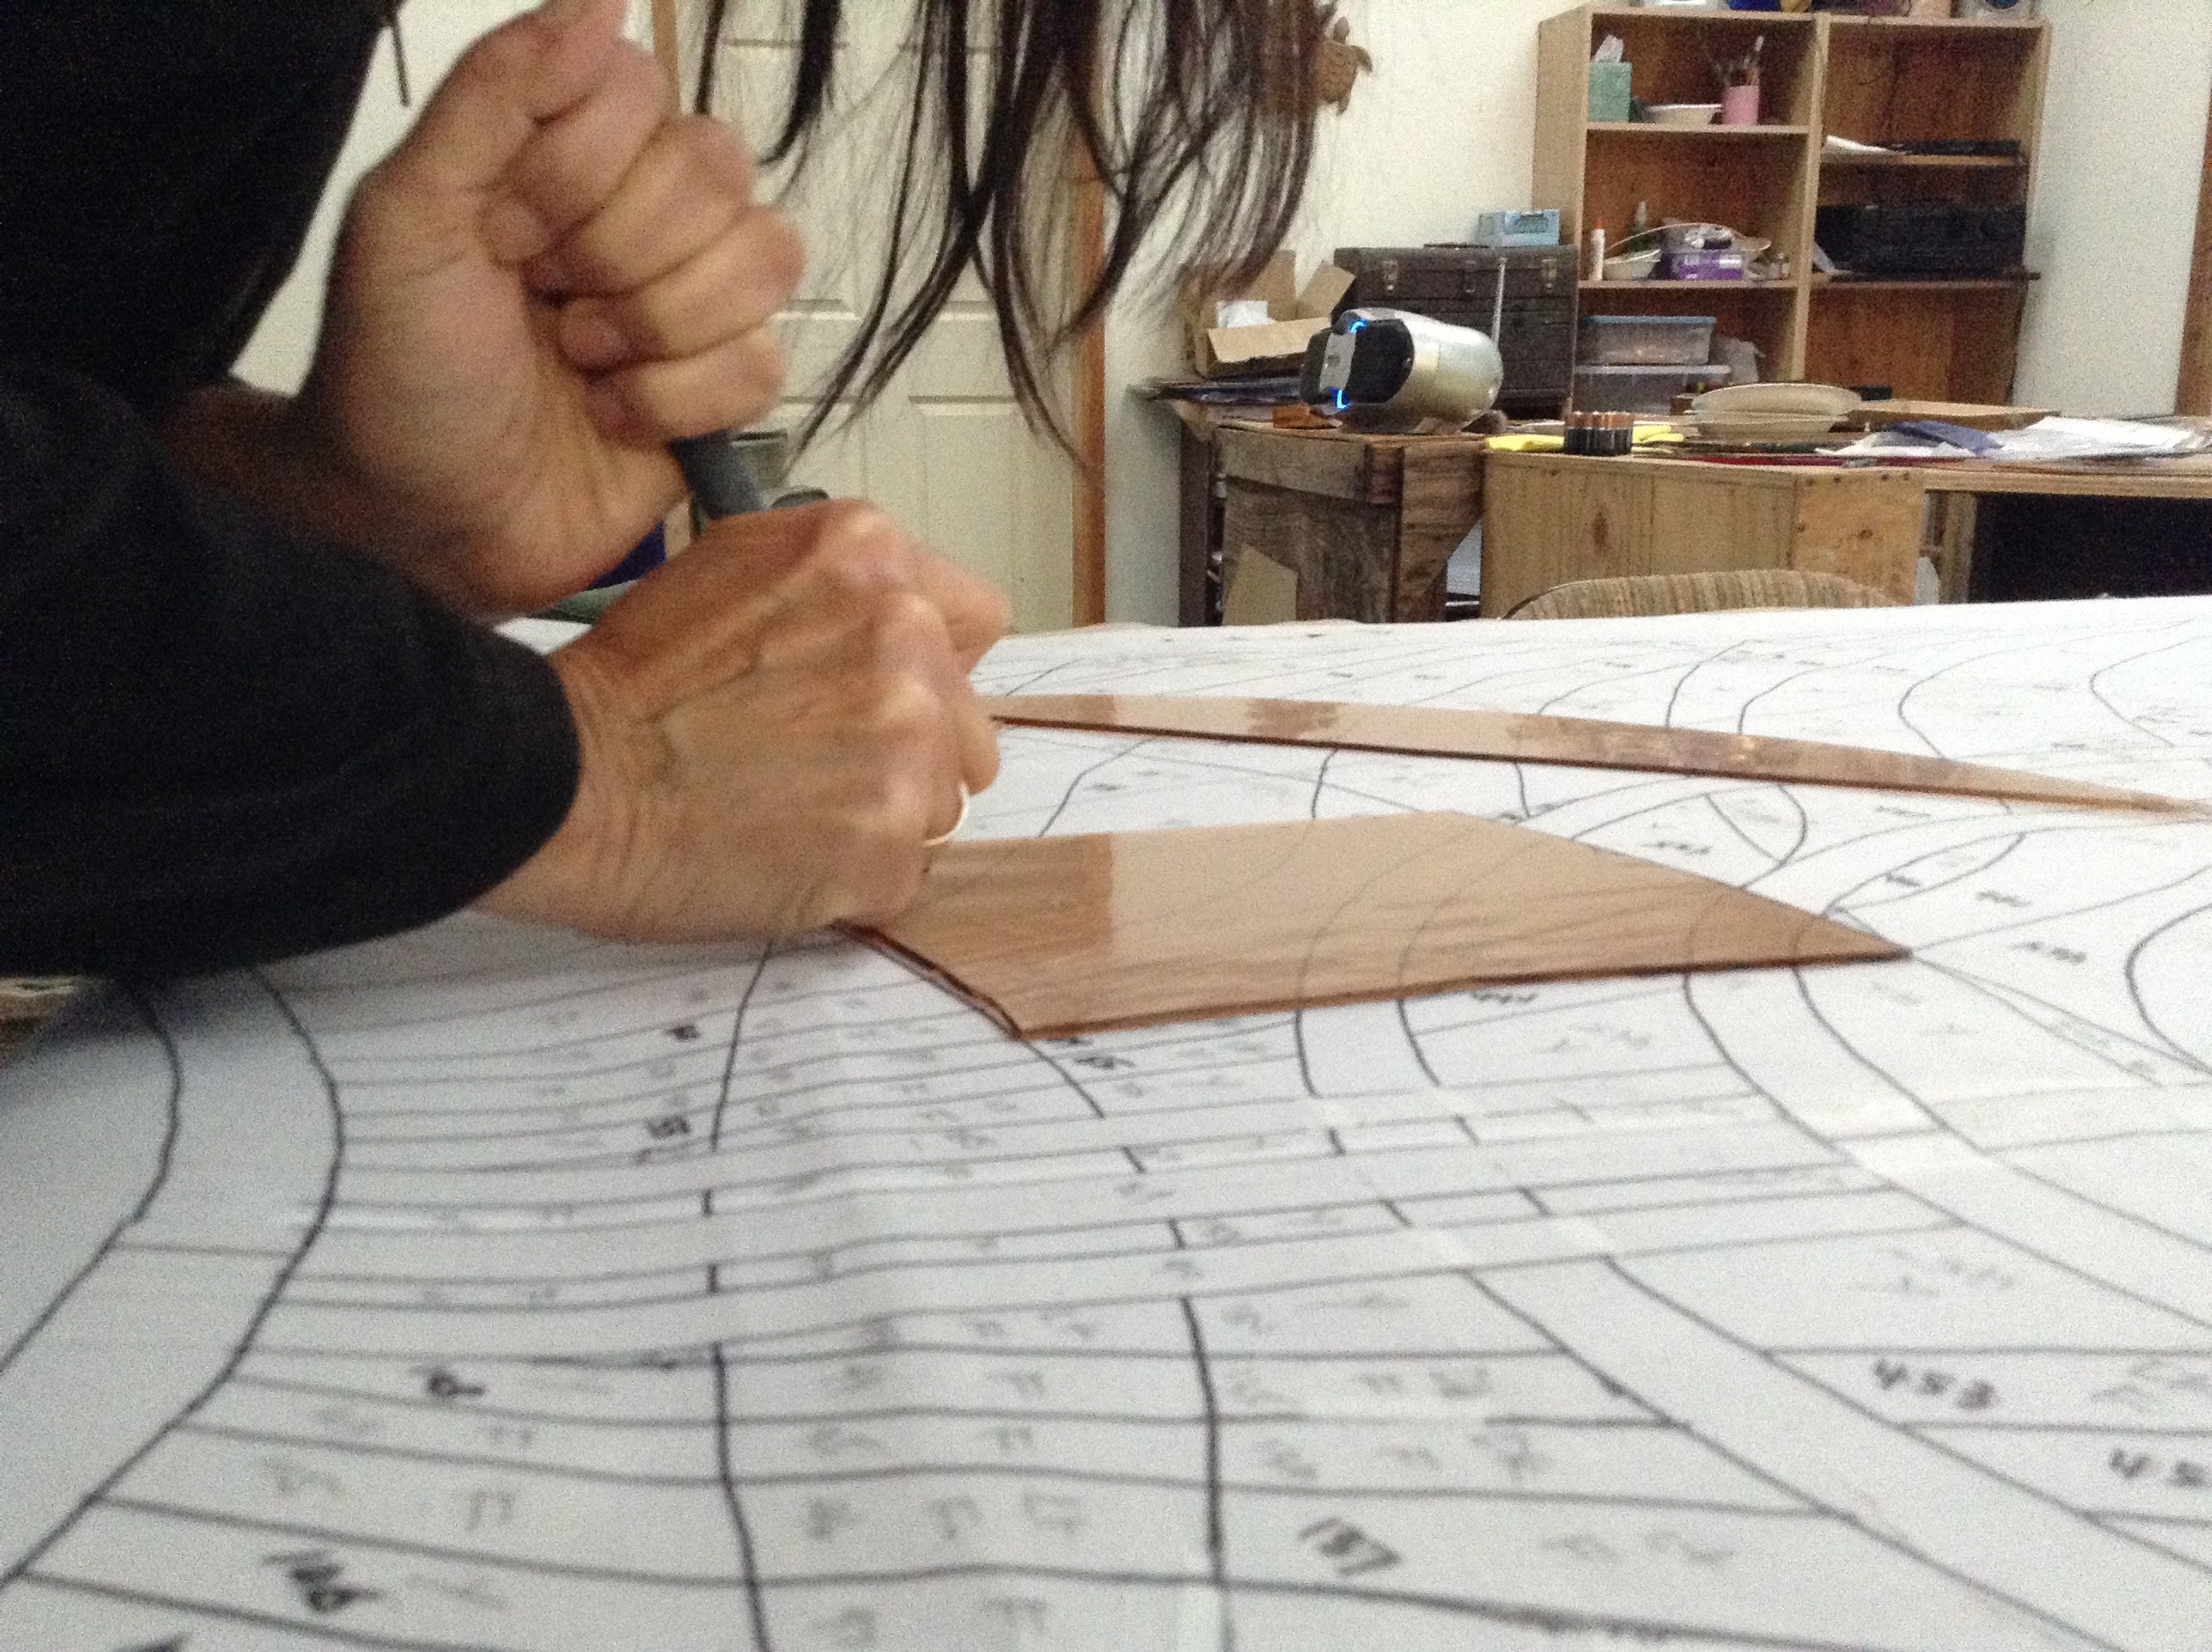
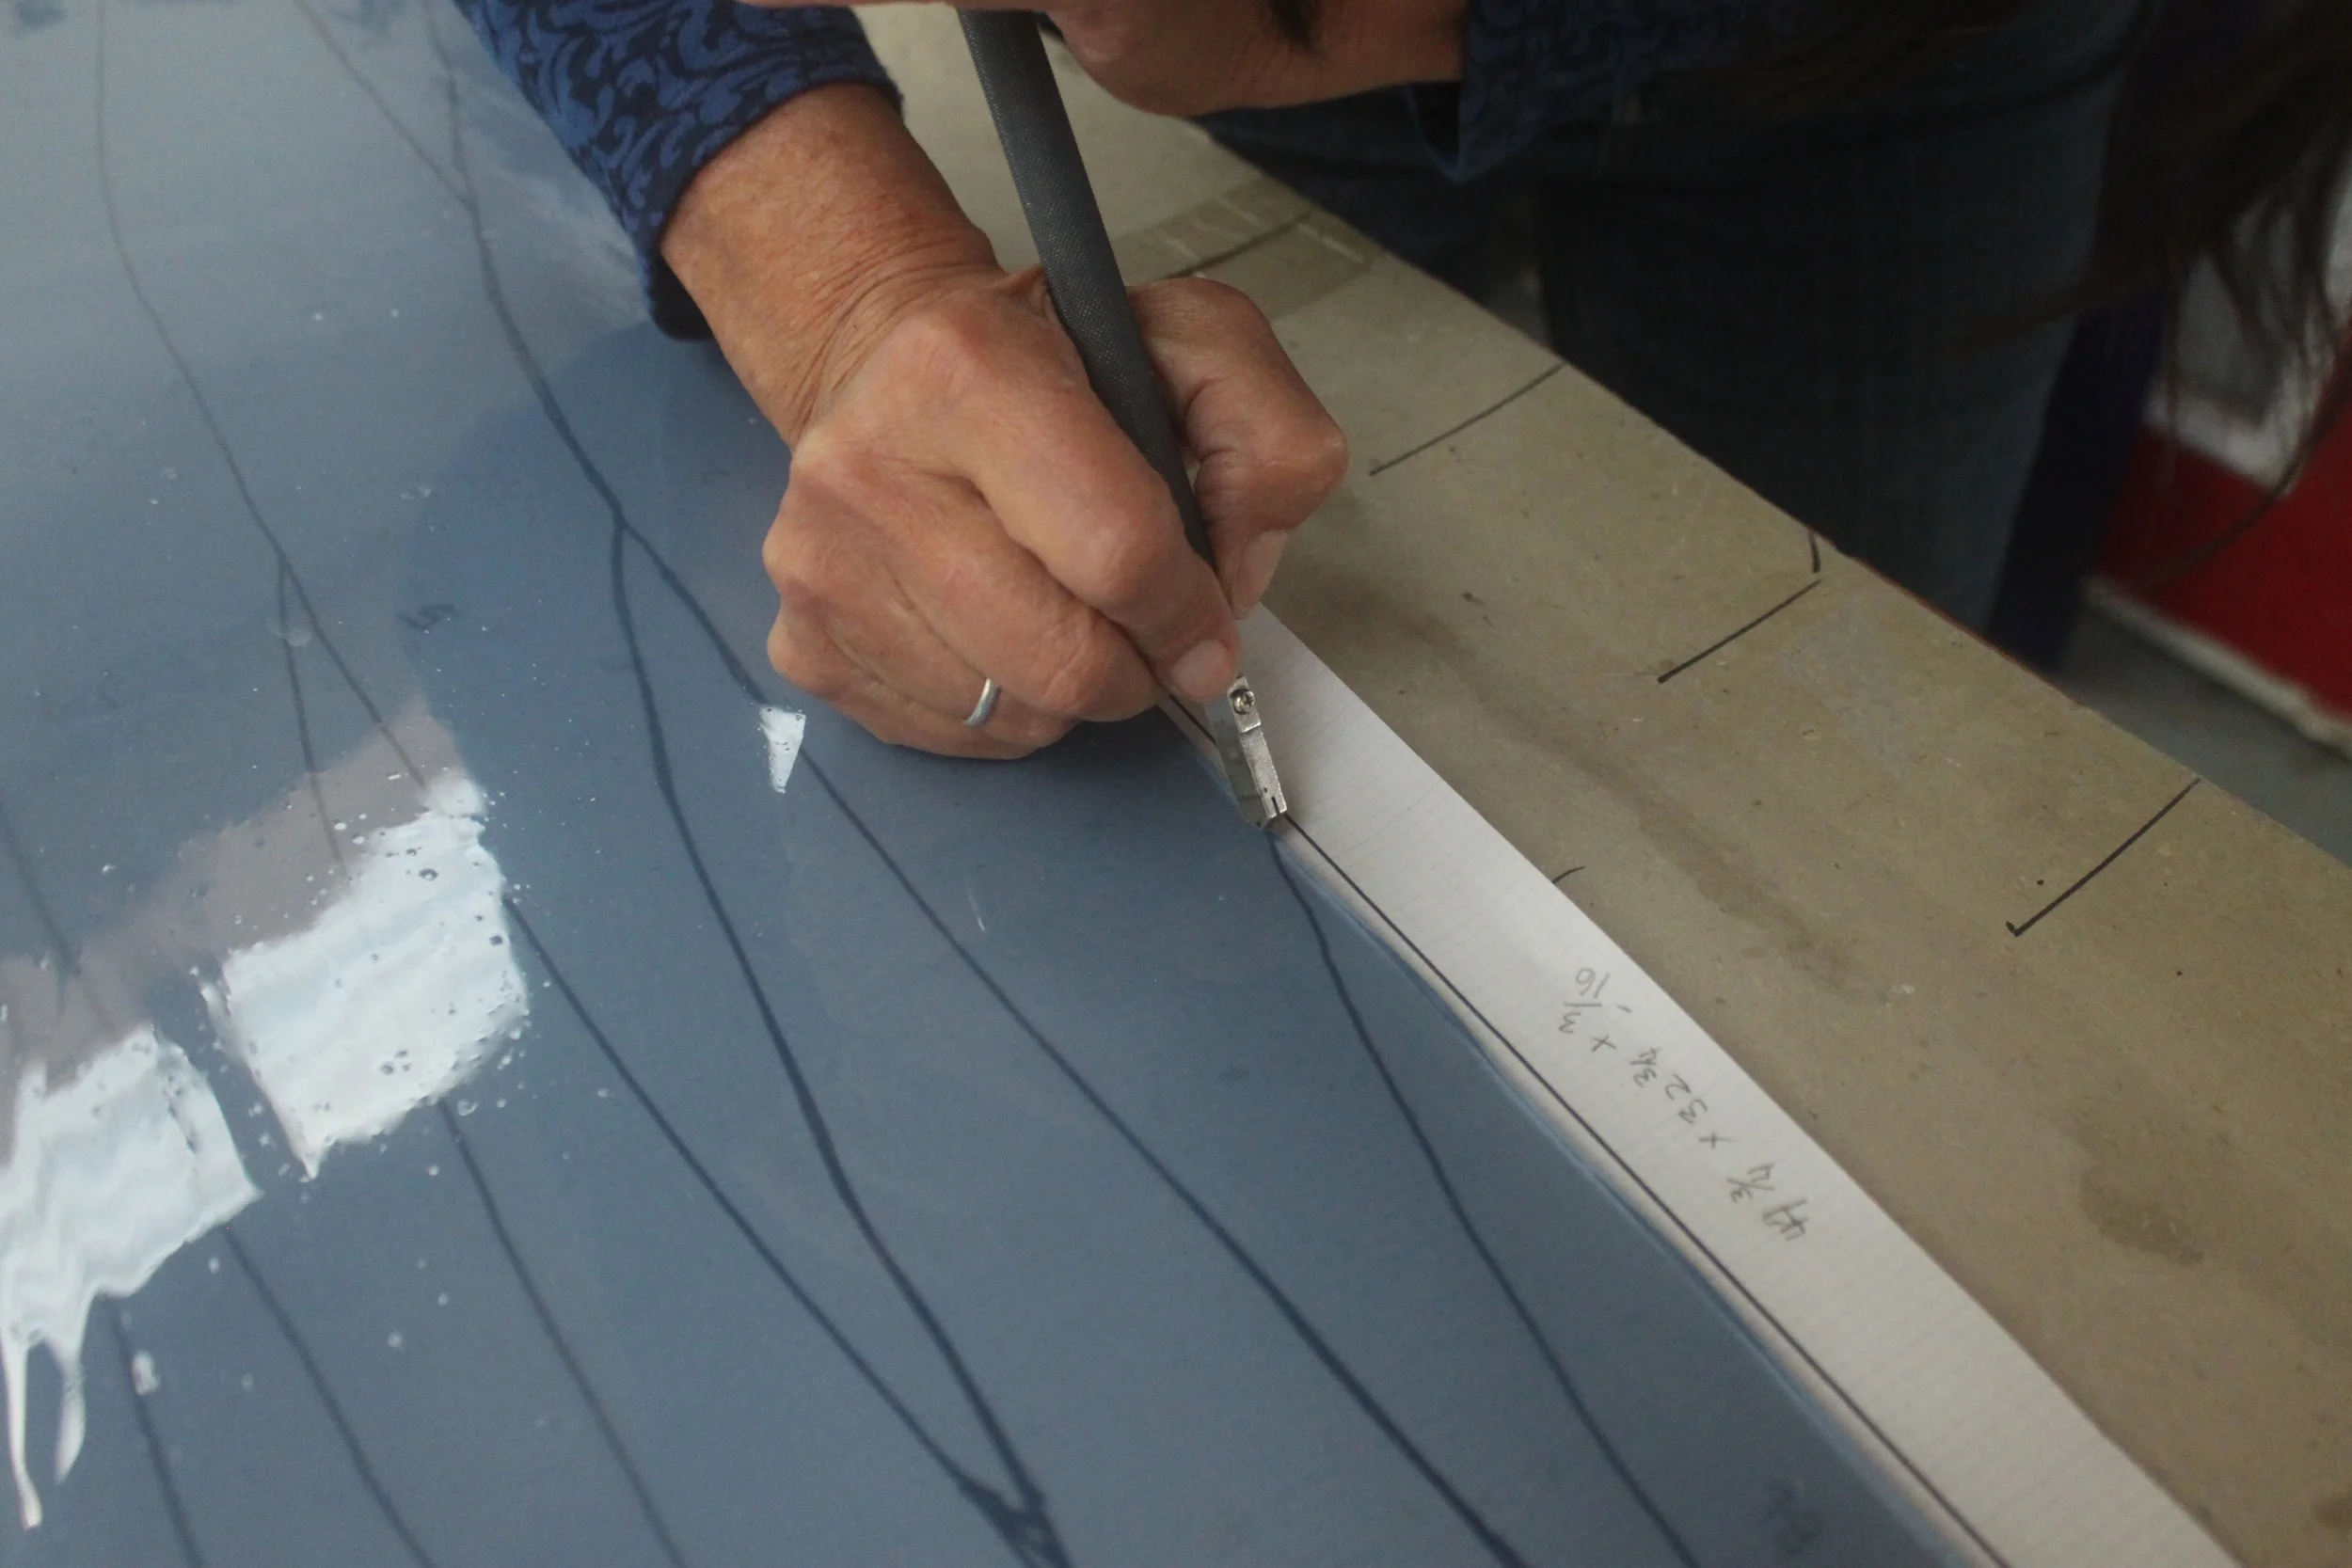
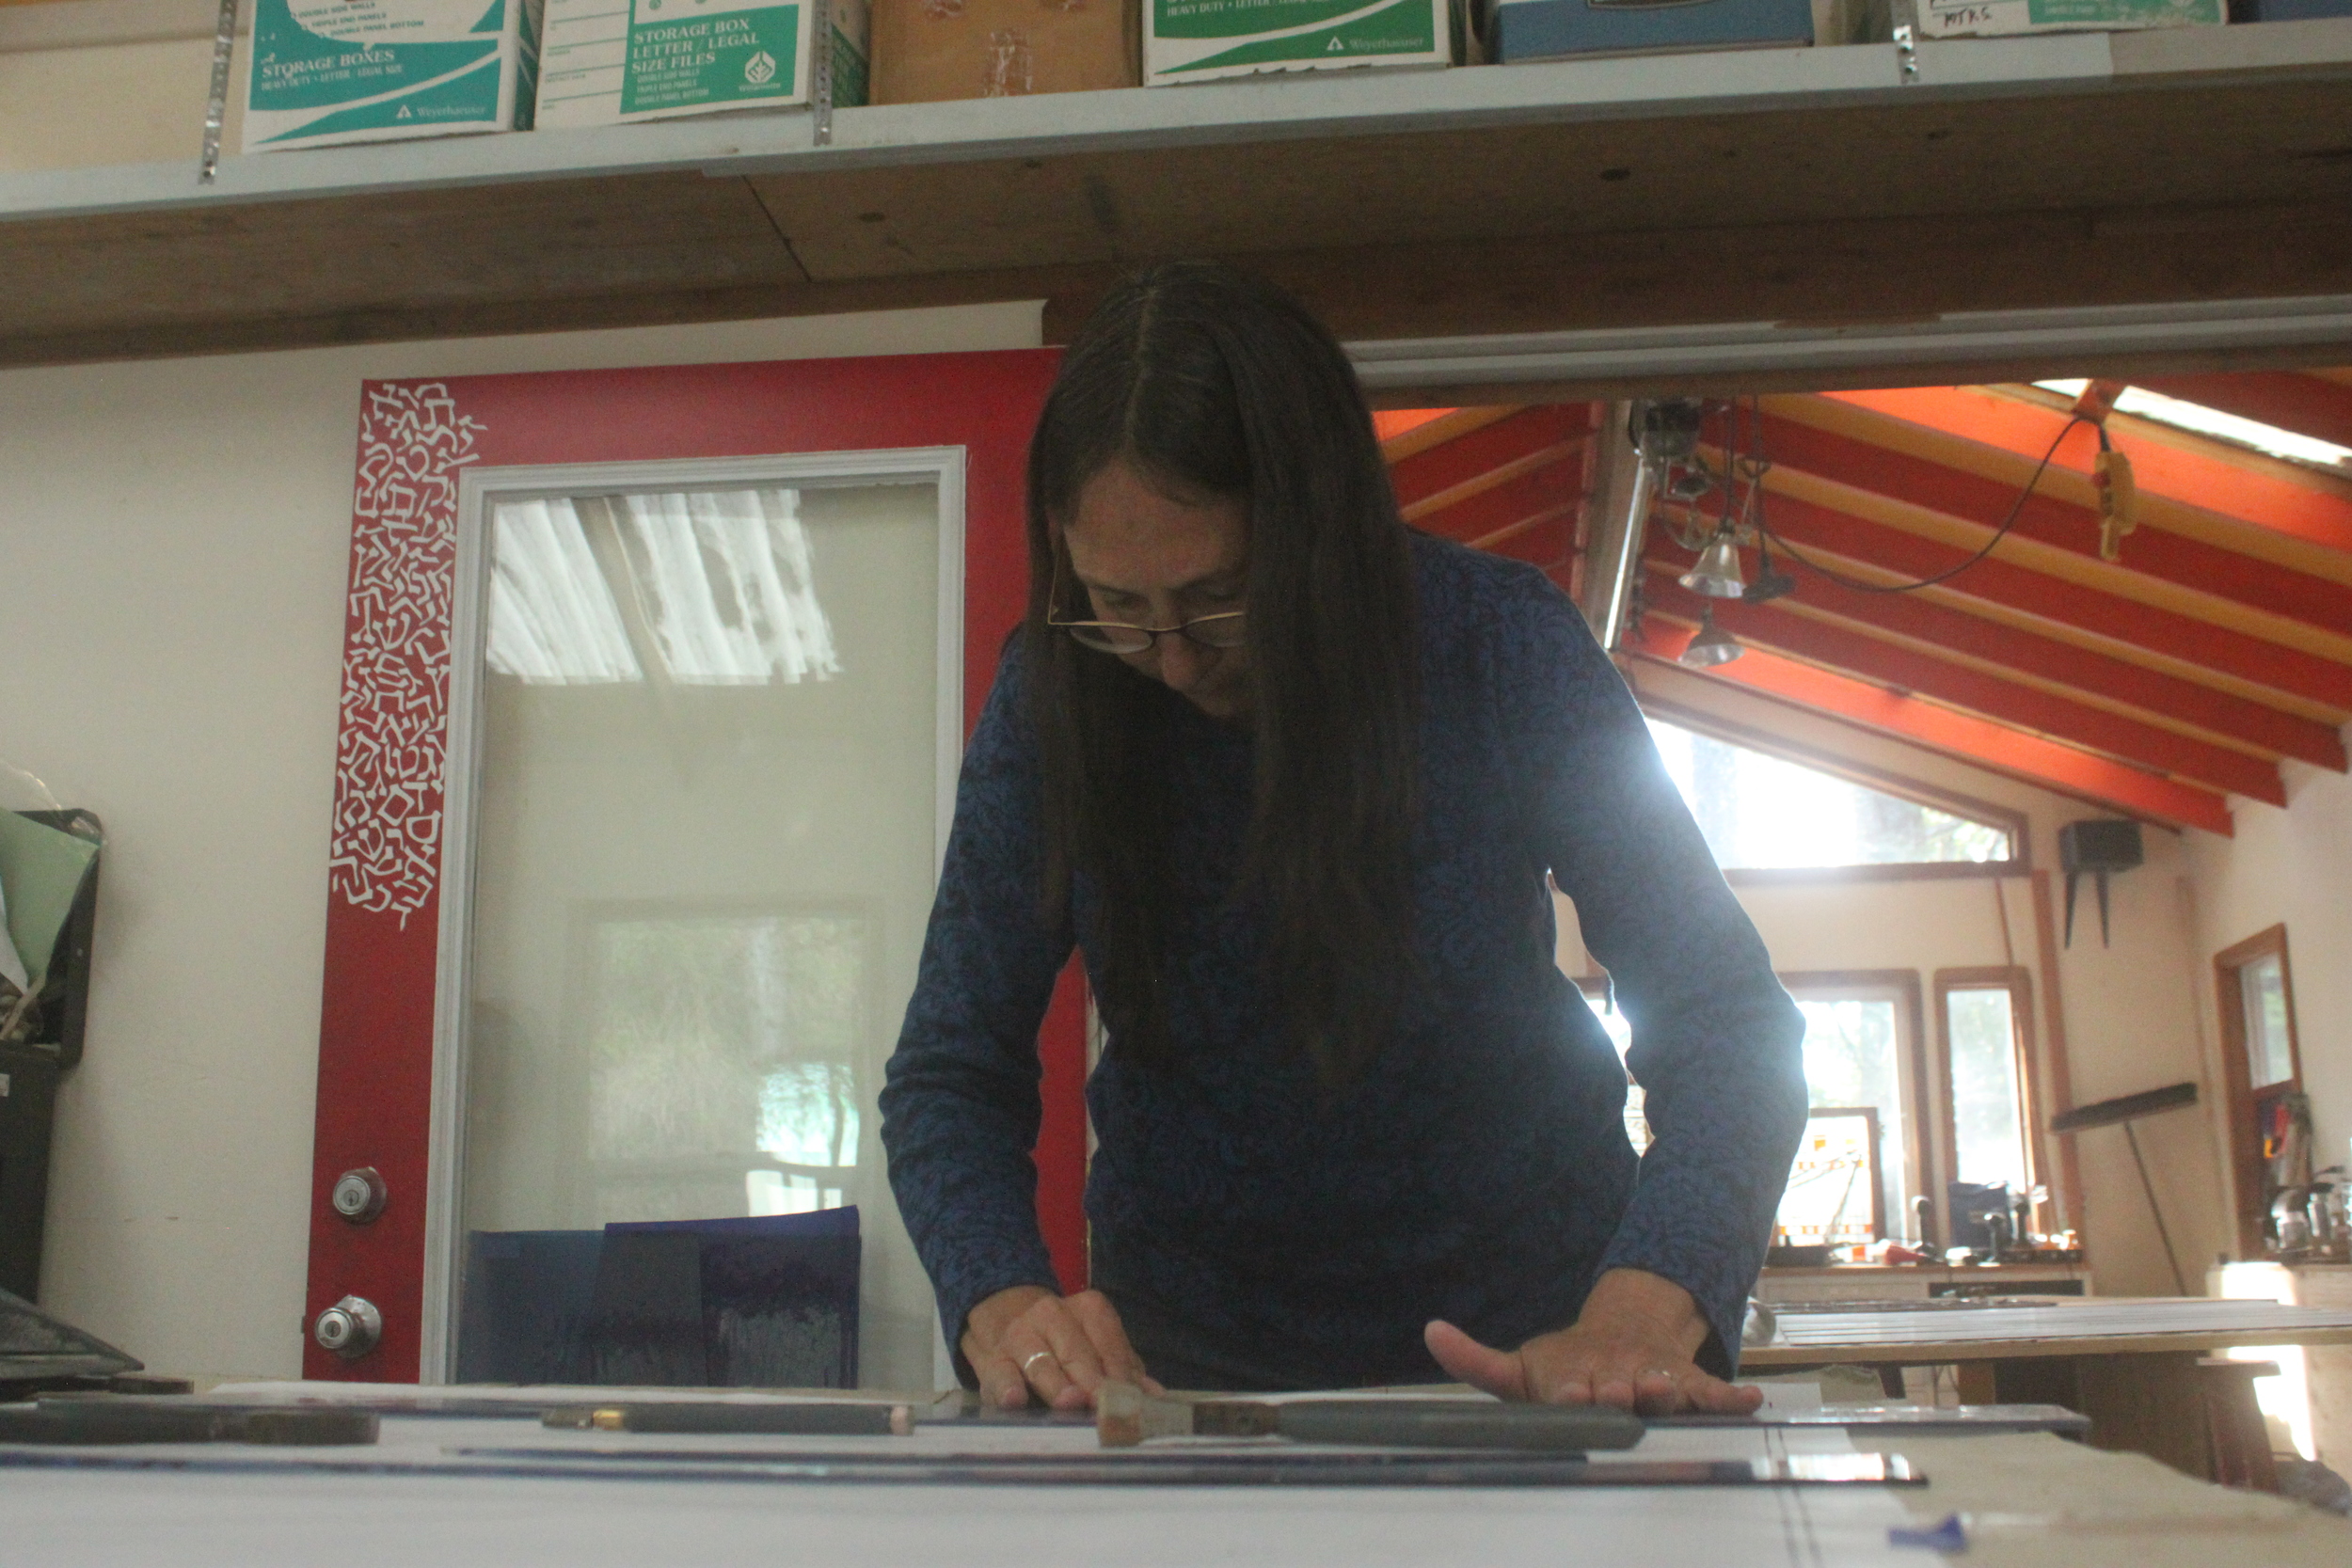
Cutting the glass

6
Glass cutting continues

6
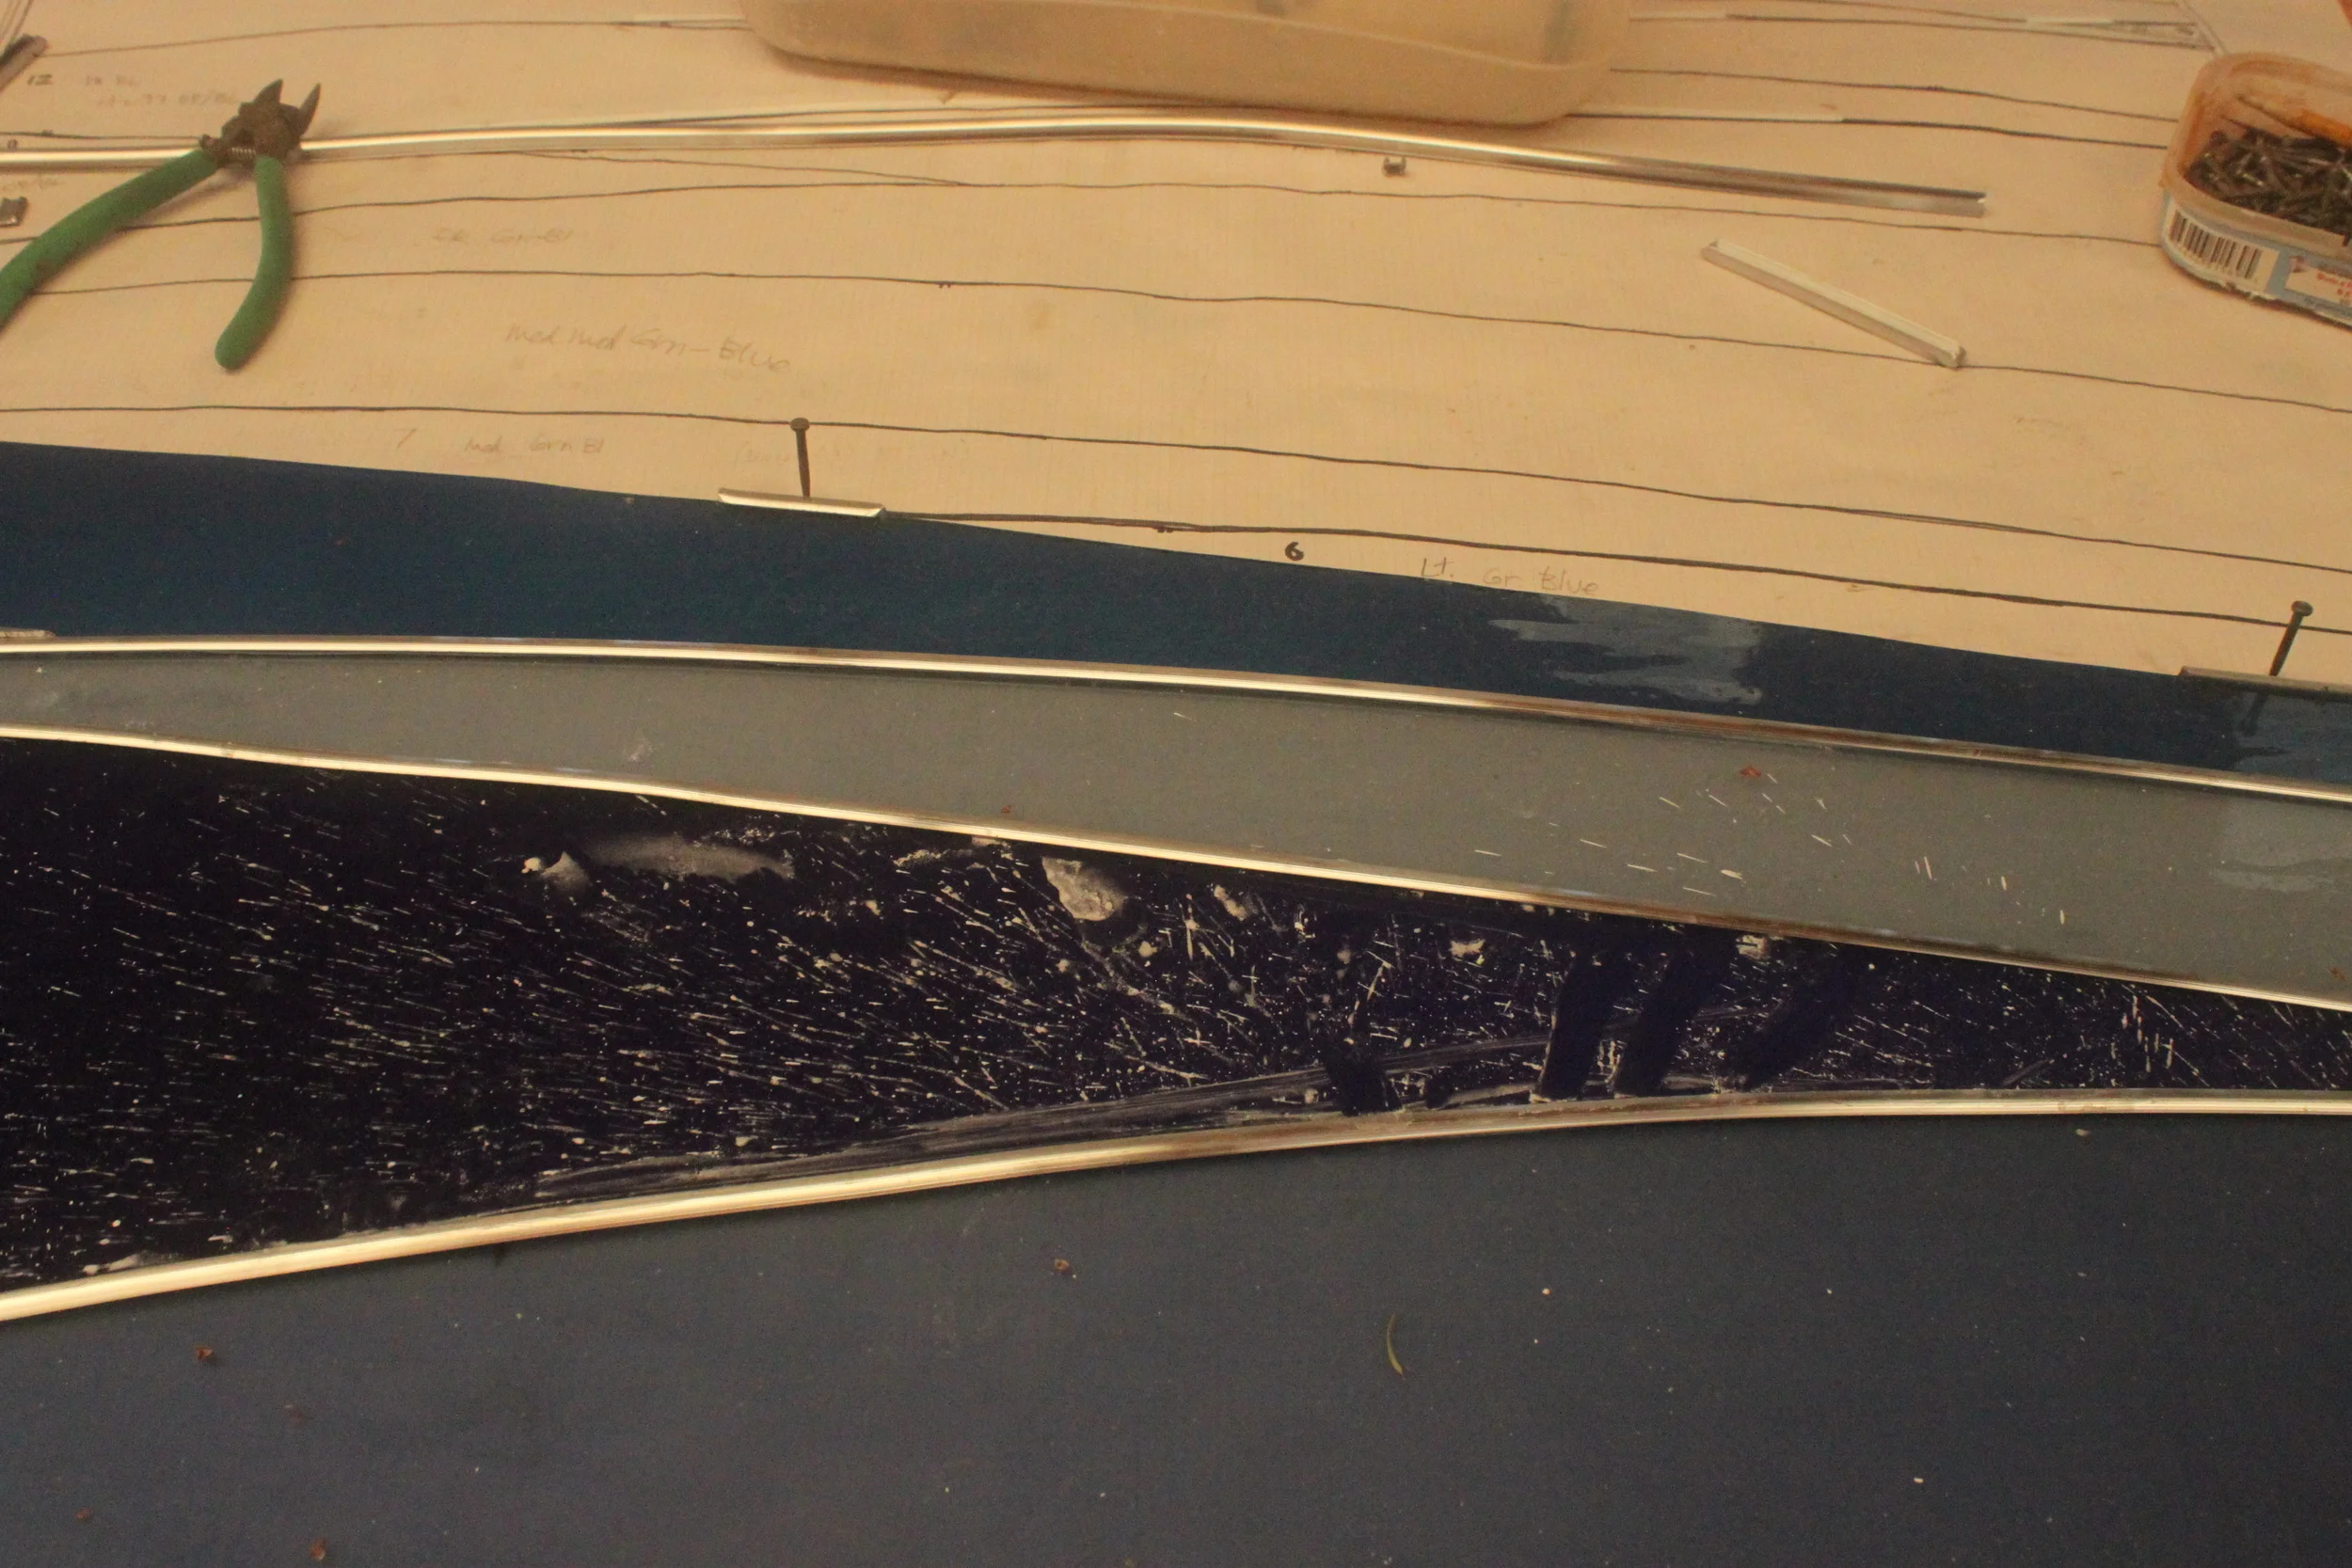
Preparation of pieces for painting

2
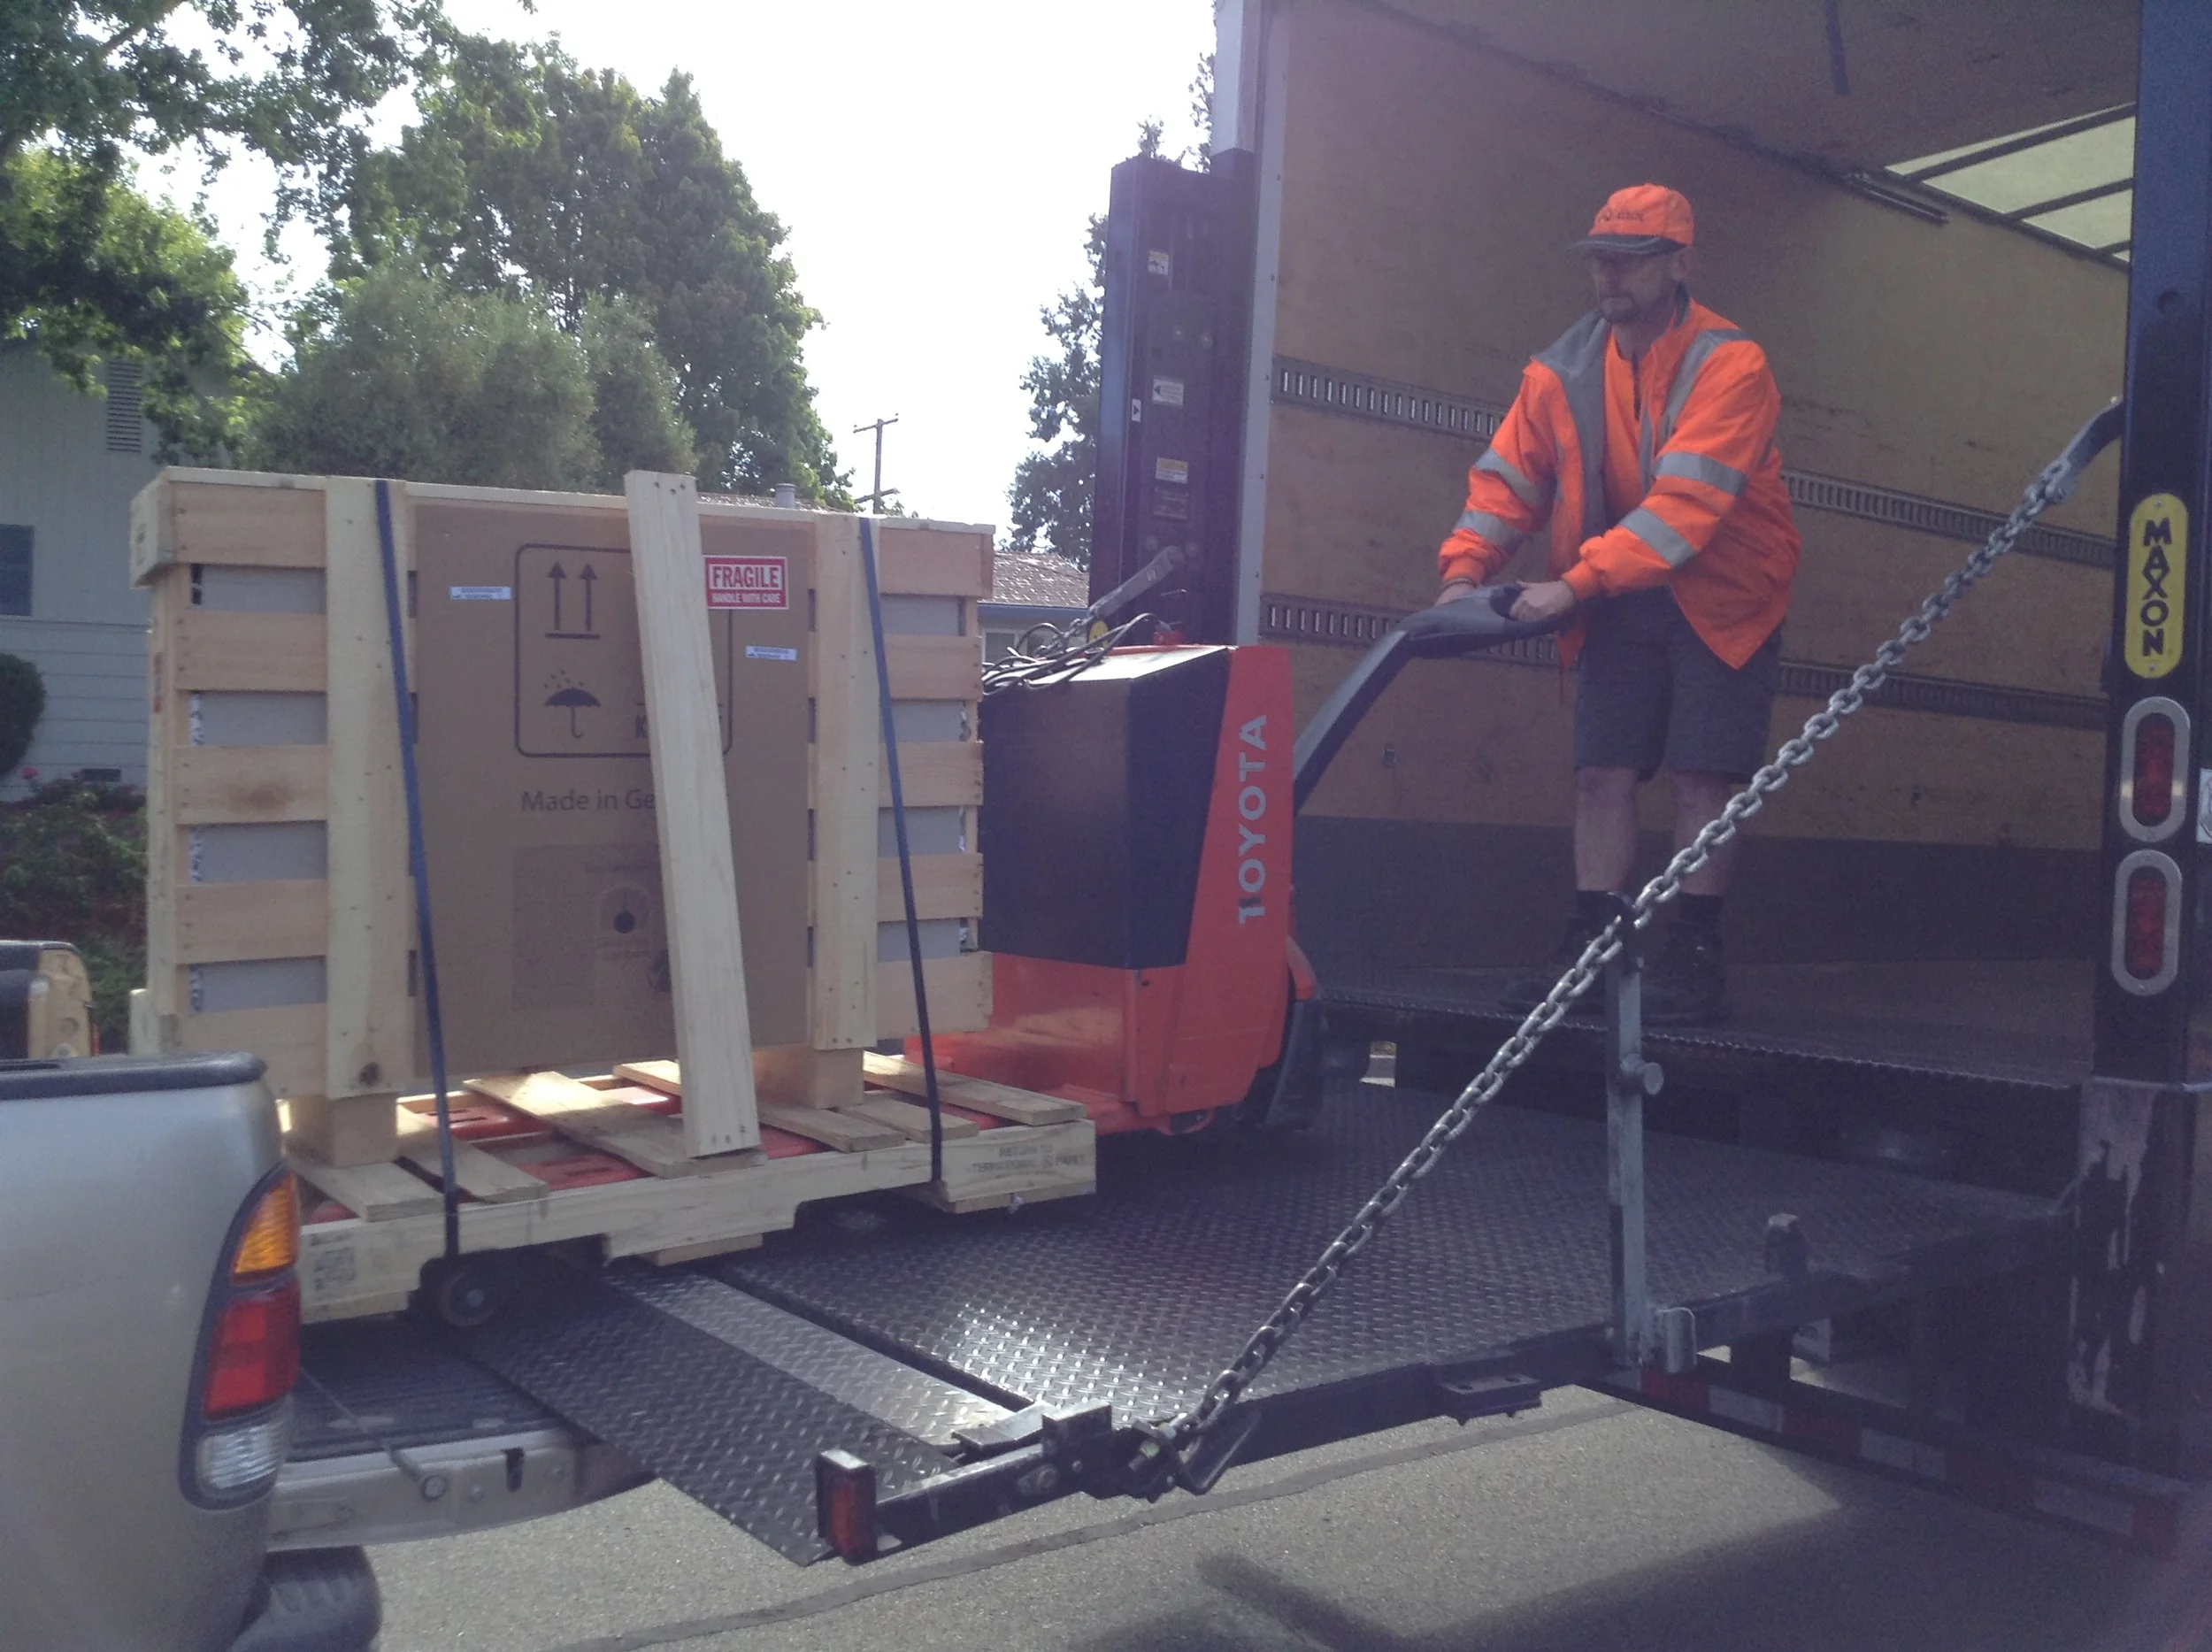
Glass arrives

1
Final edits

2
Site Visit 6-30-15

1
Cutting the Resist

9
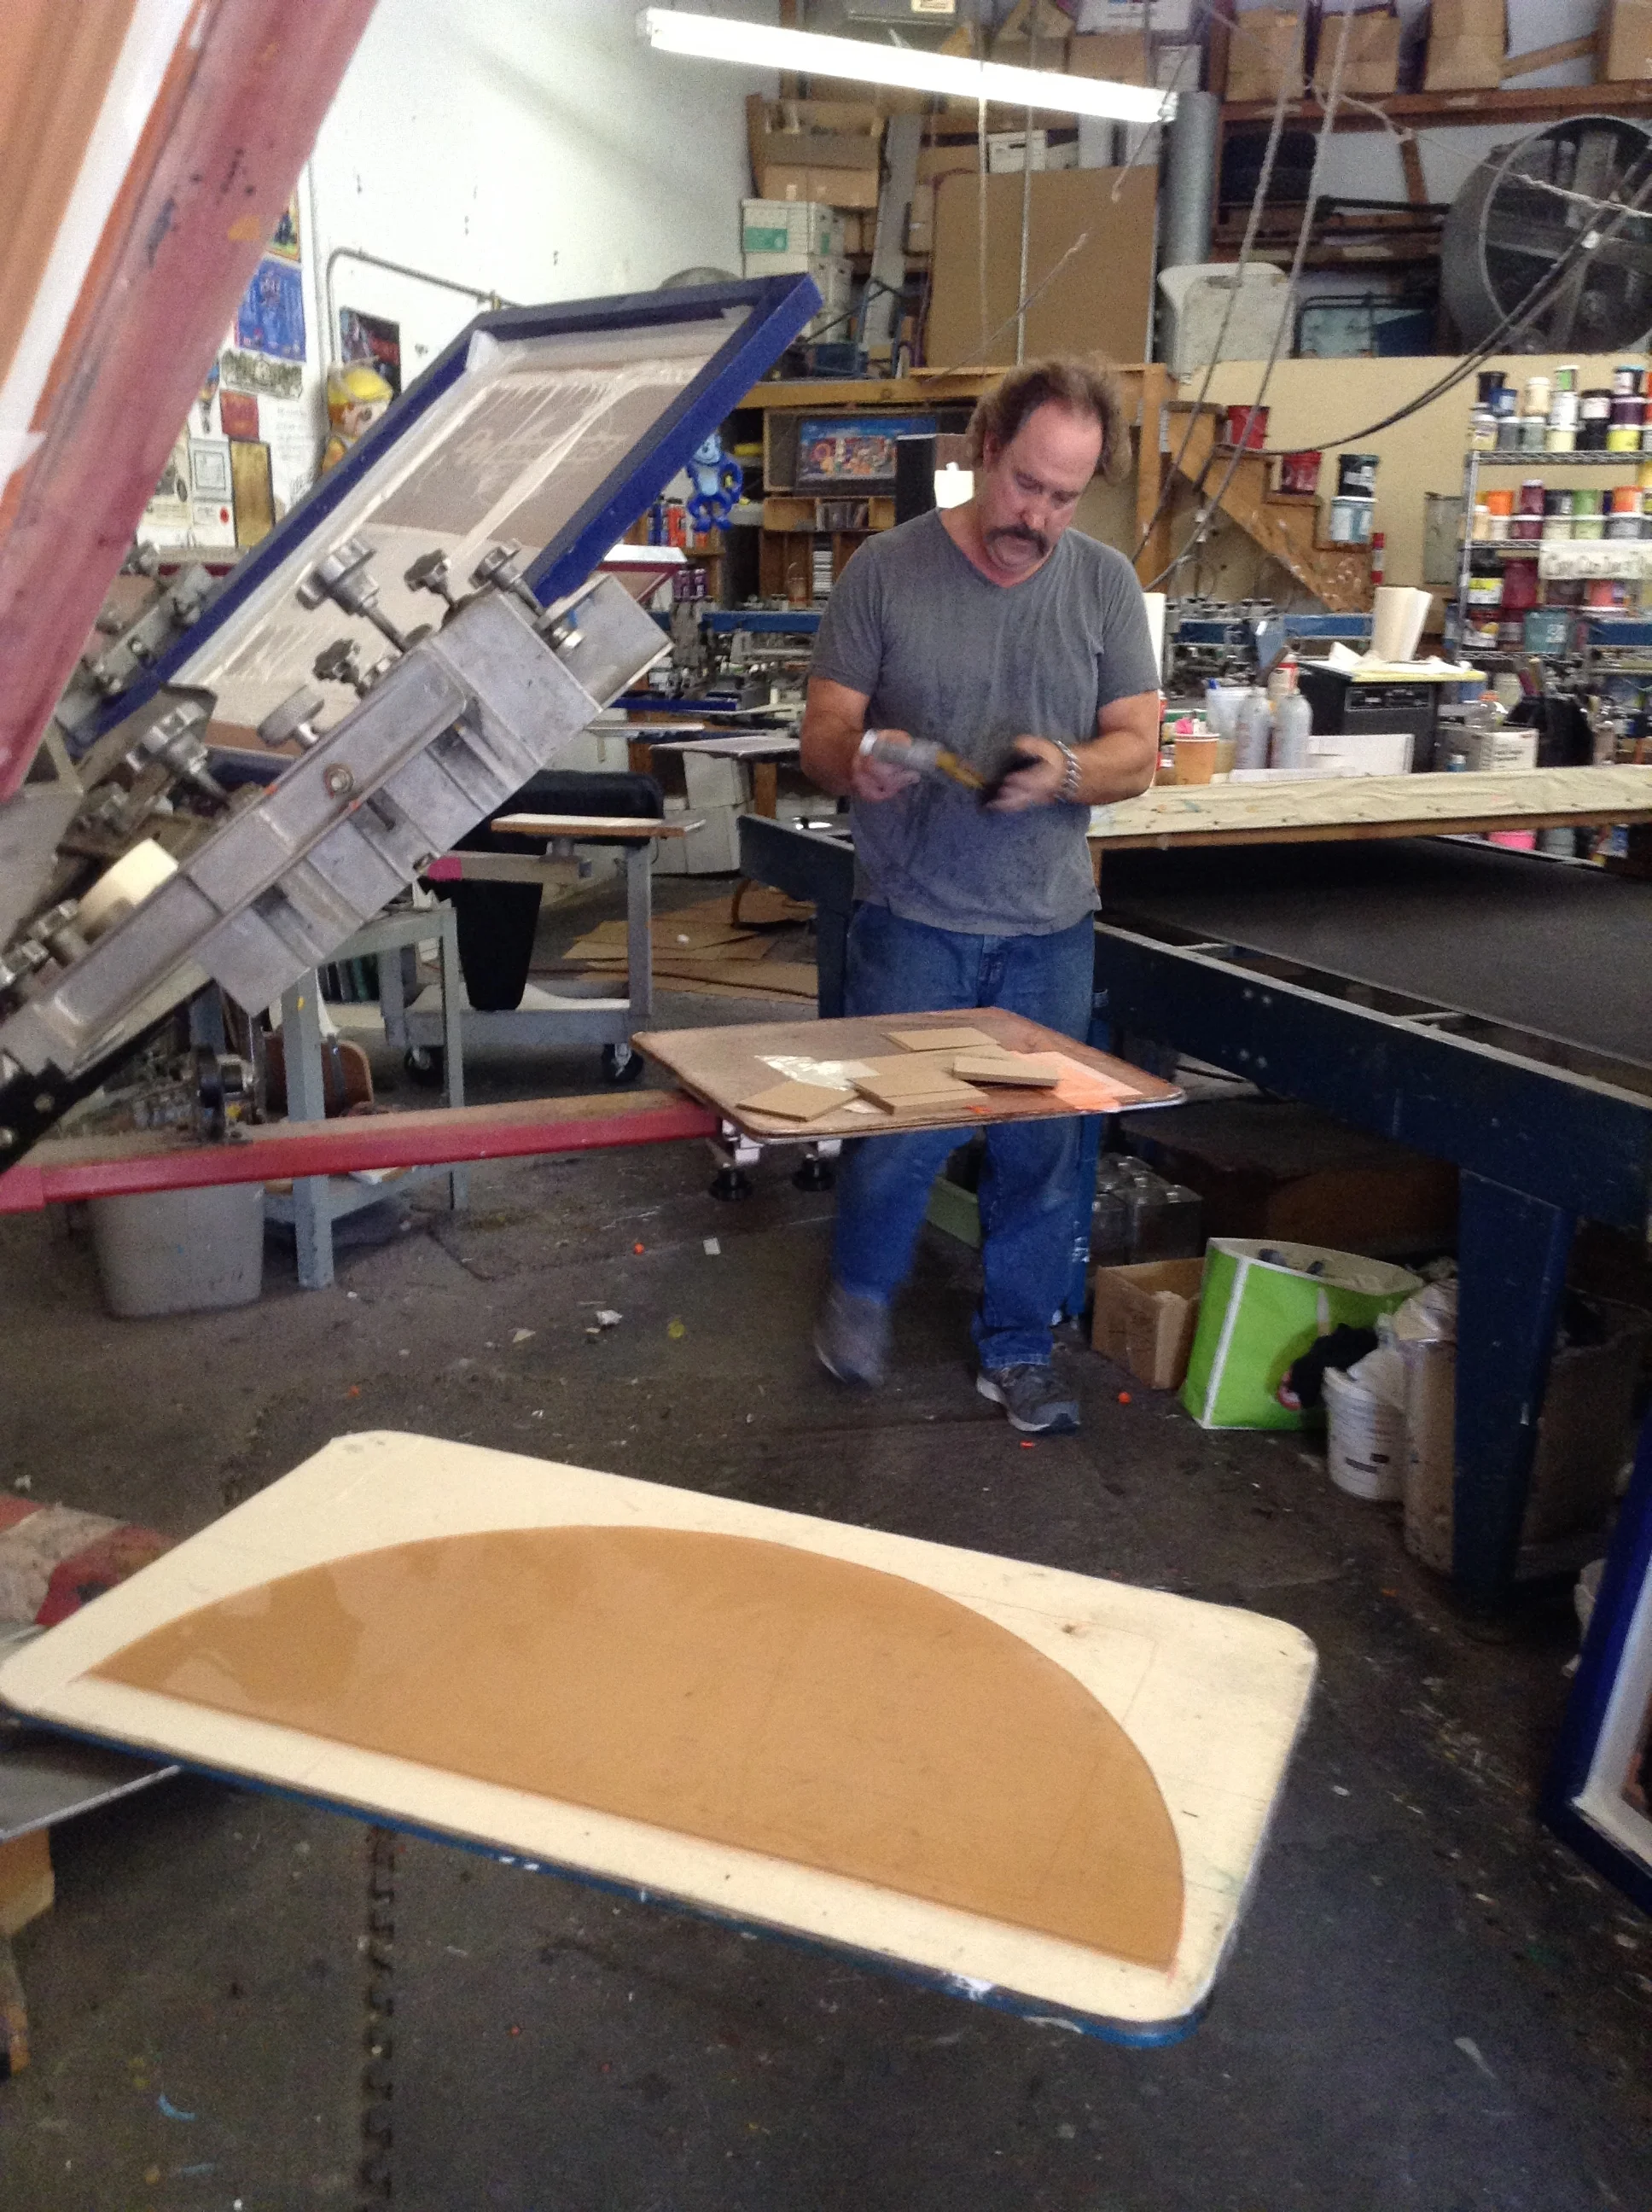
Silk Screening with Alan

5
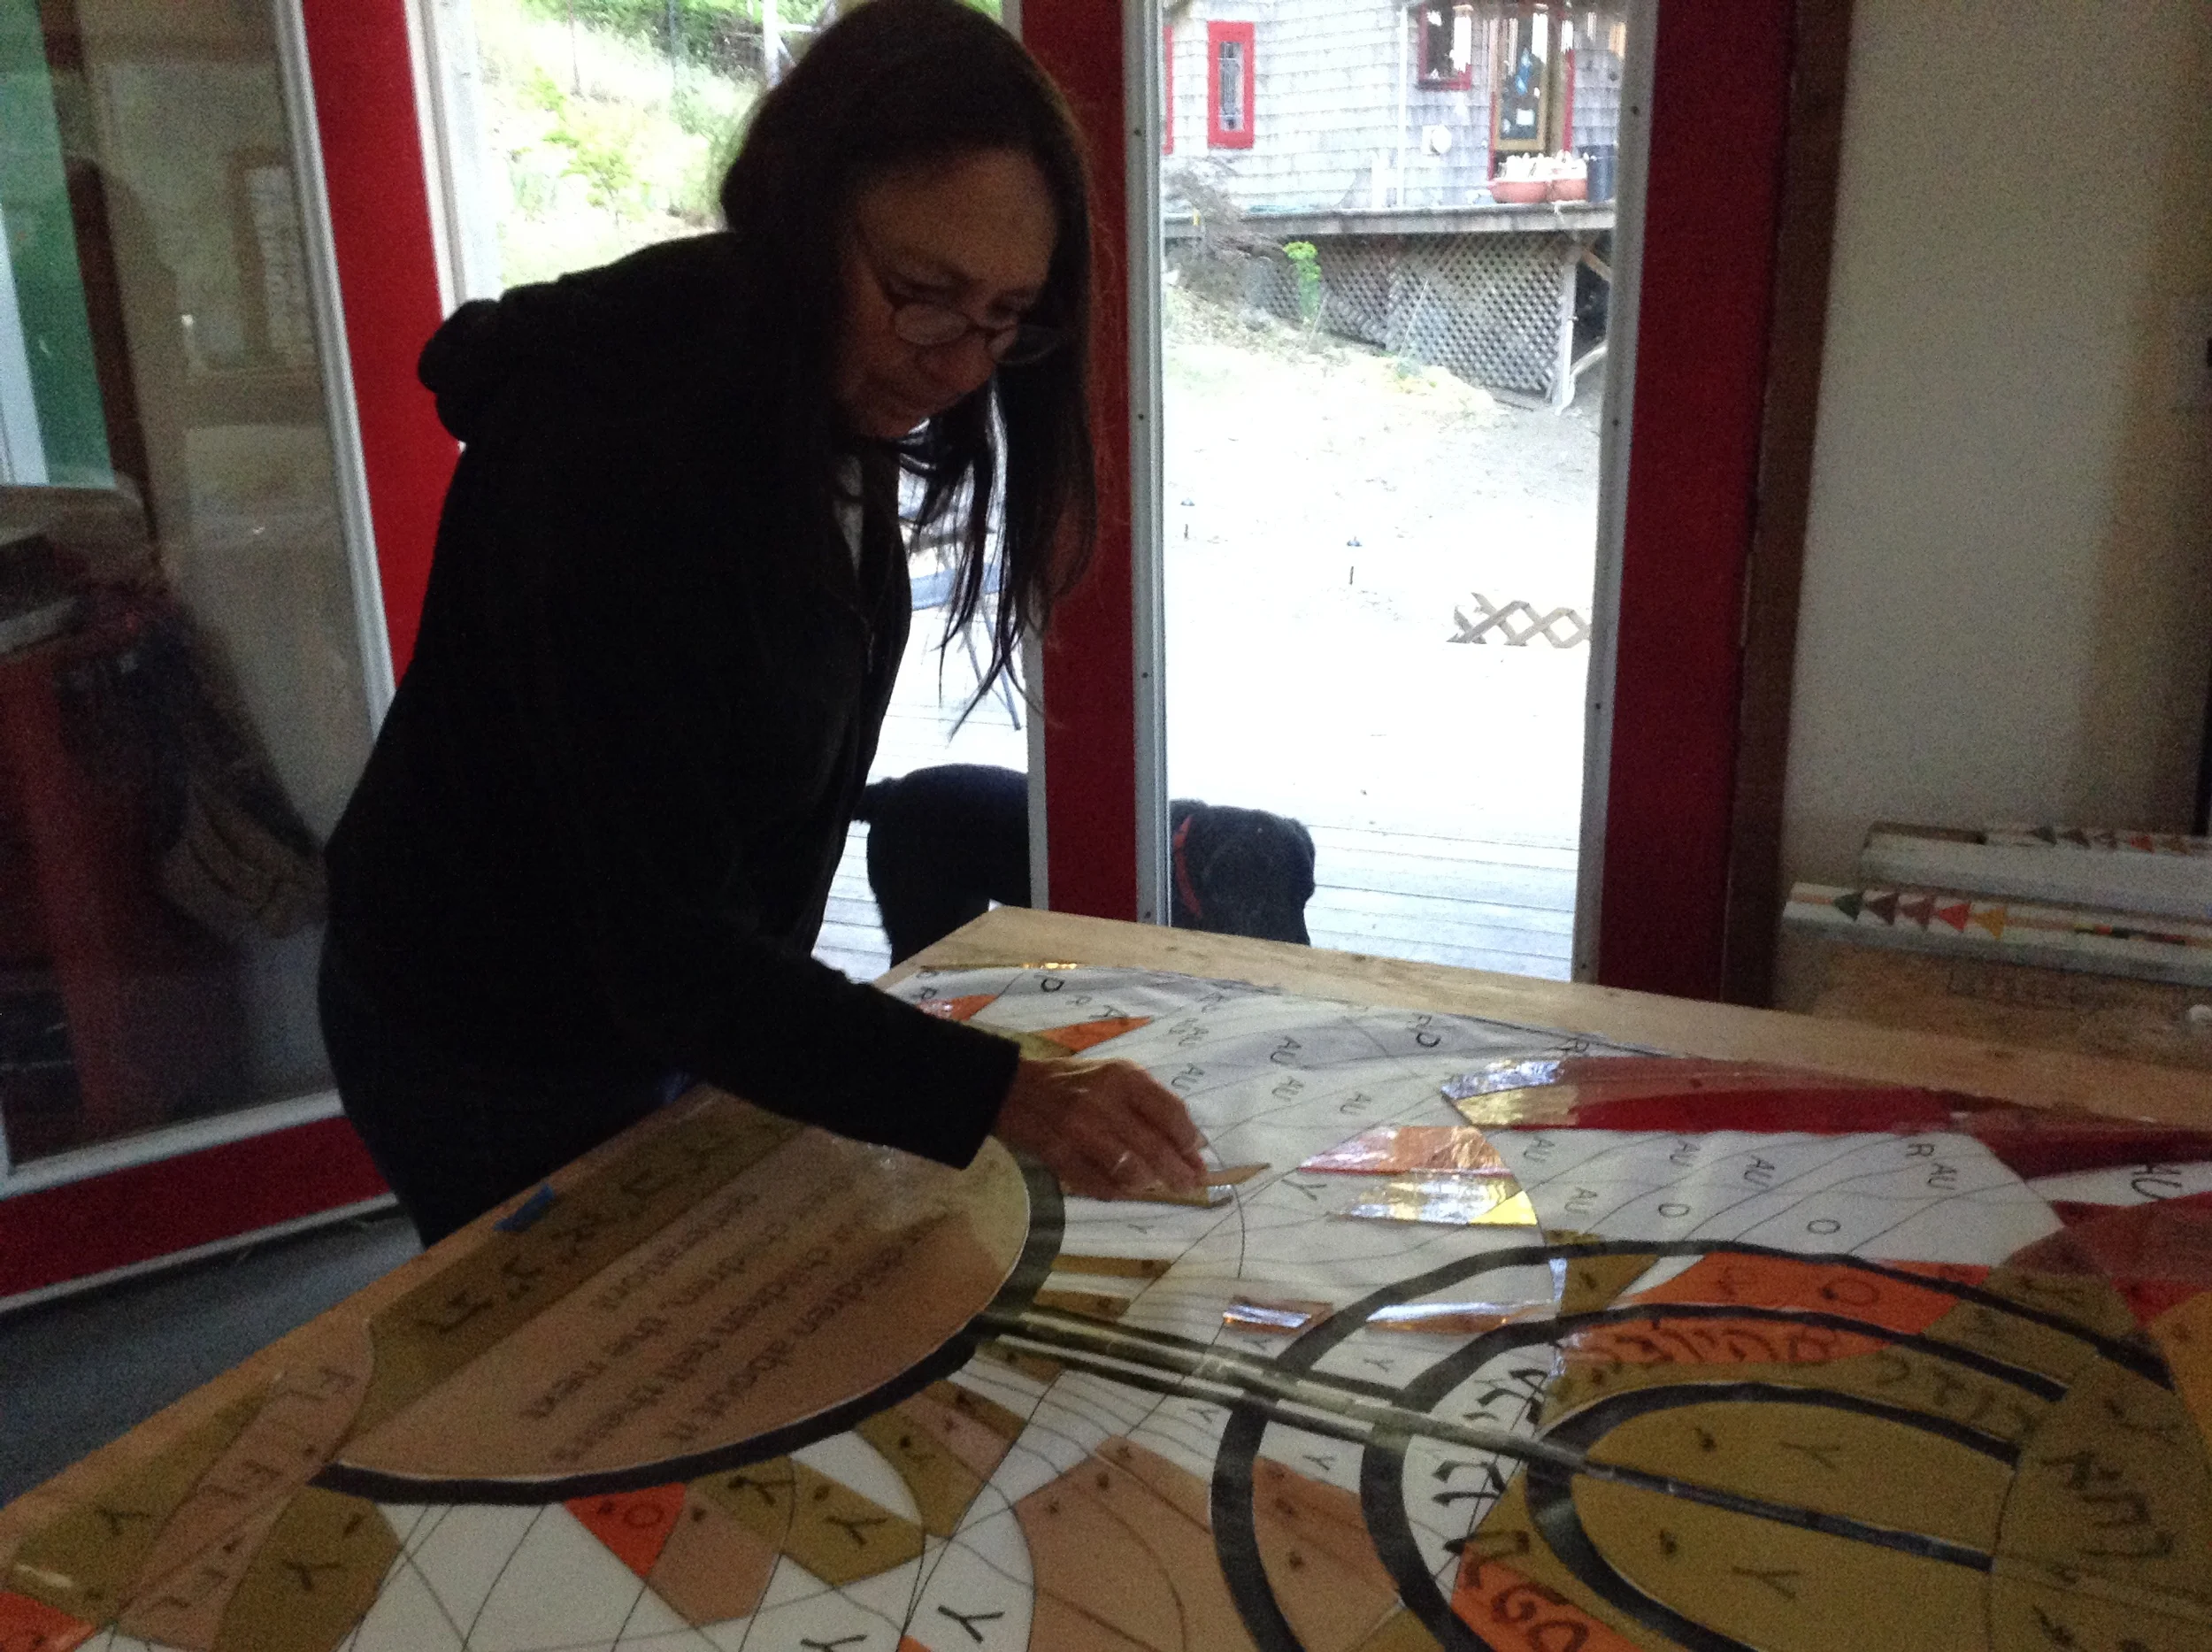
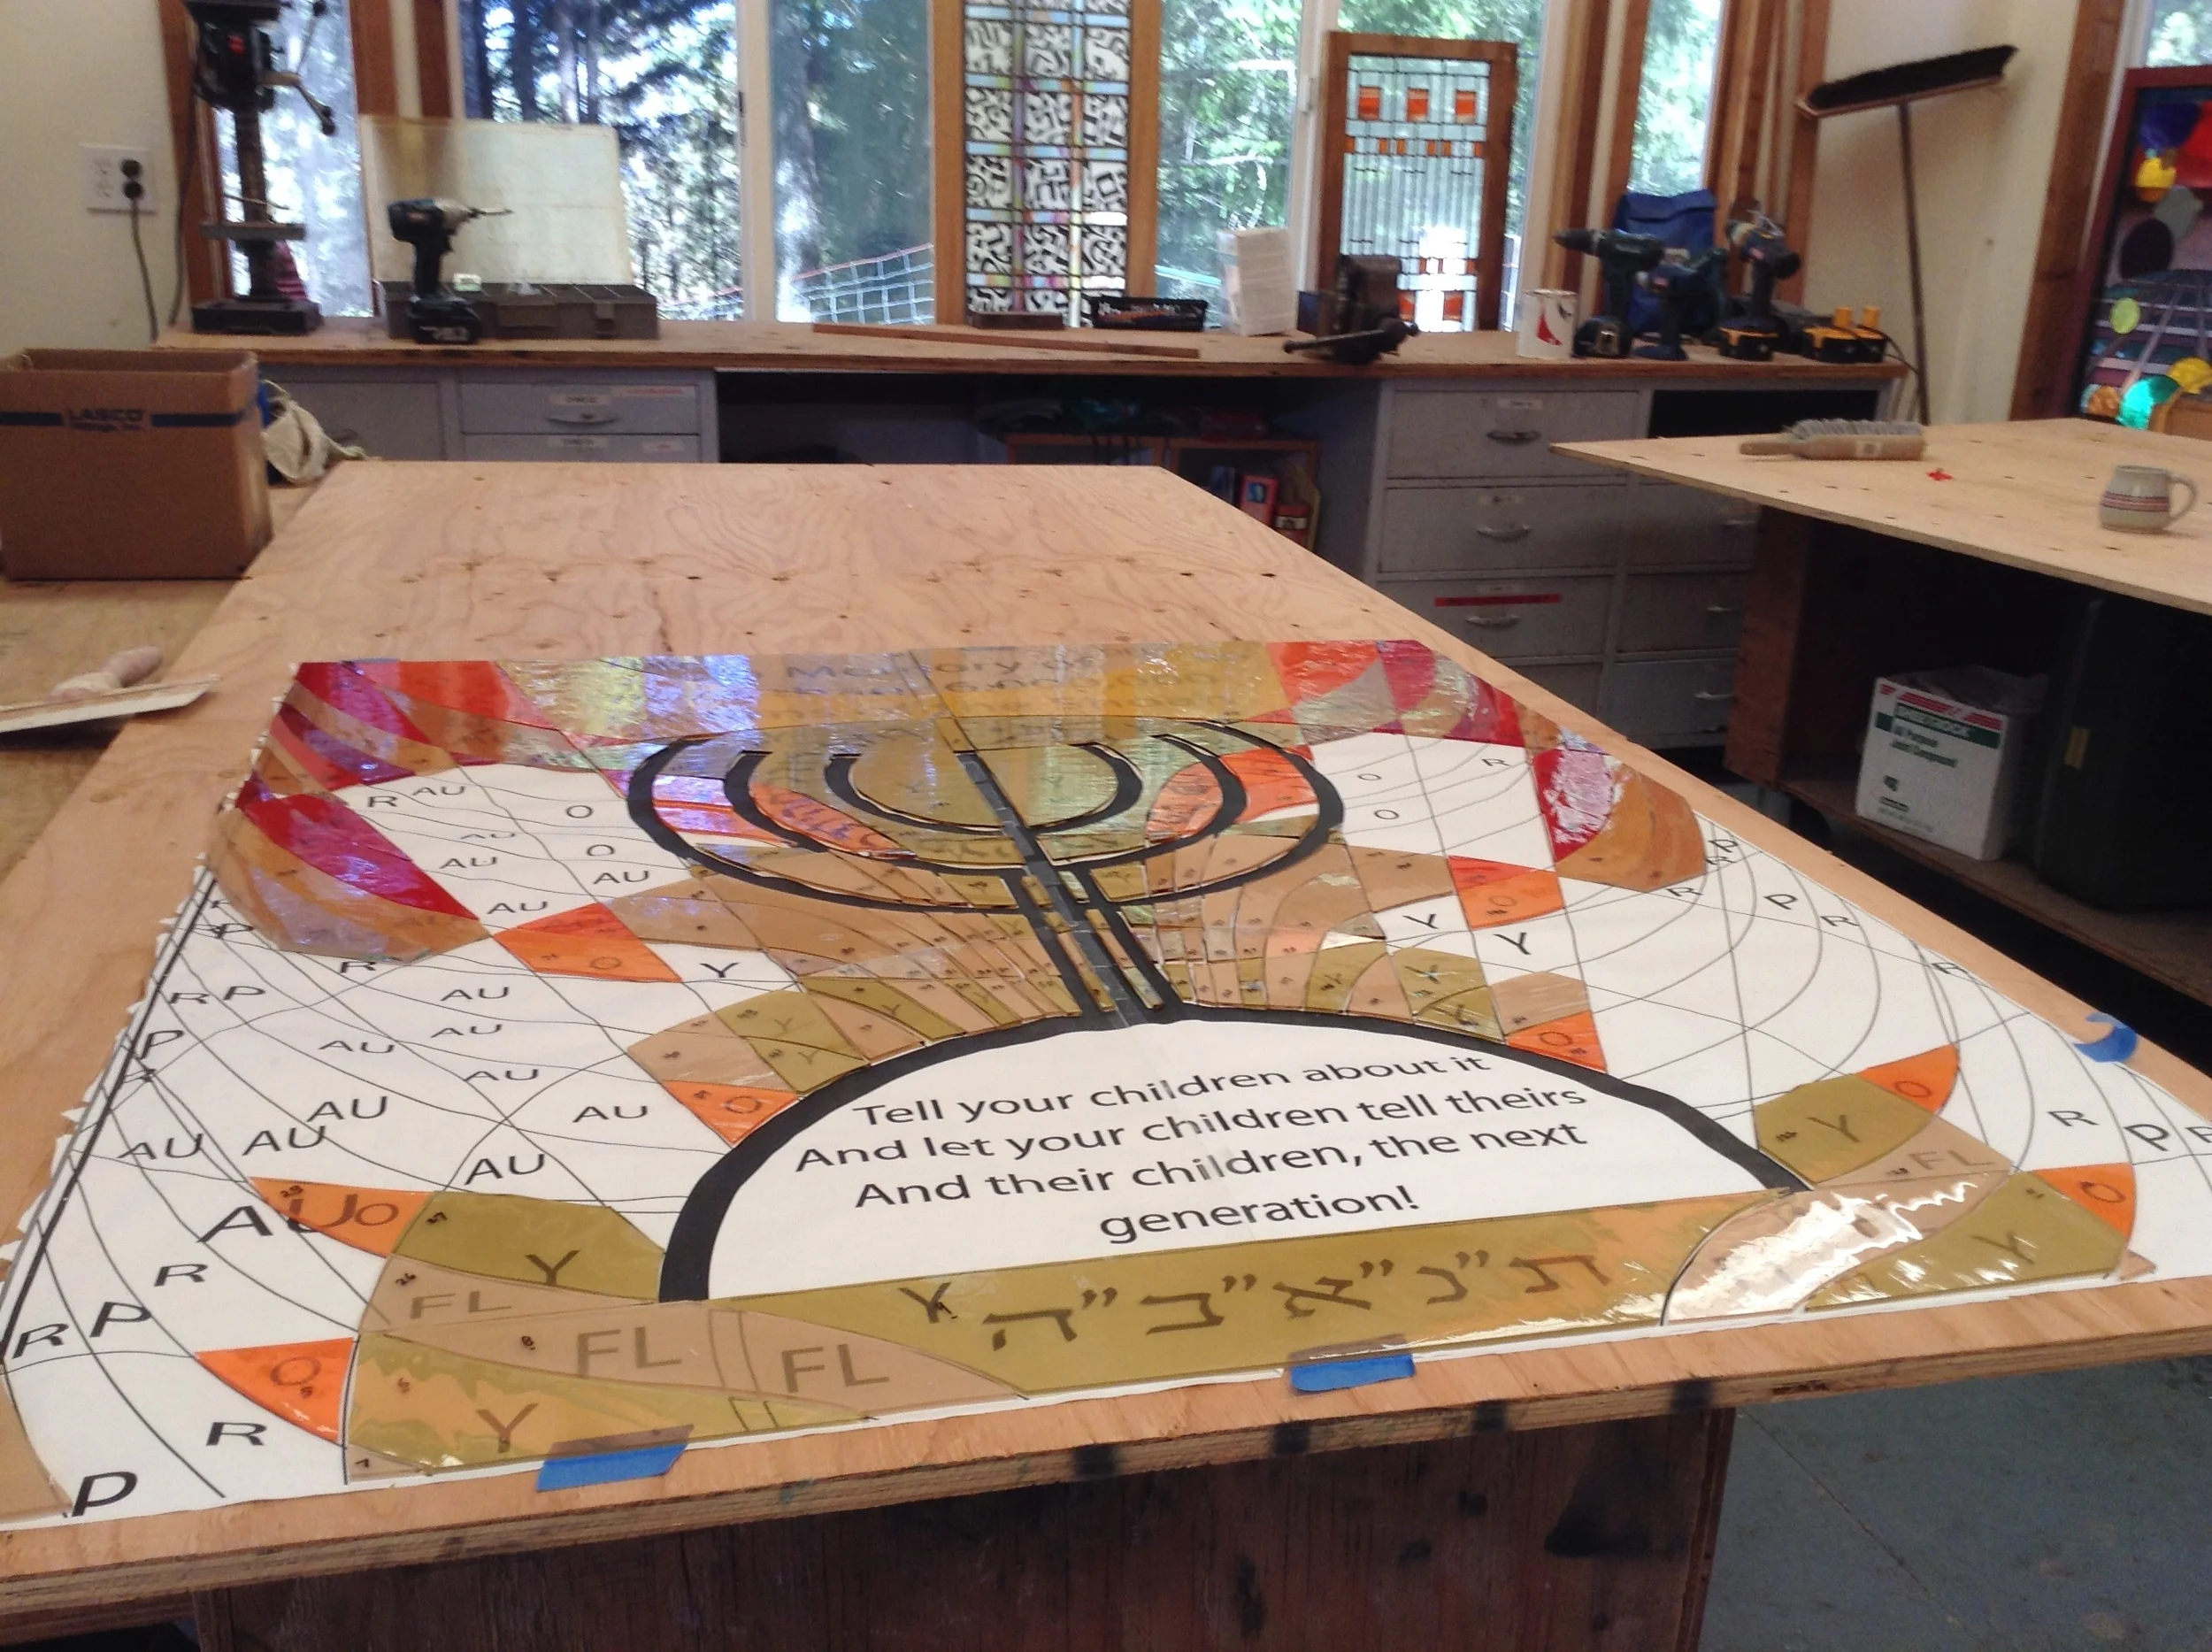
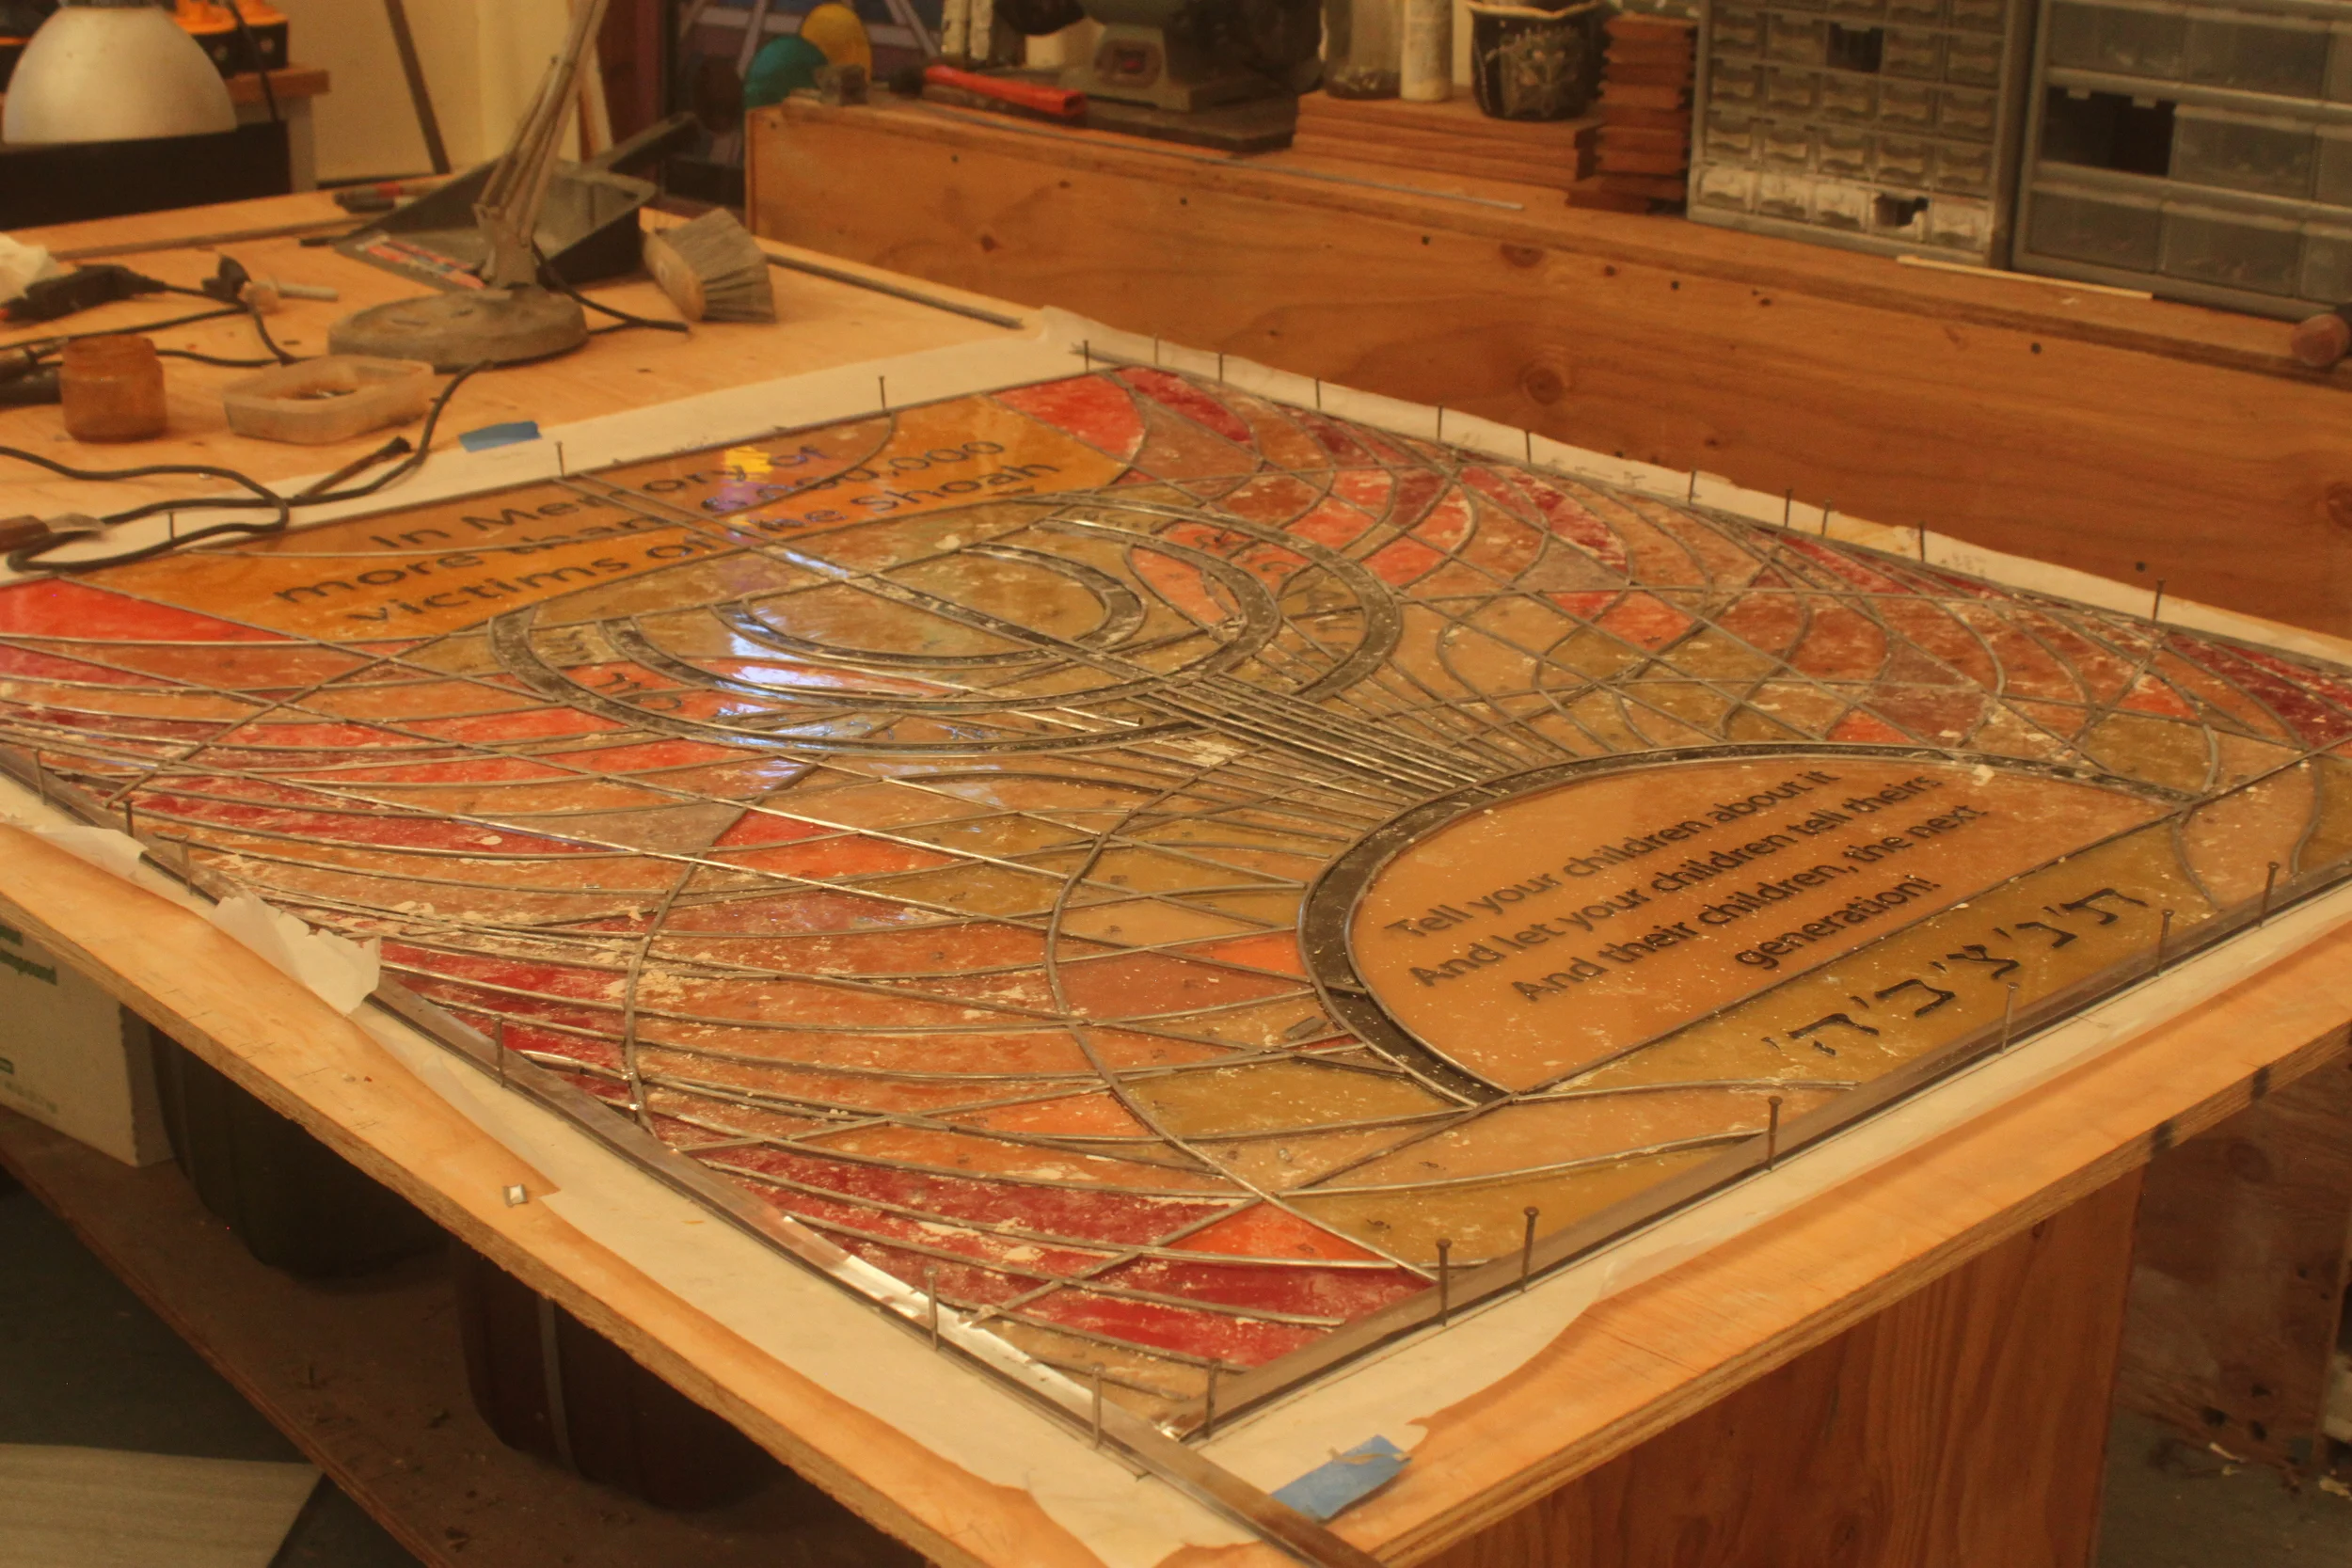
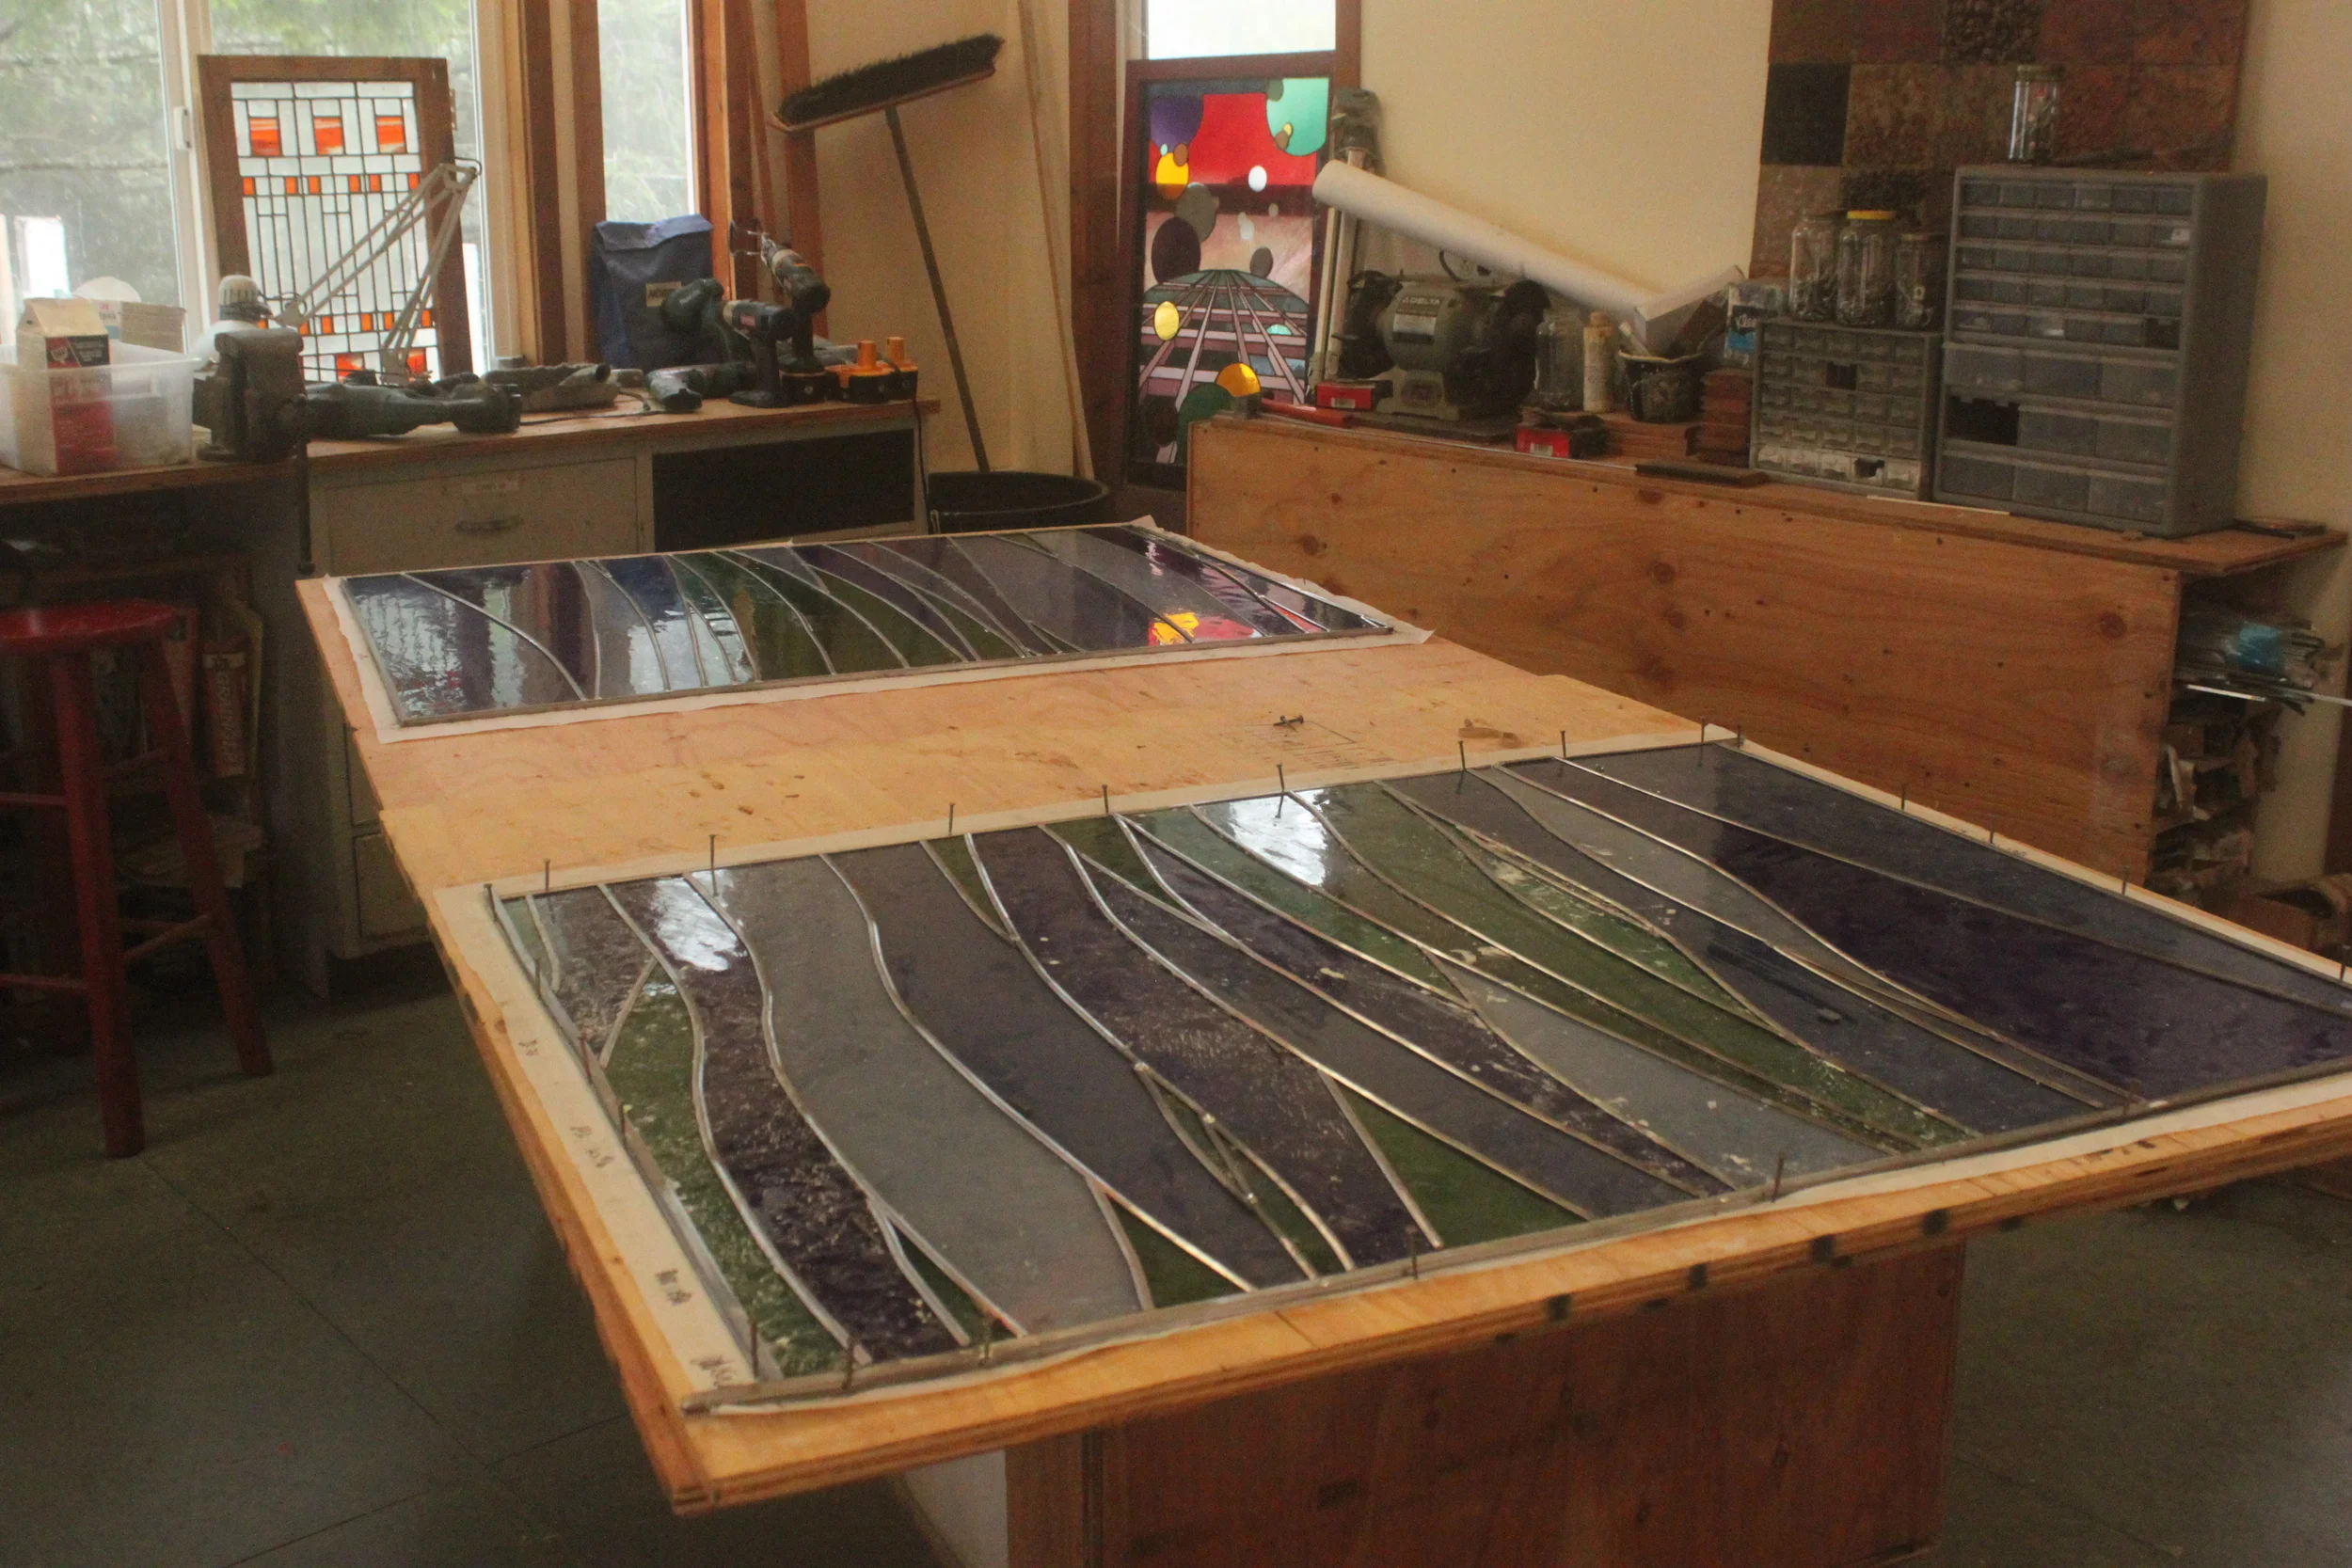
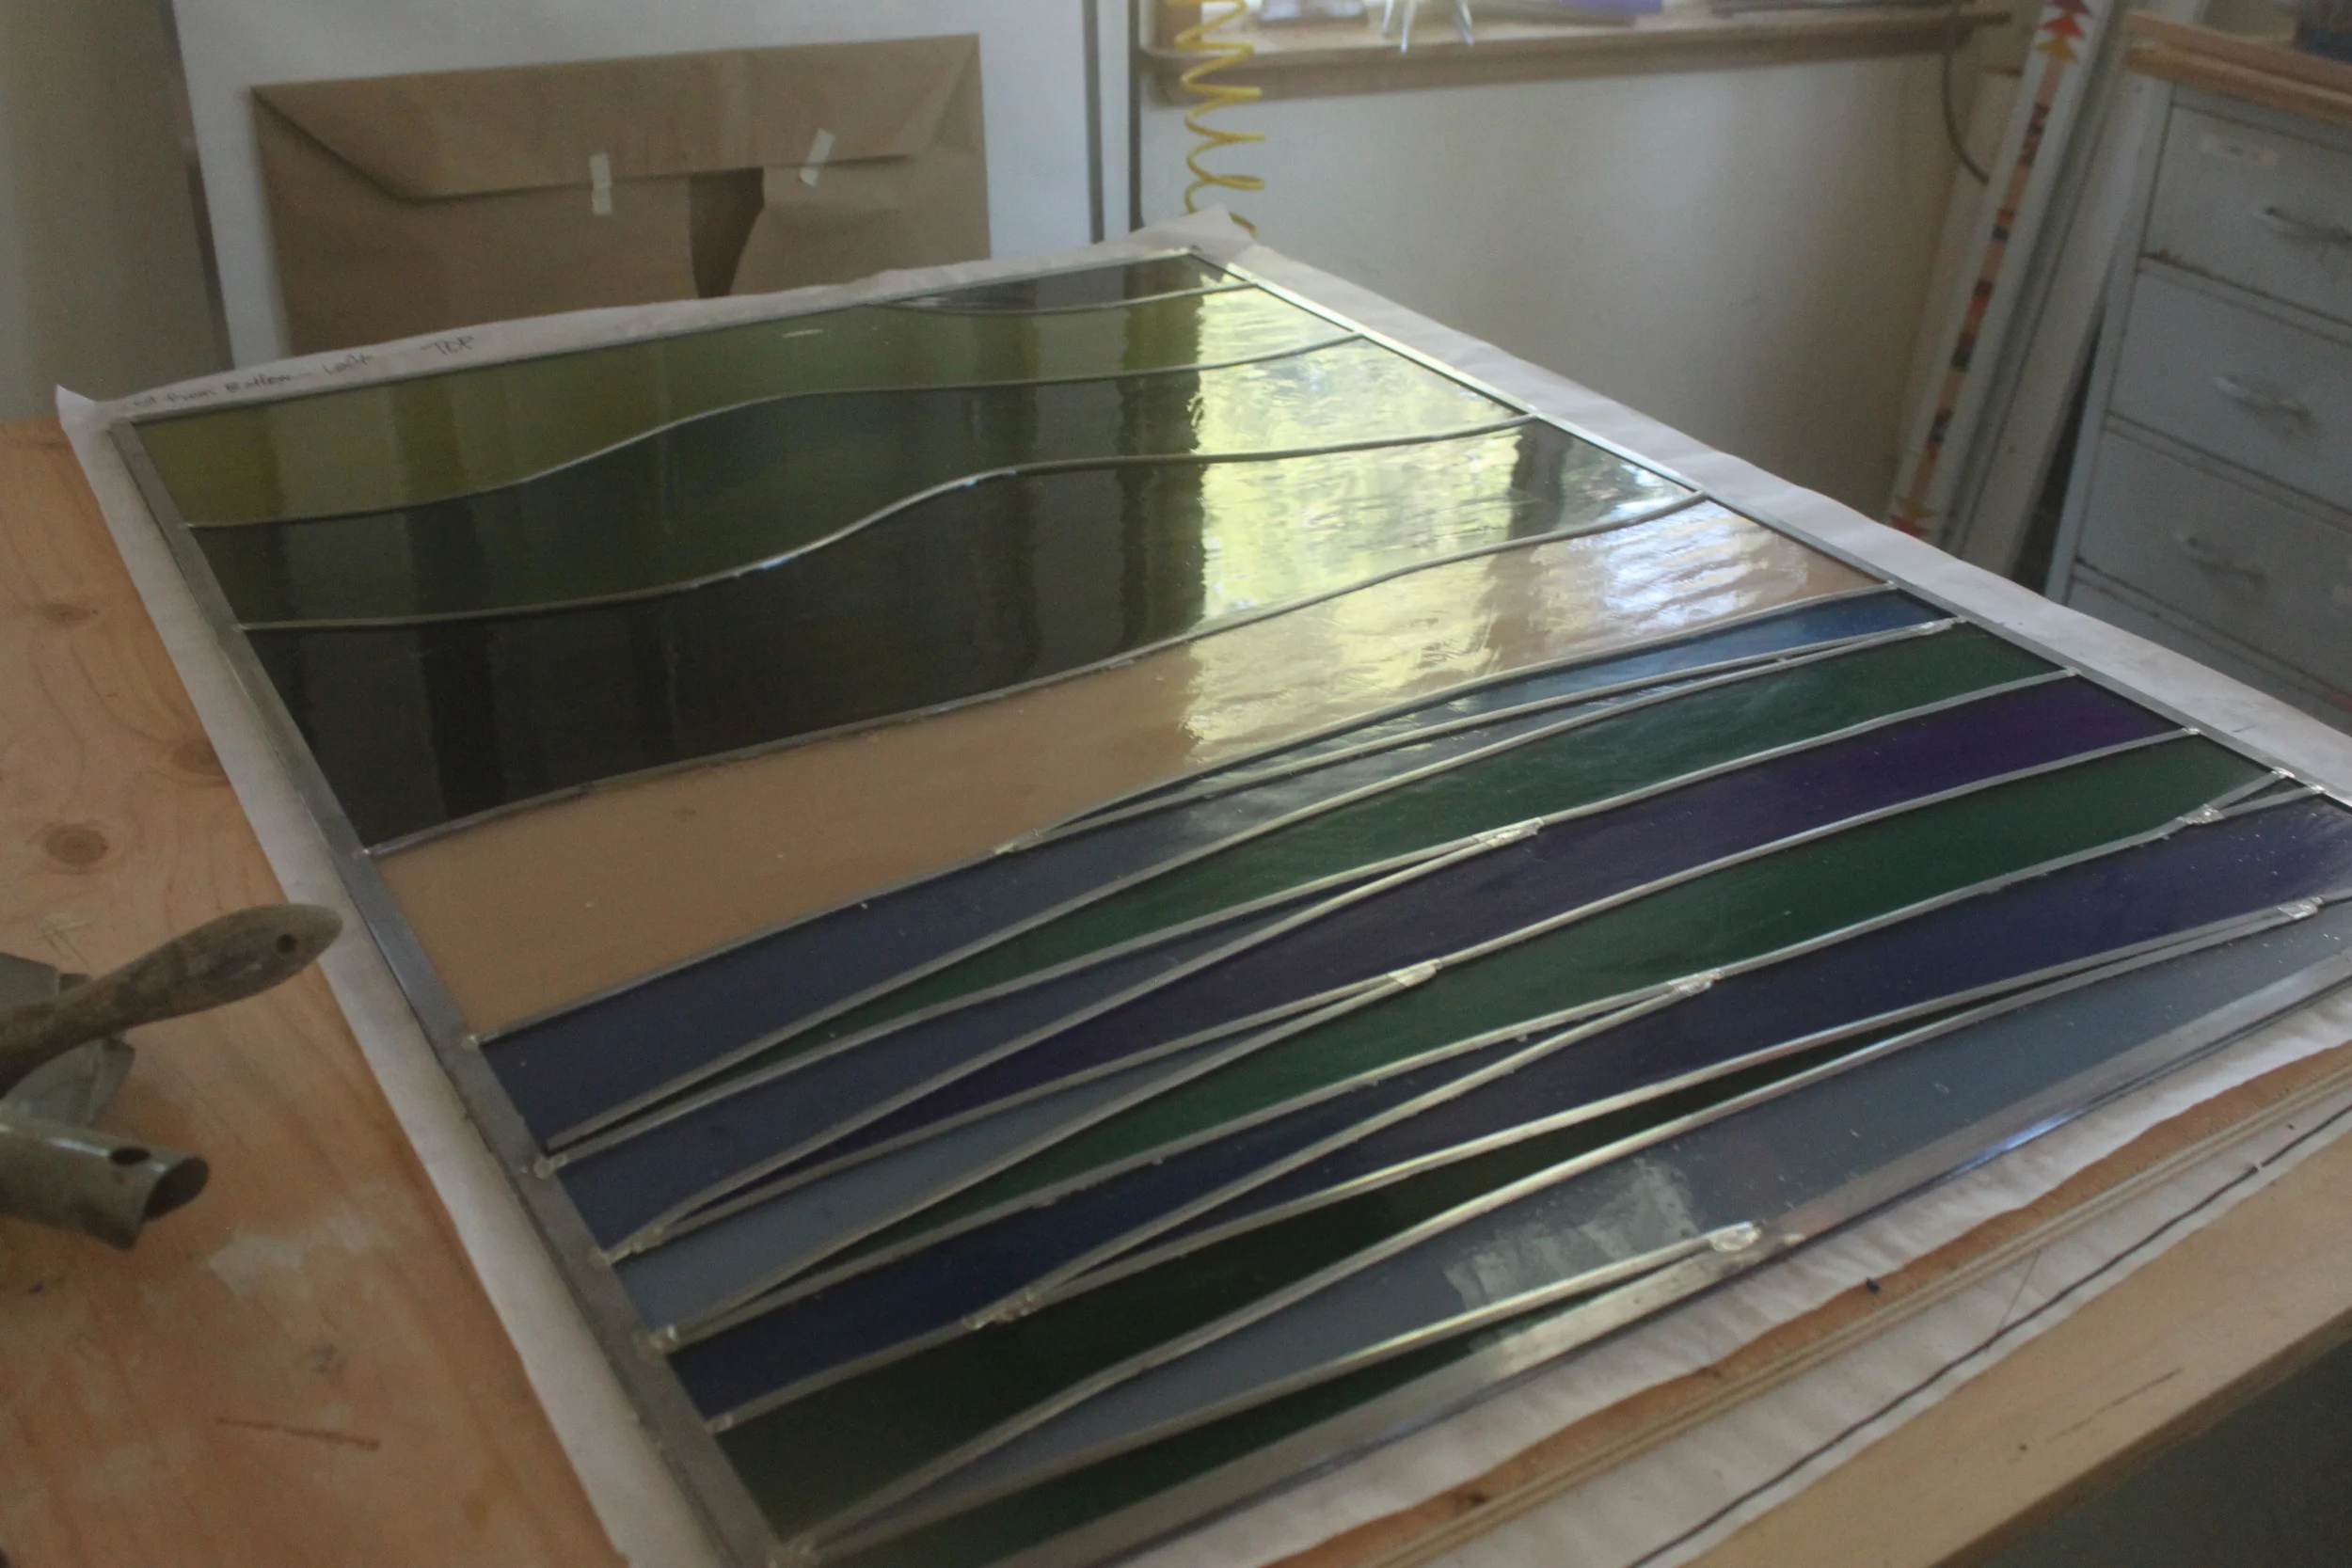
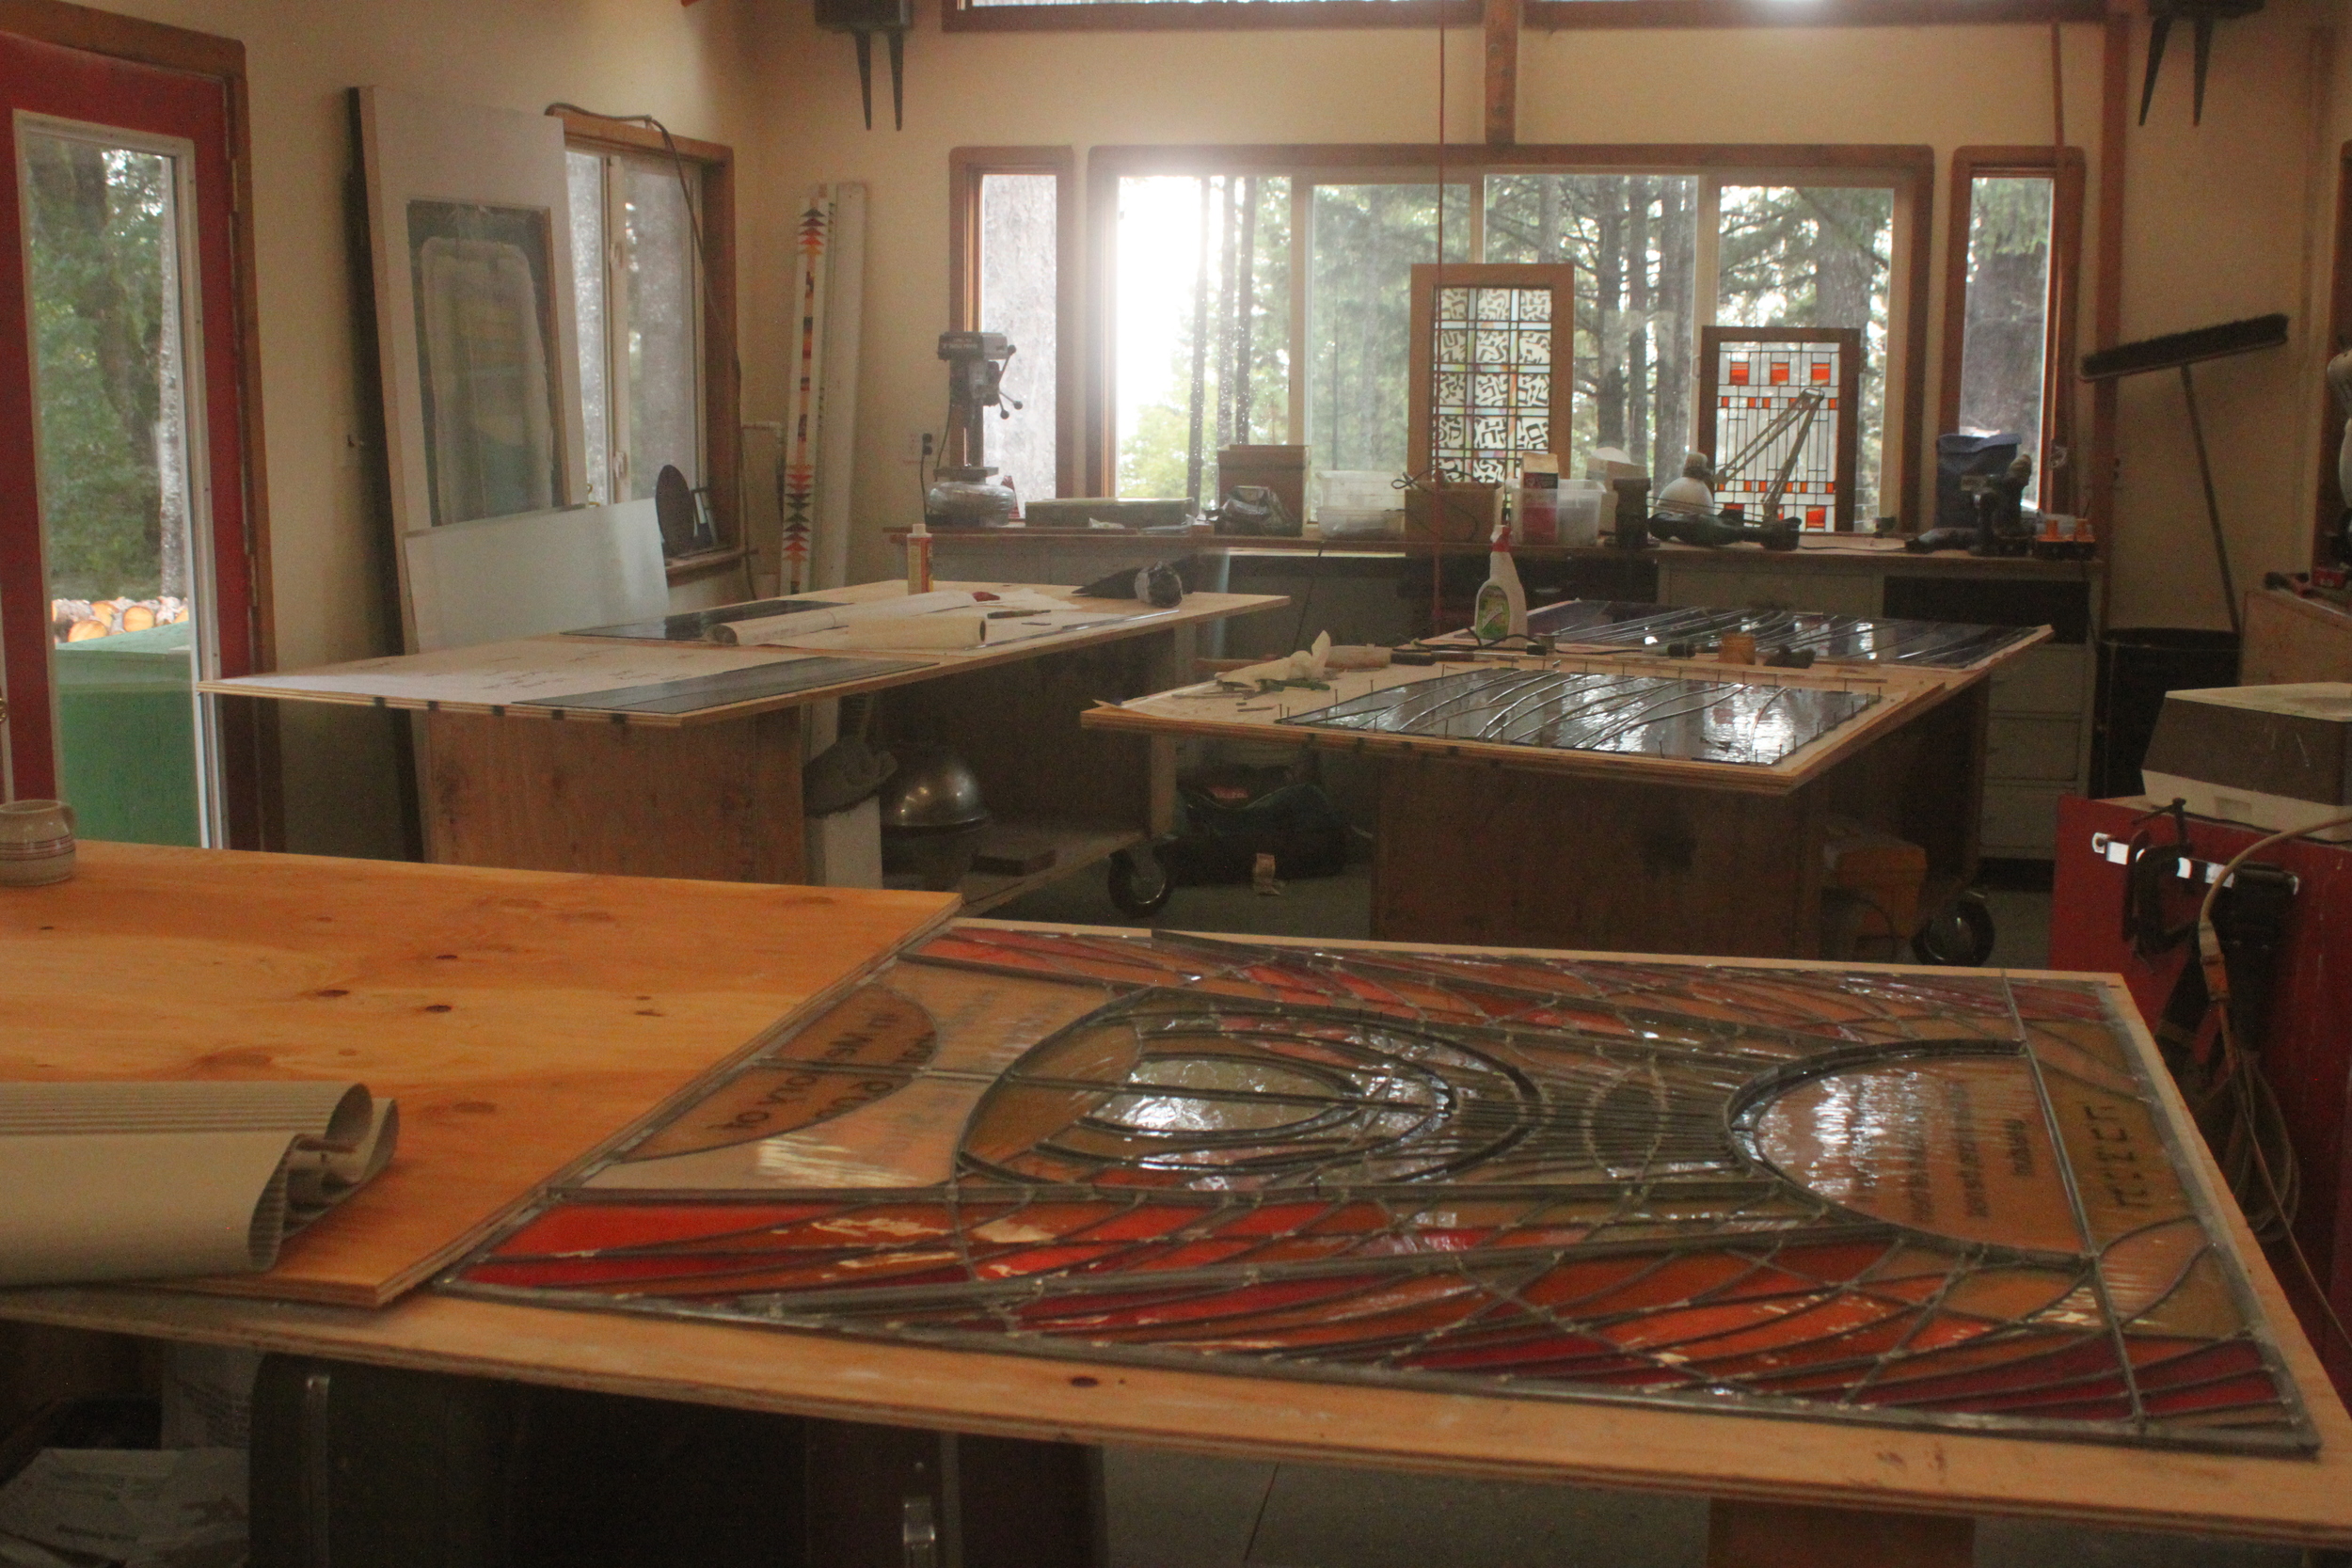
Assembly Begins

6
Assembly Continues

6
Assembly Continues

3
Assembly Complete

11
Soldering, Glazing and Cleaning

6
Reinforcement
7
Work Continues

4
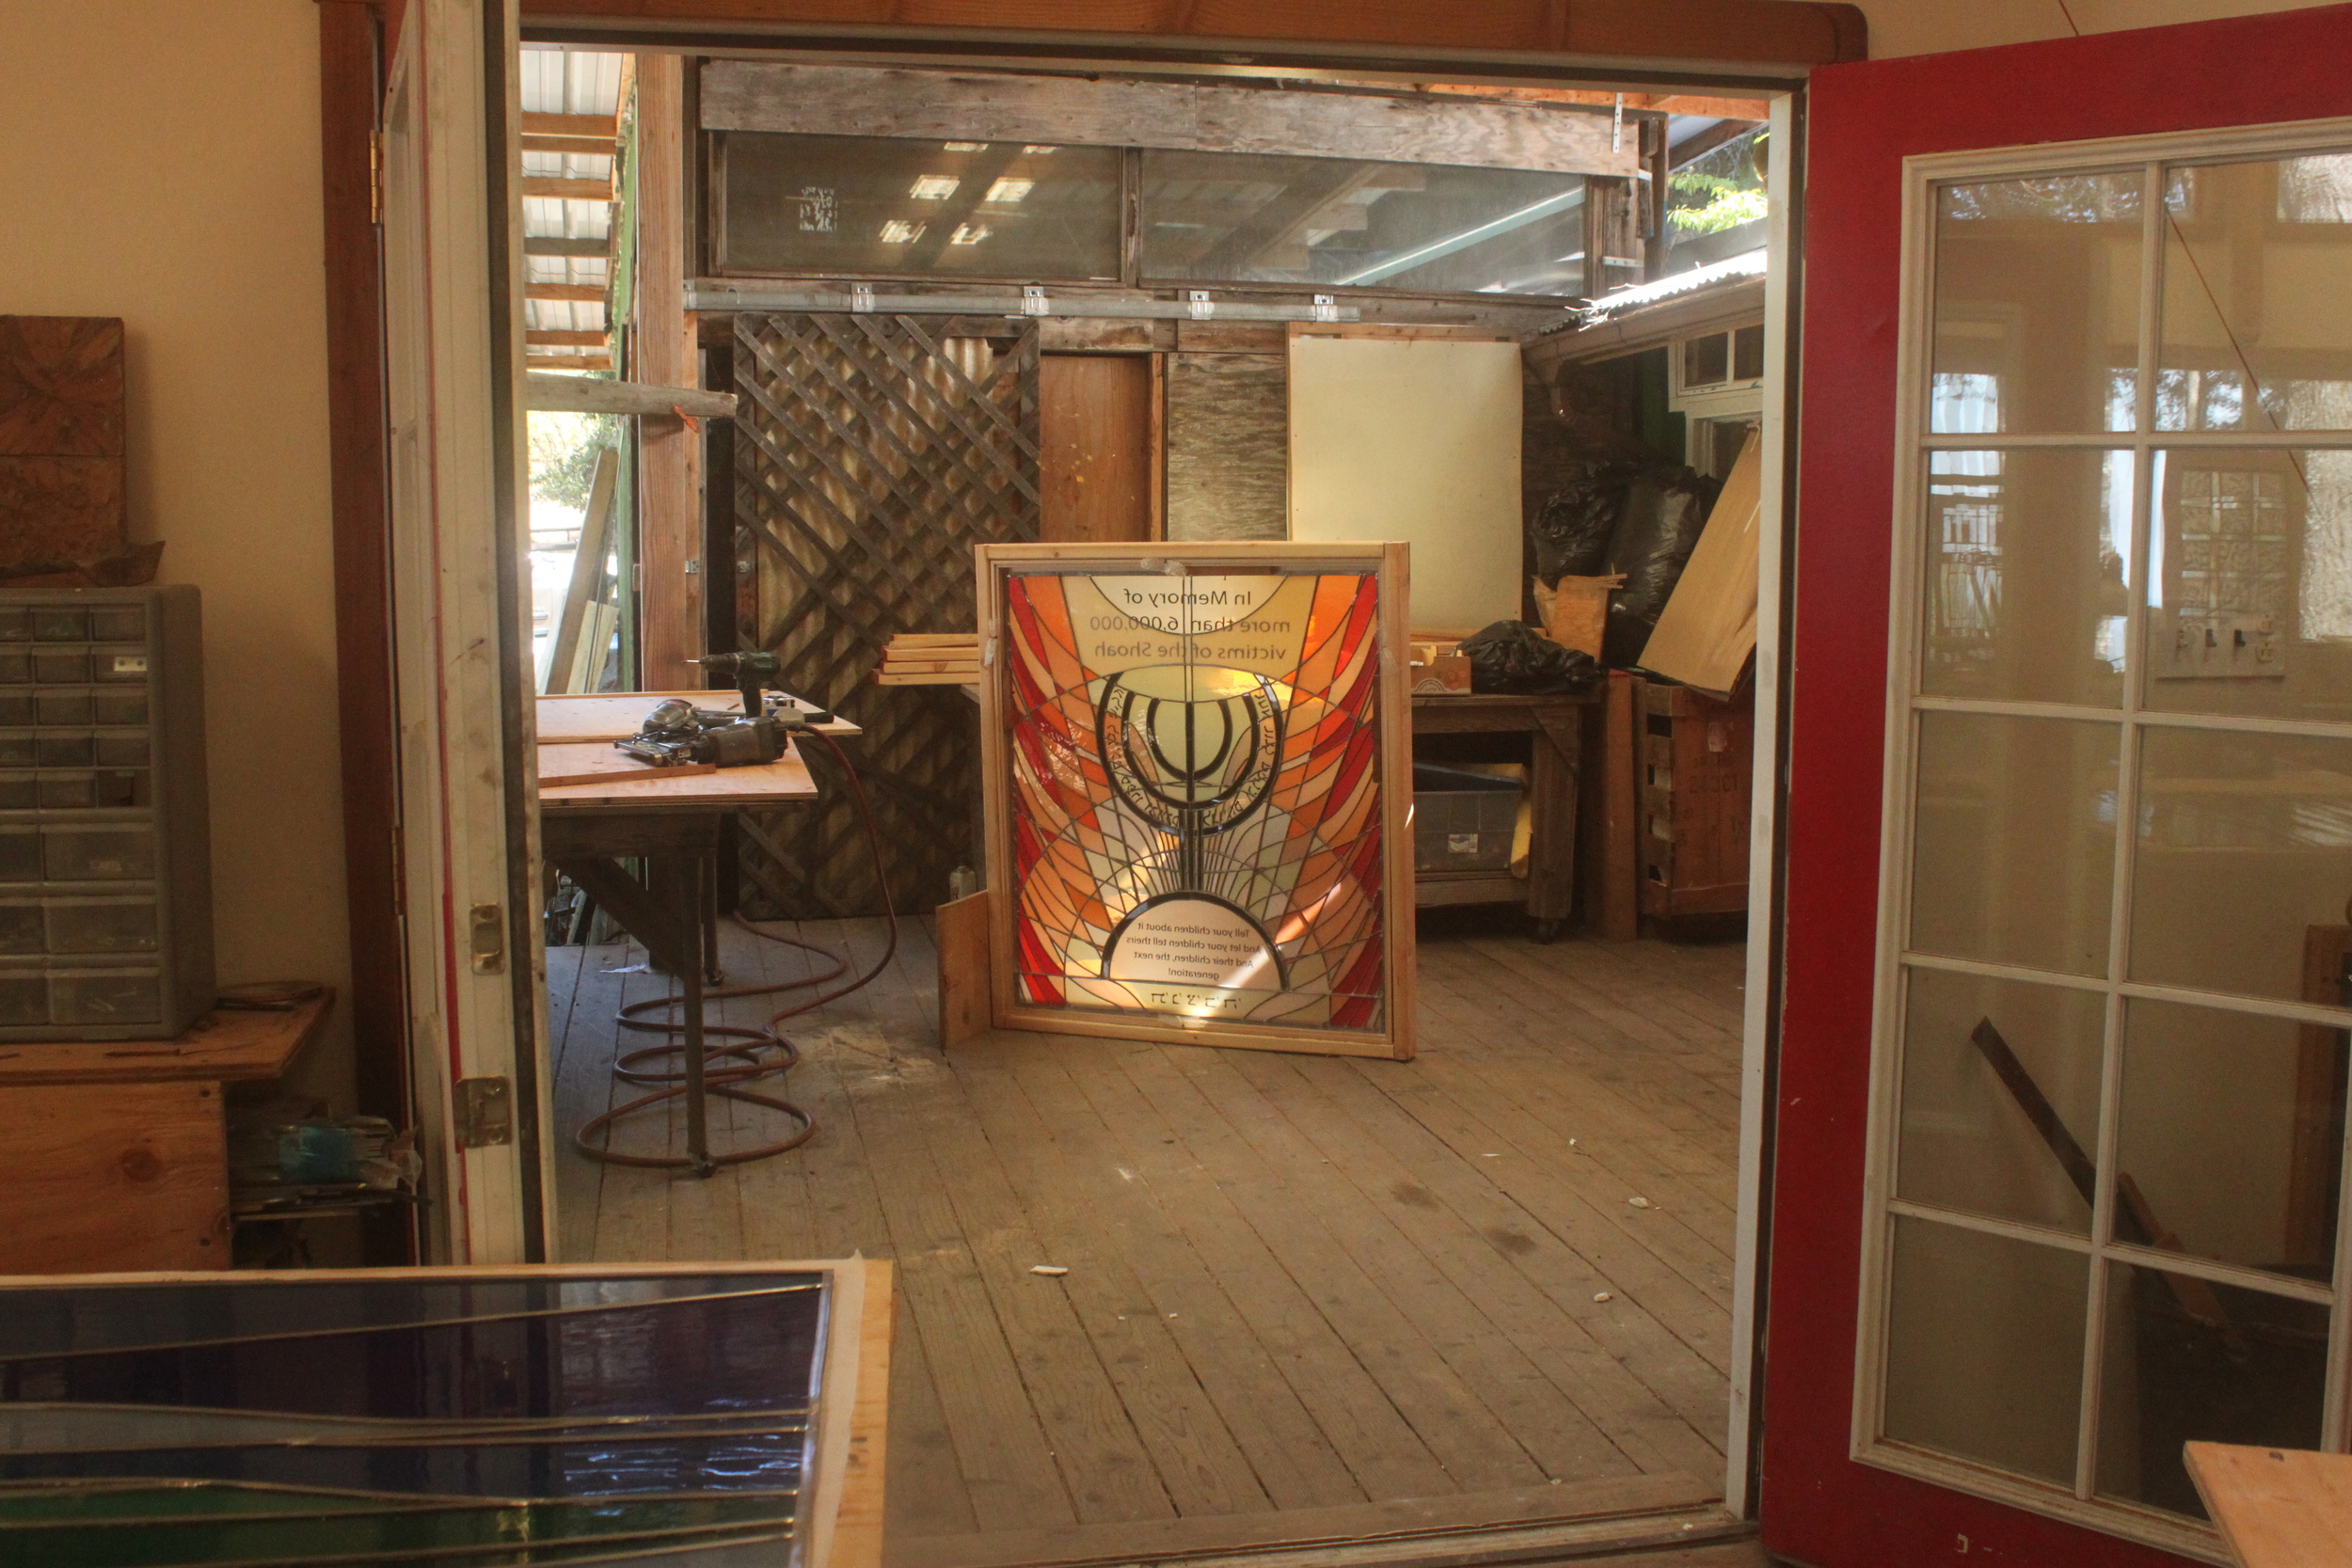
Completion of the Holocaust Memorial

3
Work continues on the small Holocaust Memorial

10
Working on the Bima Windows

6
Work proceeds on the Bima Windows

5
Preparing for the Install

6
Bima Windows in Process

2
Delivery and Installation
1
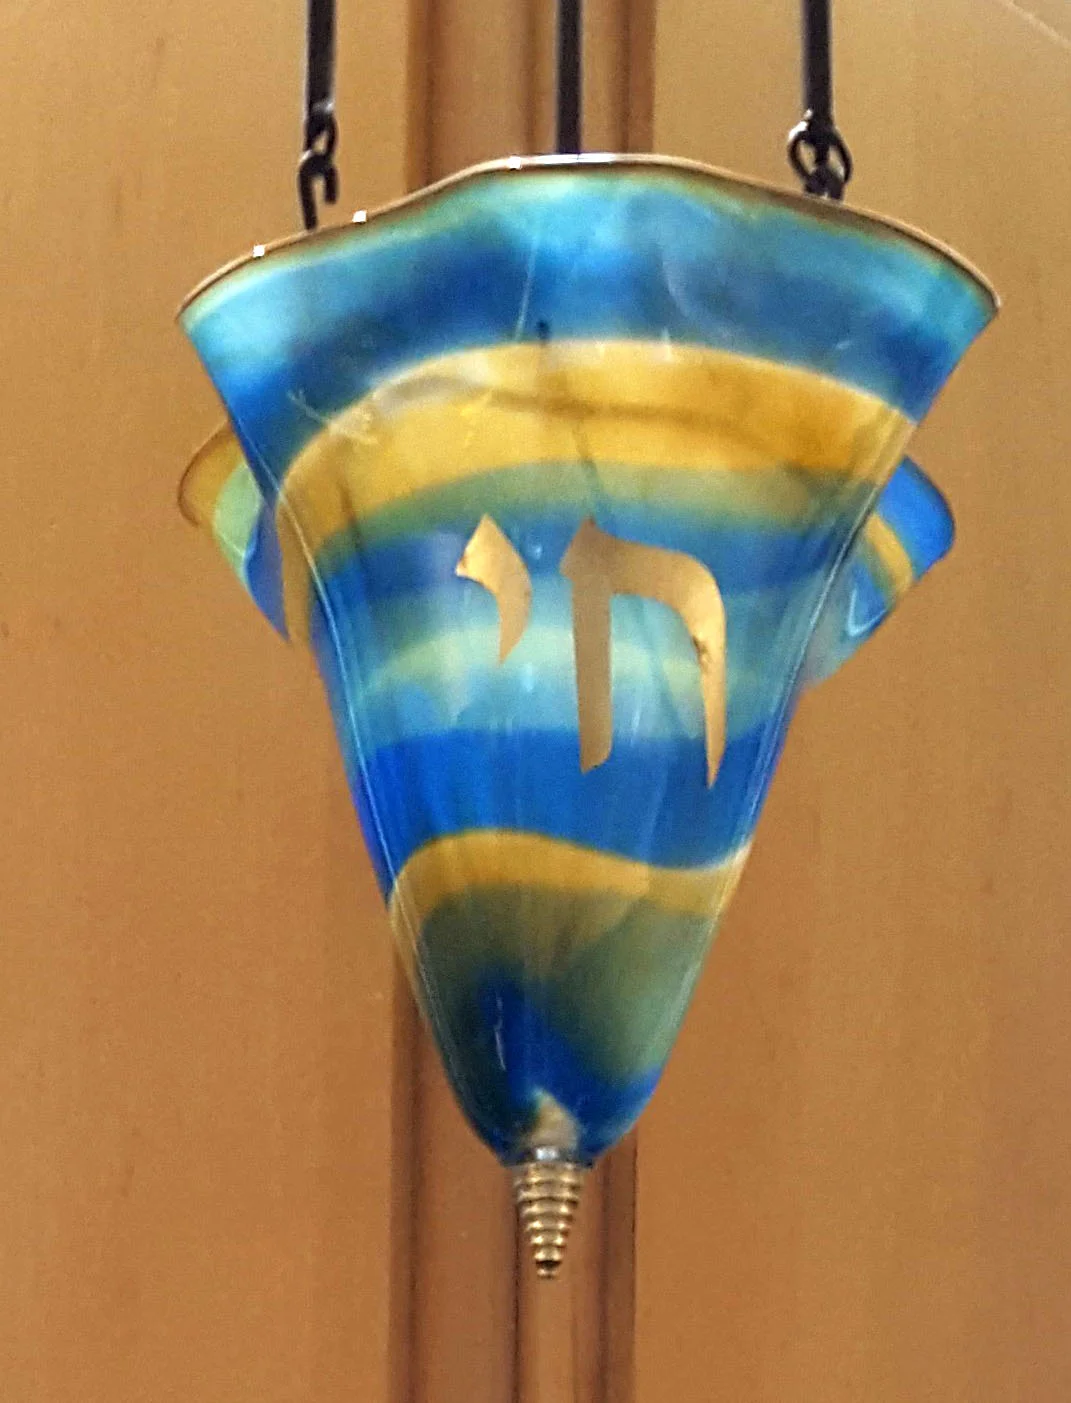
Ner Tamid